Every 3D print begins with a 3D model. Every model in every online repository was modeled by someone, somewhere. To unlock the full potential of any 3D printer, it’s necessary to know how to model. Now is the best time to learn how to 3D model because never before have so many powerful 3D modeling options been available for free. Two of those options are Tinkercad and Fusion360, both of which are Autodesk products and free (to students, hobbyists, and small businesses).
Tinkercad
Tinkercad is catered towards younger users and those with no modeling experience. It’s designed to allow anyone to start making 3D models, featuring an intuitive browser-based interface that can be controlled entirely by a mouse. Its focus is on education and encouraging thinking in terms of three dimensional objects and their relative sizes, positions, and orientations. Tinkercad employs a drag-and-drop method of combining basic 3D shapes to build more complex objects, making it one of the simplest 3D modeling options available. Several tutorials are available to guide new users through their first models.
Fusion360 is a desktop 3D modeling program that uses cloud computing to assist with heavy computational loads like simulations. Beyond 3D modeling, it also includes workspaces for 3D sculpting (labeled Create Form in the software), sheet metal fabrication, rendering, animation of assemblies and operations, manufacturing with CNC machines and lathes, and simulations of static and nonlinear stress, thermal stress, structural buckling, and shape optimization. There’s a lot going on under the hood of Fusion360, so it’s intended for more experienced users, or at least those aspiring to become more experienced users.
To demonstrate the differences between the two, I designed the same part (a 3DPrinting.com keychain, of course) in both applications and then explored some of their unique tools and capabilities.
I began with Tinkercad. Tinkercad does have an SVG Extrude tool but we don’t have an SVG file of the 3DPrinting.com logo. I tried running the logo through an online SVG converter and the results were imperfect; extruding the converted SVG file in Tinkercad resulted in this object.
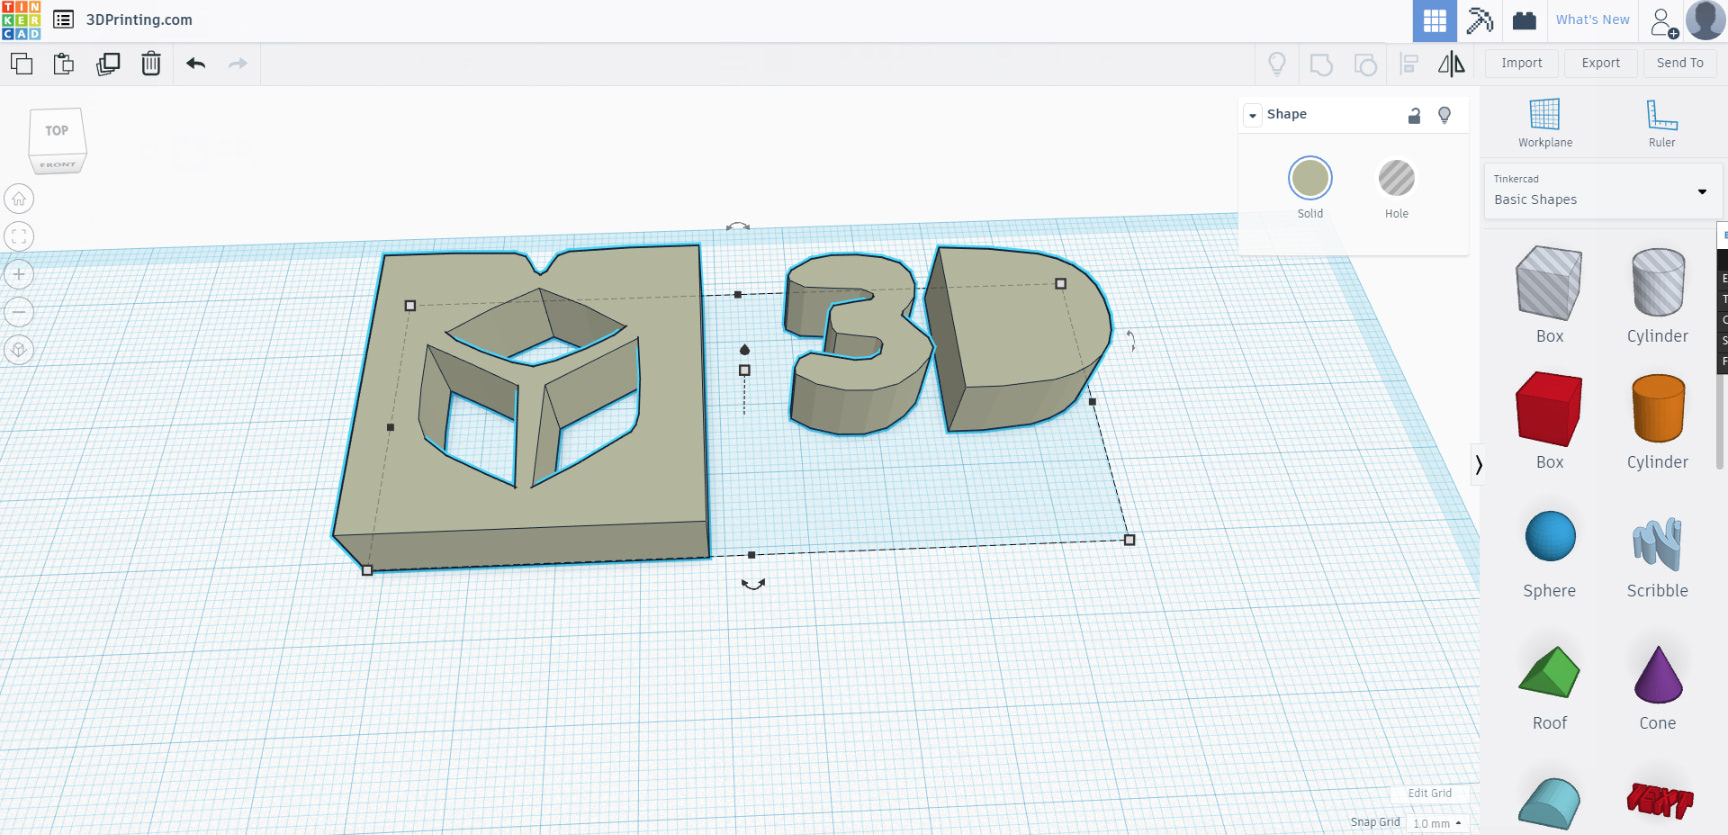
Close but no cigar. If you have a good SVG file, this tool works well. But since that’s not available, we’ll have to model the keychain from scratch. Creating the backplate of the keychain is as simple as dragging a Box from the right panel and dropping it on the workspace, adjusting its size by typing the dimensions in the appropriate fields; it’s also possible to drag the corners and edges of the Box to adjust the size and shape. I clicked the Top orientation button in the top left corner before taking this screenshot so the view is looking straight down on the Box and it’s not possible to see that it’s 2mm tall, but trust me, it is. Clicking and holding on the orientation cube allows for free orbiting of the workspace, which is very useful.

Next, another Box is added on top. Then it’s time to start cutting material away. I used the Roof shape and rotated it 90° before sizing and placing it; selecting Hole ensures that material will be removed rather than added. You can see where I tried to cut the other shape out with another Box before finding the correct shape.

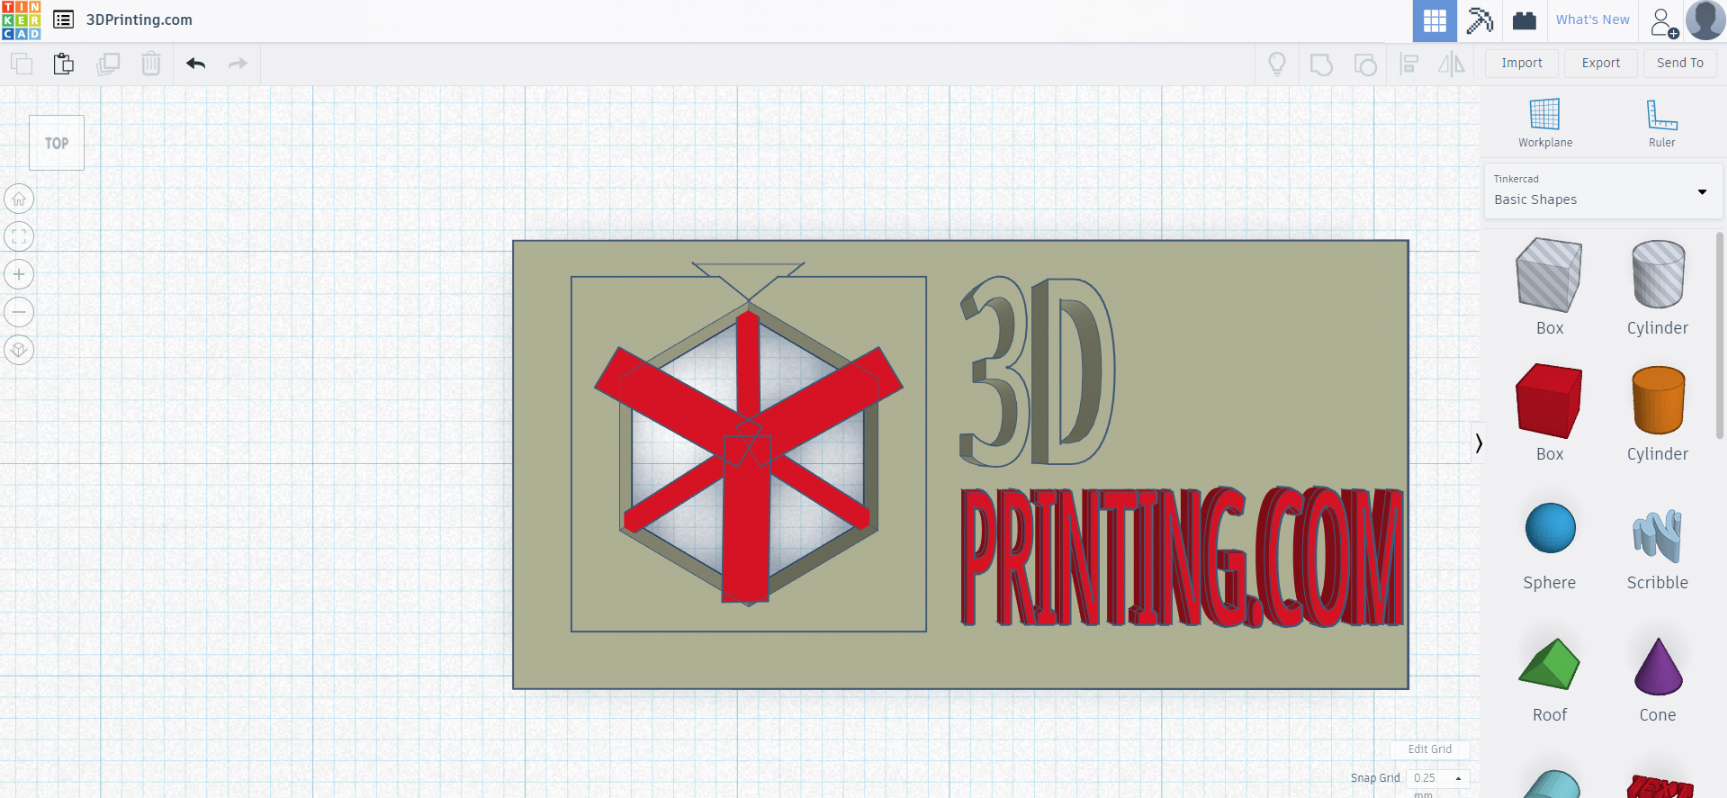
After finding the correct Polygon tool, I successfully cut the right shape out, but then I needed to add material back to that area to draw the outline of the 3D cube. This is where I encountered a hurdle. The Polygon hole was acting as a permanent void and would cut away everything I tried to put there. My solution was to export the model as an STL and then import it back into Tinkercad as a solid body, which worked perfectly. I then added three wider Boxes at the appropriate angles with the same depth as the keychain; the three thinner Boxes were raised less, creating the illusion (and actualization) of depth. The Duplicate and Flip tools saved me quite a bit of time by not having to rotate and resize each Box. Adding the text was the last step and just as easy as the first step. Just drag, drop, and type the desired text.
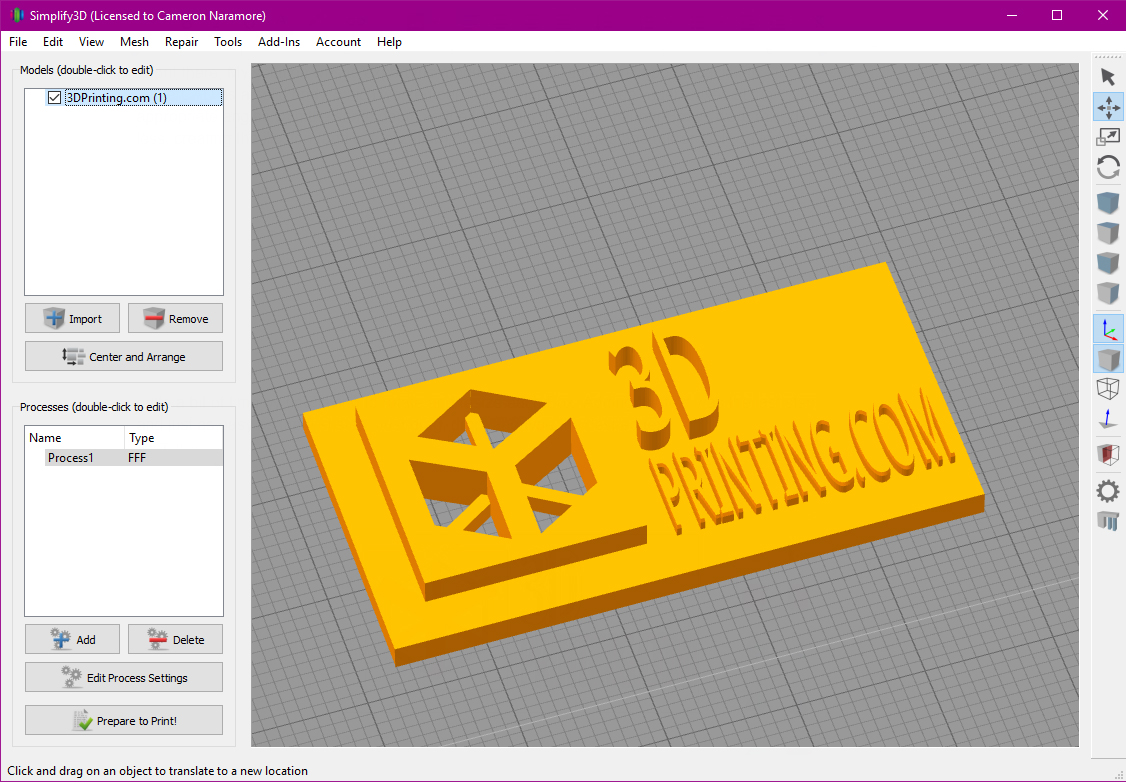
Here’s the exported STL in my slicing software.
Some of the more advanced features in Tinkercad include the Workplane tool that allows users to lock the motion of objects to specified planes and add objects to new planes.
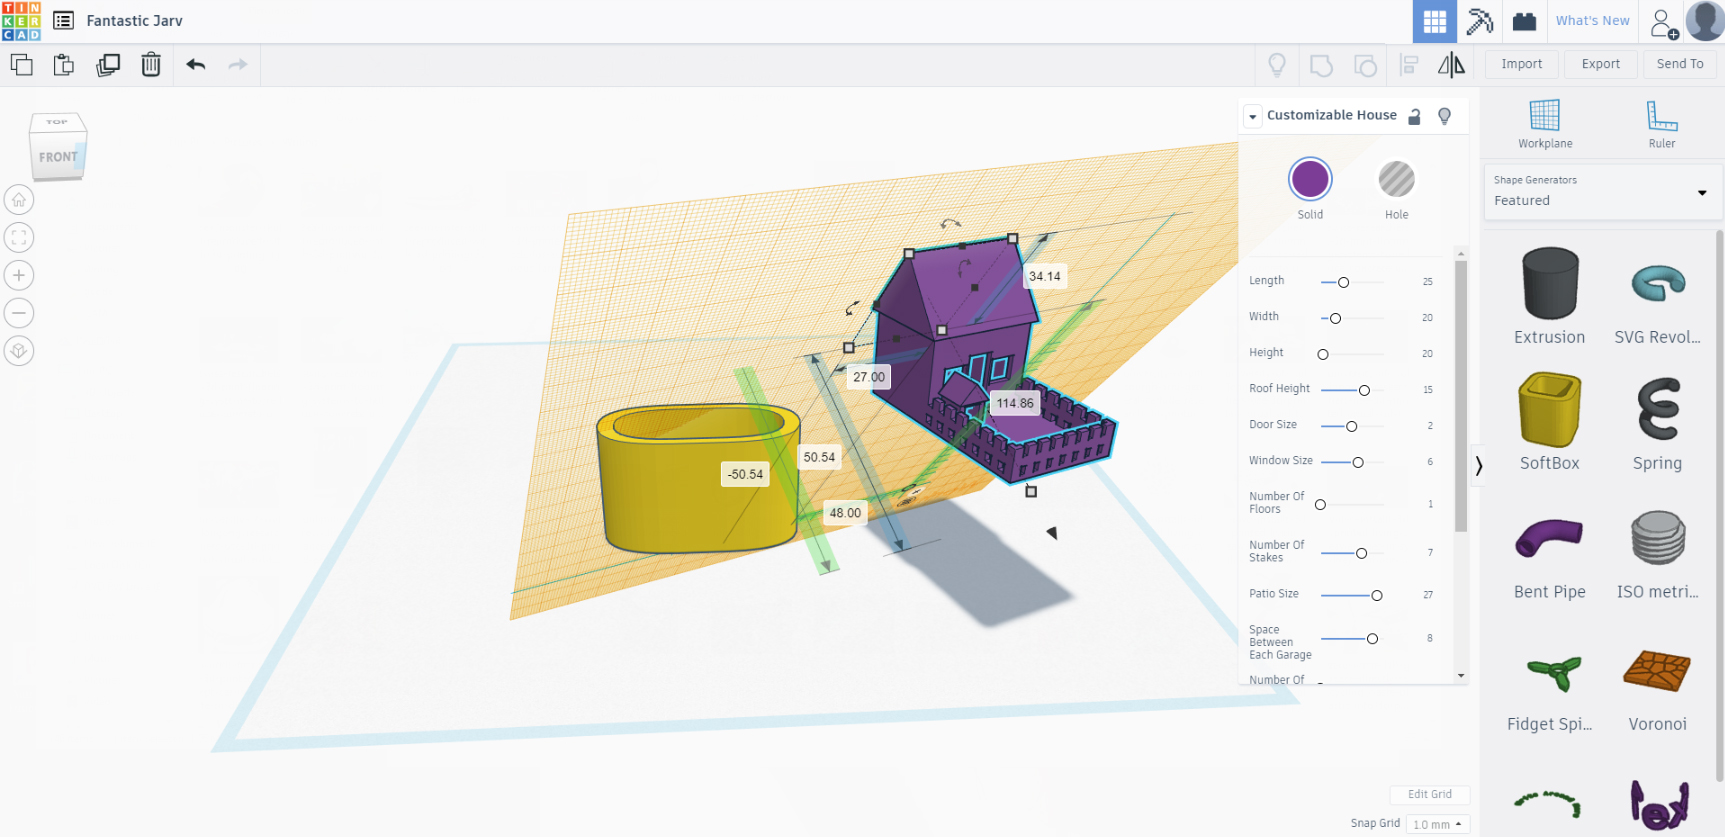
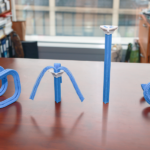
The Featured Shape Generators are also very useful. There are many parametric shapes to choose from that can be completely customized, like springs, tubes, and screw threads. Pre-scaled ball joints are available as well, making the creation of movable objects incredibly accessible. Look at this adorable thingamabob I whipped together in 30 seconds.
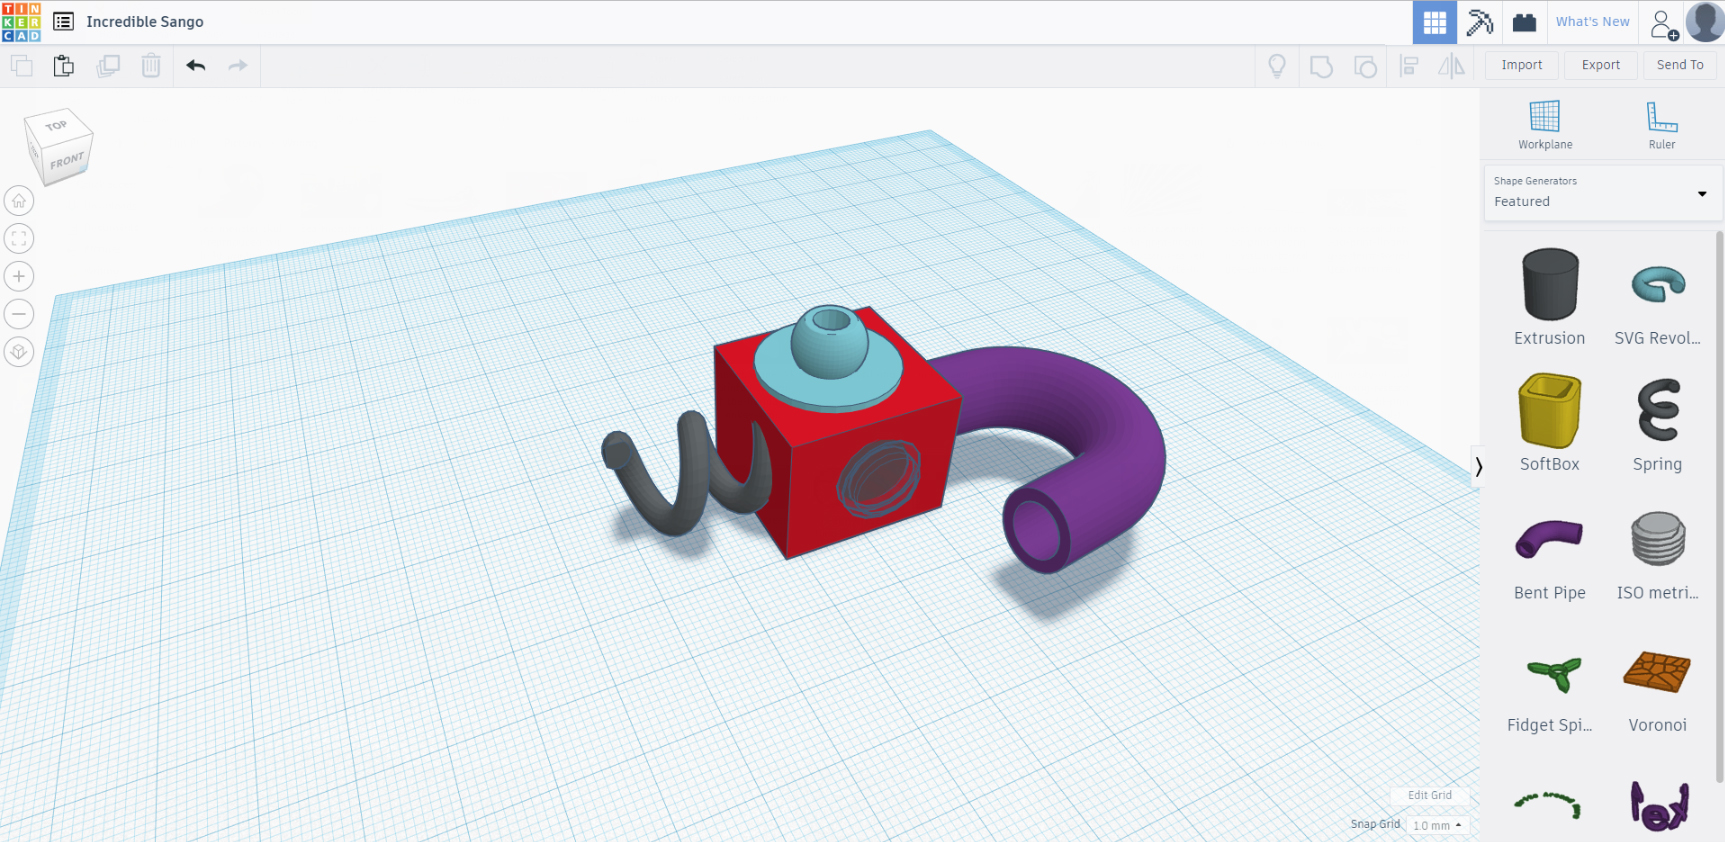
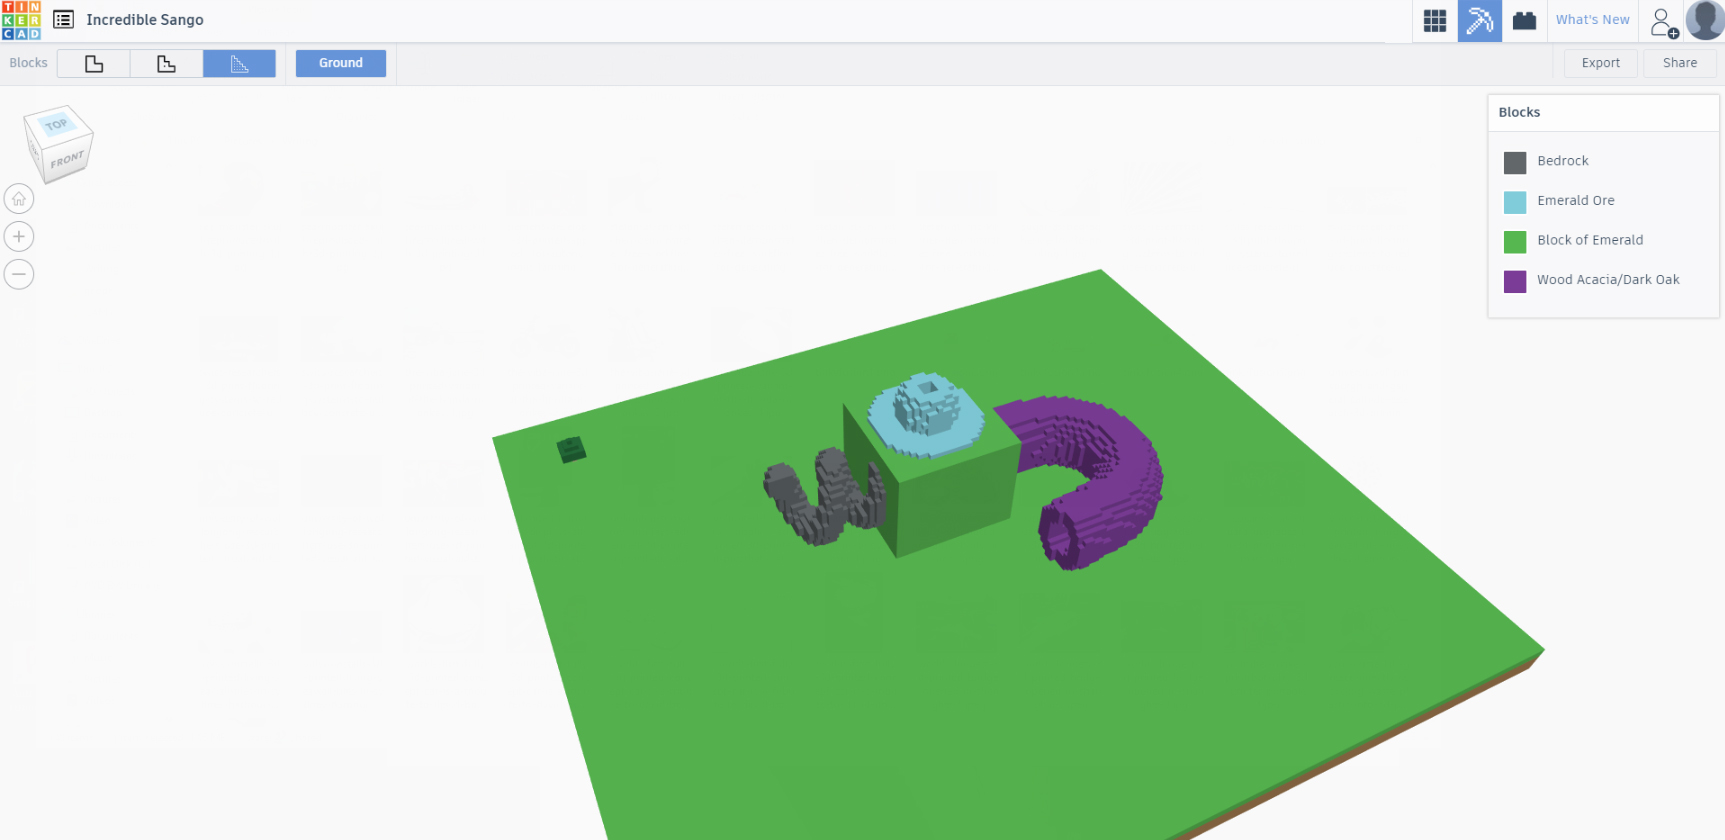
One of the more fun features that the kiddos will dig is the Block tool that converts models into (not Minecraft but totally Minecraft) blocks, as seen here.
Tinkercad also includes a Circuits workspace for designing custom basic and Arduino circuits. A brand new workspace is Codeblocks, a drag-and-drop interface that teaches users the basics of programming.
Fusion360
Now it’s time for Fusion360. I began by selecting a plane and creating a Sketch, which is the basis of nearly all shapes generated in the software. By drawing 2D shapes, we can then Extrude, Cut, Revolve, Loft, and Sweep them into 3D shapes. Here, a rectangle is our first shape, which is extruded up 2mm.
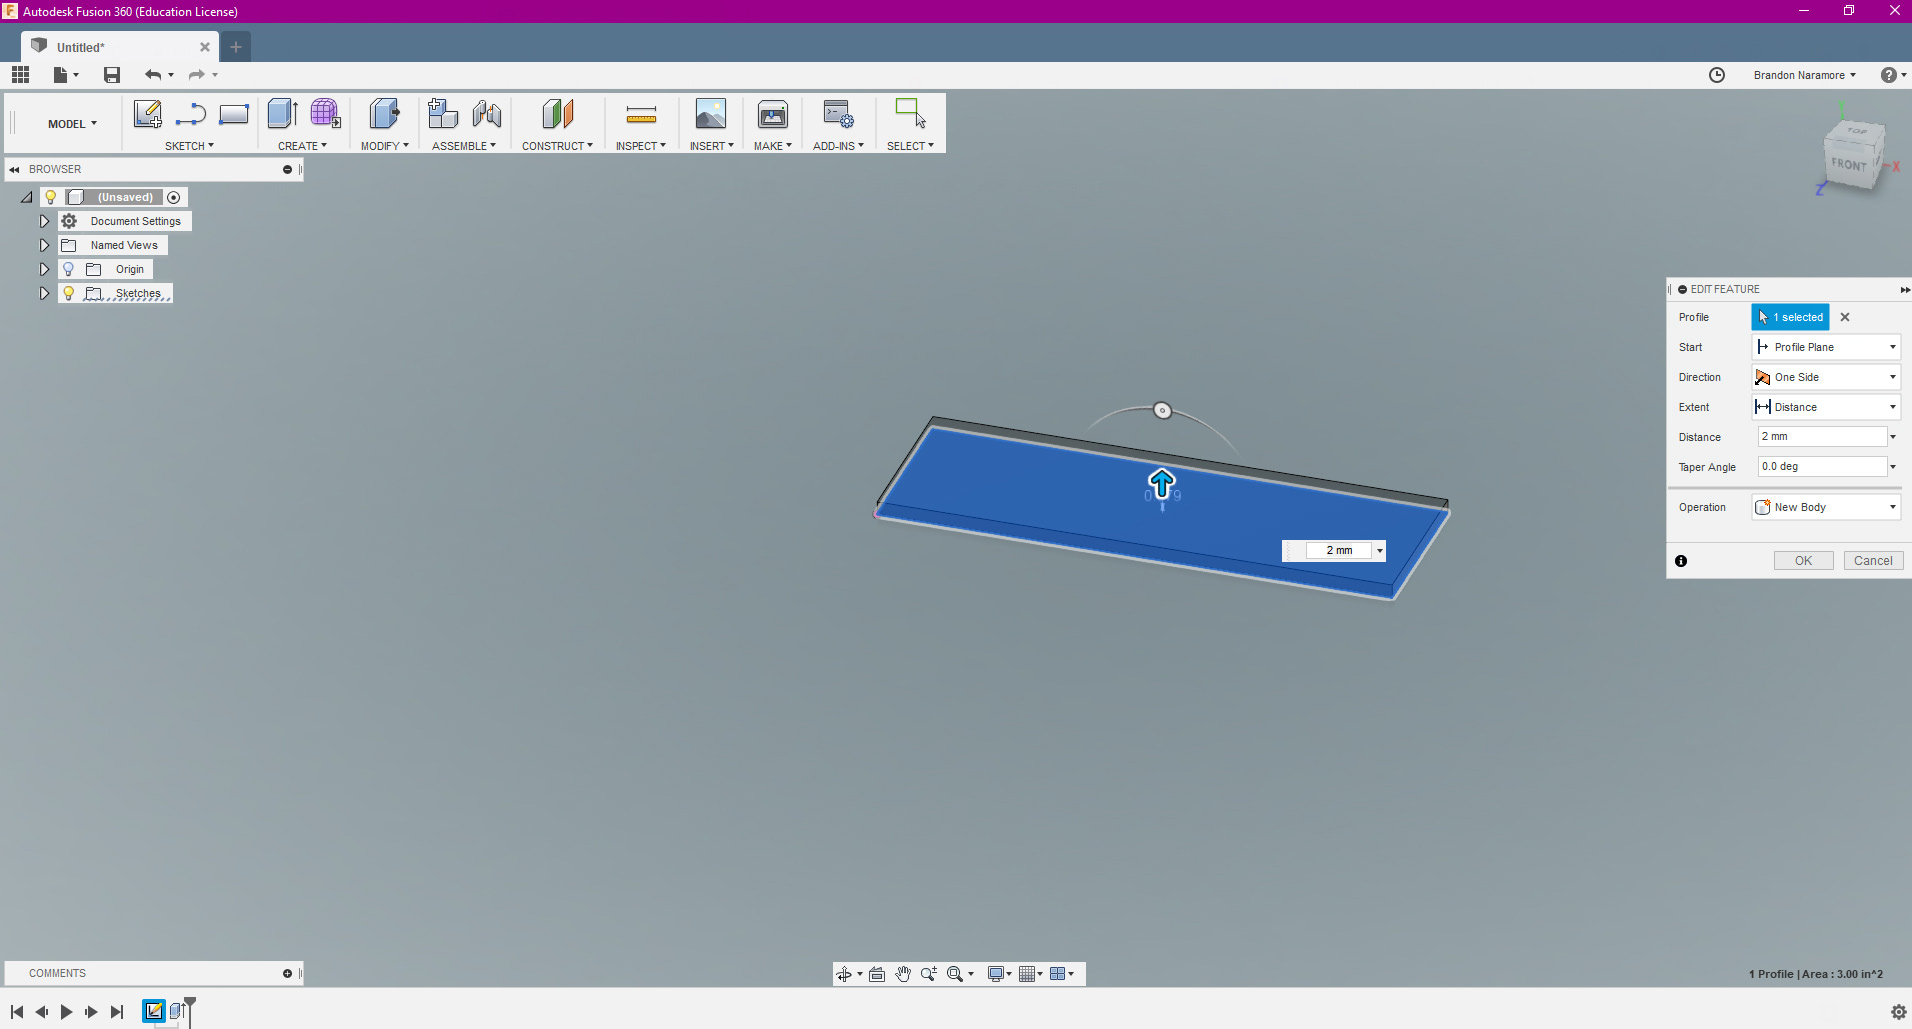
Next, another Sketch is created on top of the newly created object, where upon a square is drawn and then extruded up 2mm.
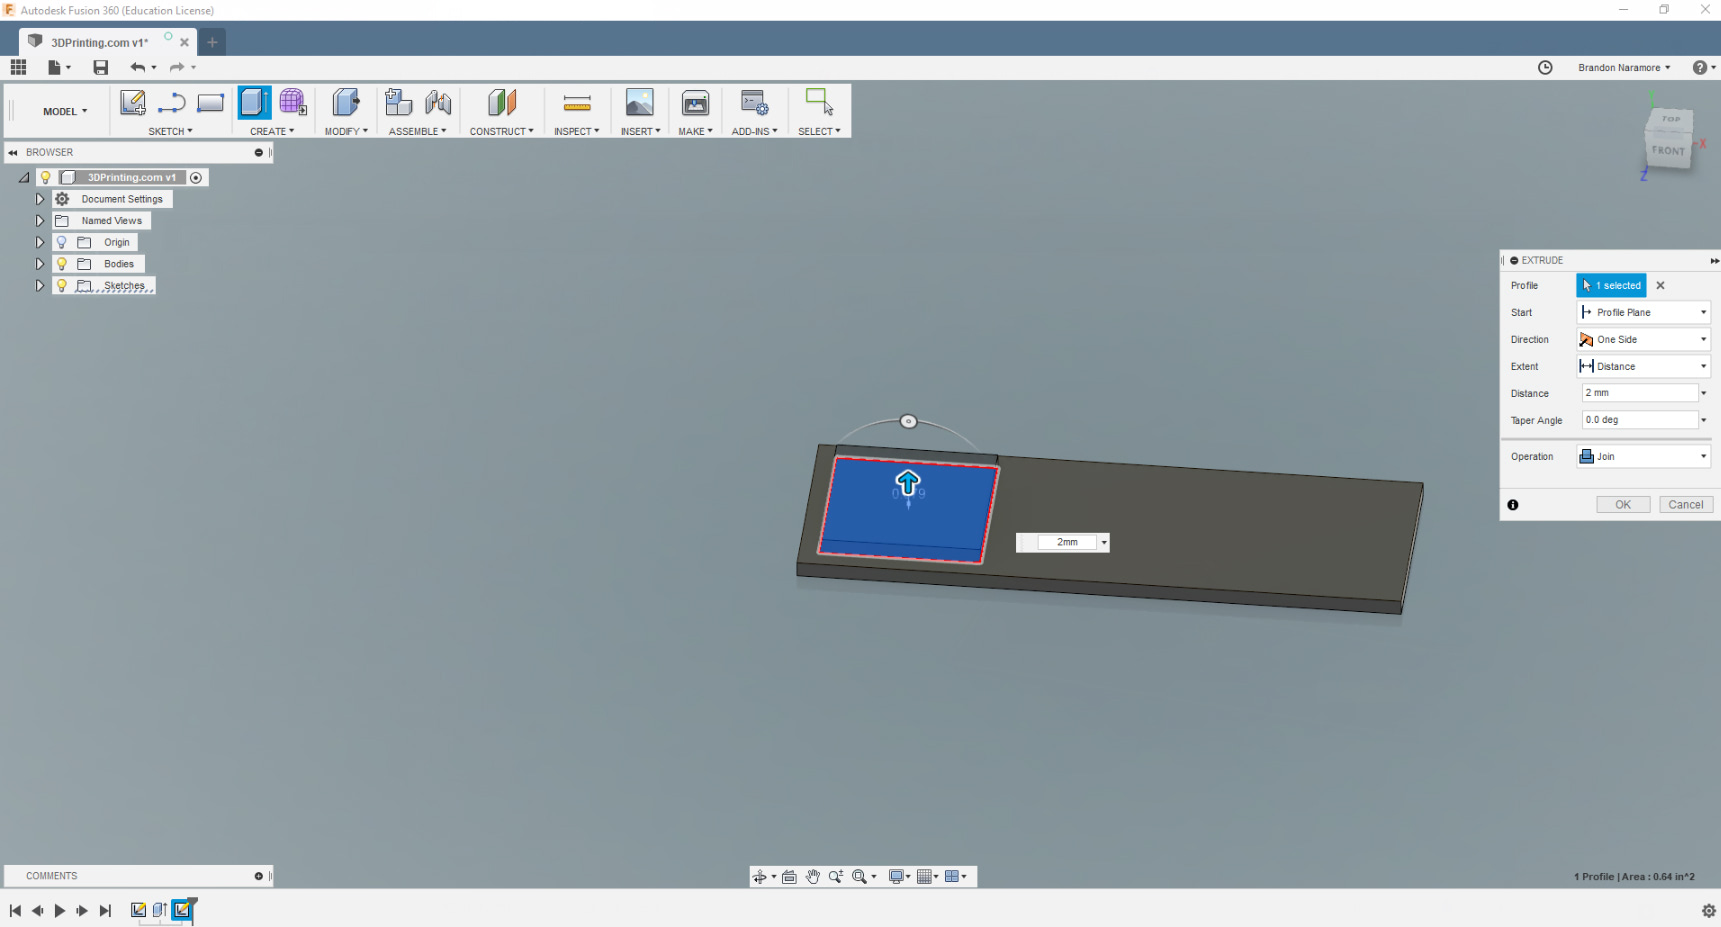
To cut the wedge out of the top of the square I just drew some line segments and mirrored them across a center another line I drew.
The triangle was then Cut down through the square to the top of the next surface, a handy feature.
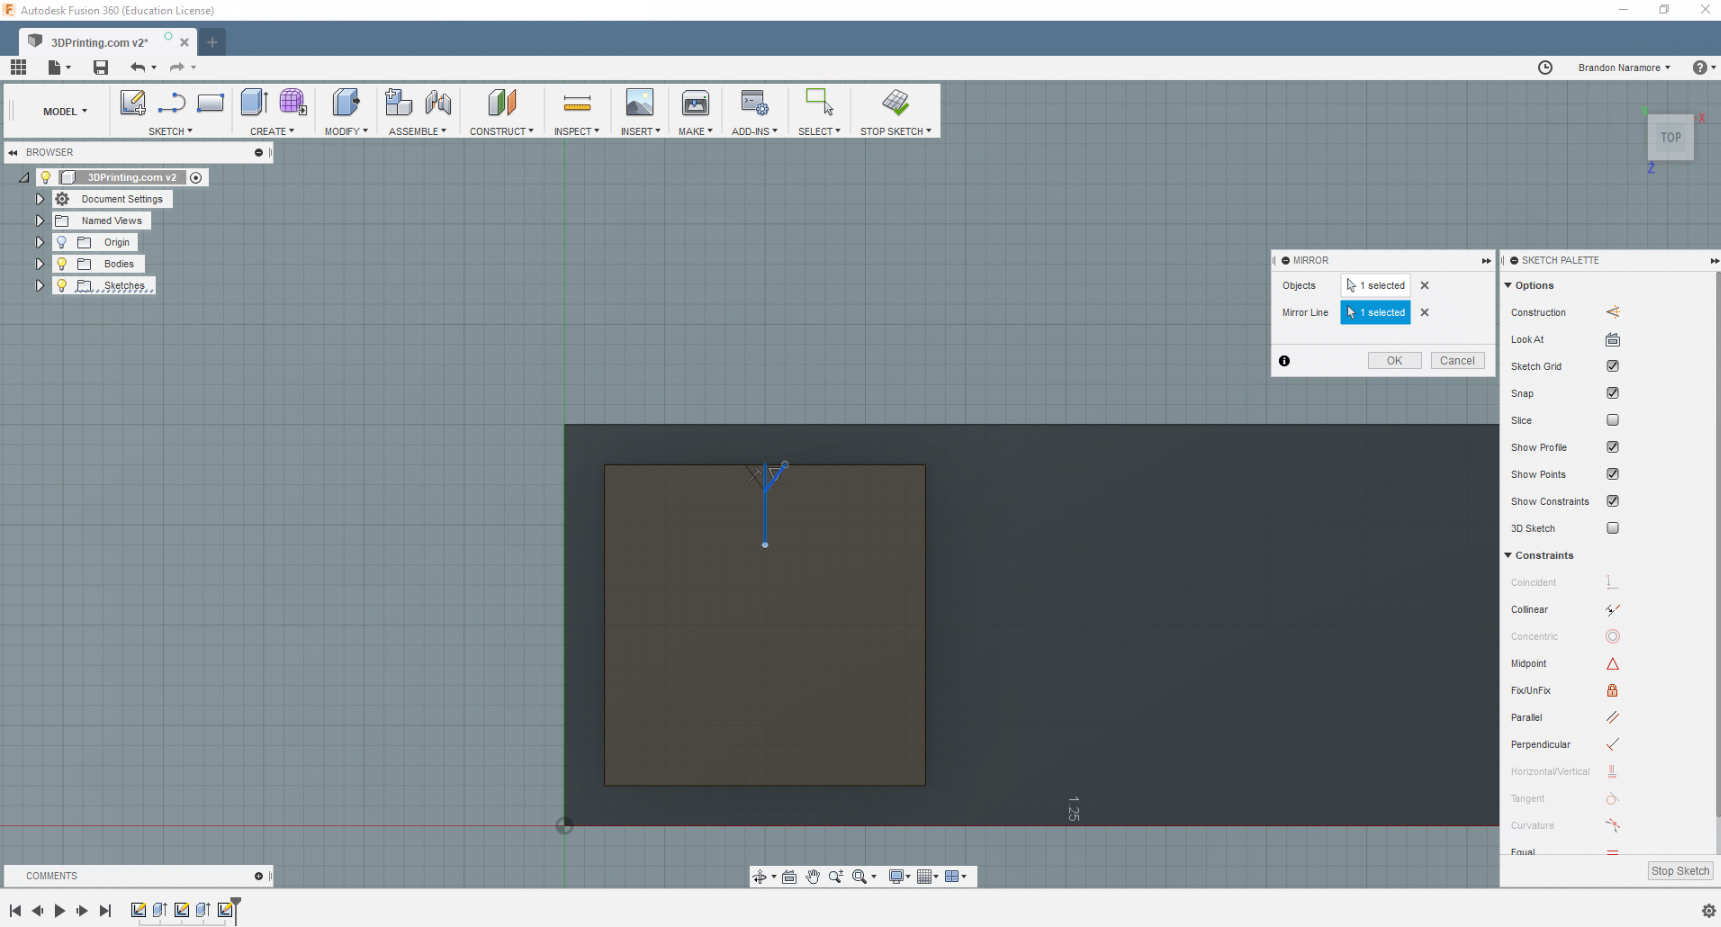
I could have used the polygon tool here but I wanted to demonstrate using the dimension tool to set angles, which involves selecting two connecting lines and typing the angle. I used the mirror tool to complete the shape.
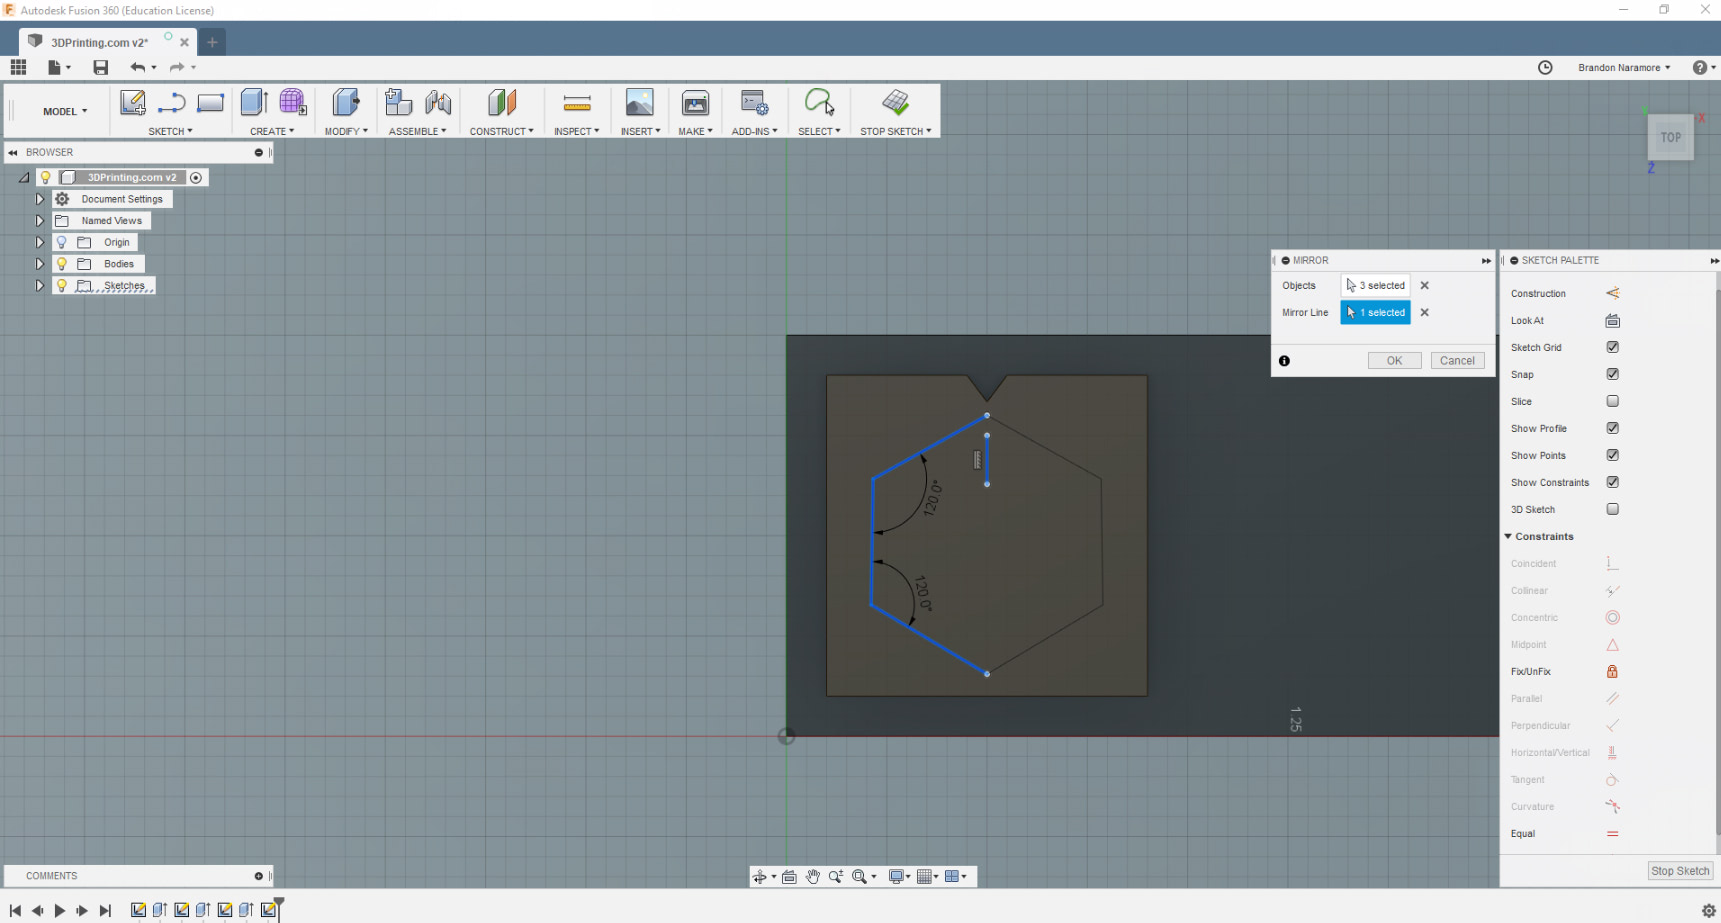
After that, I cut it out and sketched the foreground of the cube, again using the mirror tool.

That Sketch was then extruded to meet the top of the part. Drawing the background of the cube was also aided with the mirror tool. Mentioning the mirror tool so much may seem repetitive, but using it as frequently as possible can save huge amounts of time. The same goes for the Rectangular, Circular, and Along Path Patterning tools. Many symmetric parts can be modeled by drawing only a quarter or half of the part and then mirroring or patterning the rest.

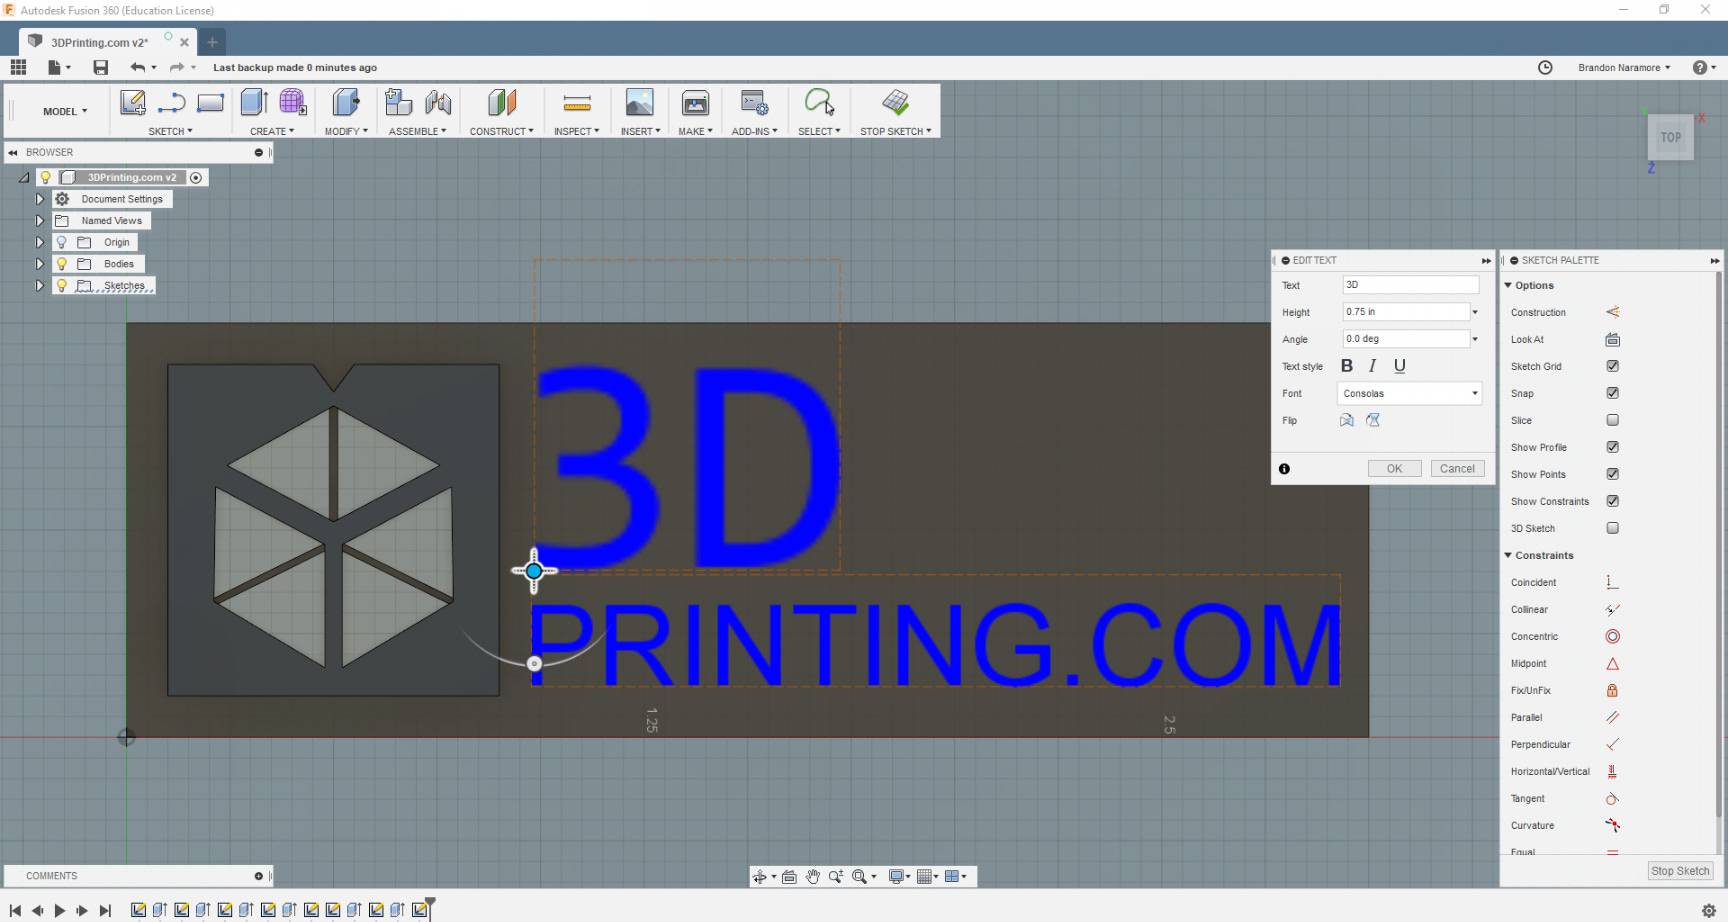
Adding text is as simple as clicking where you want the text, selecting the font and size, and typing the message.
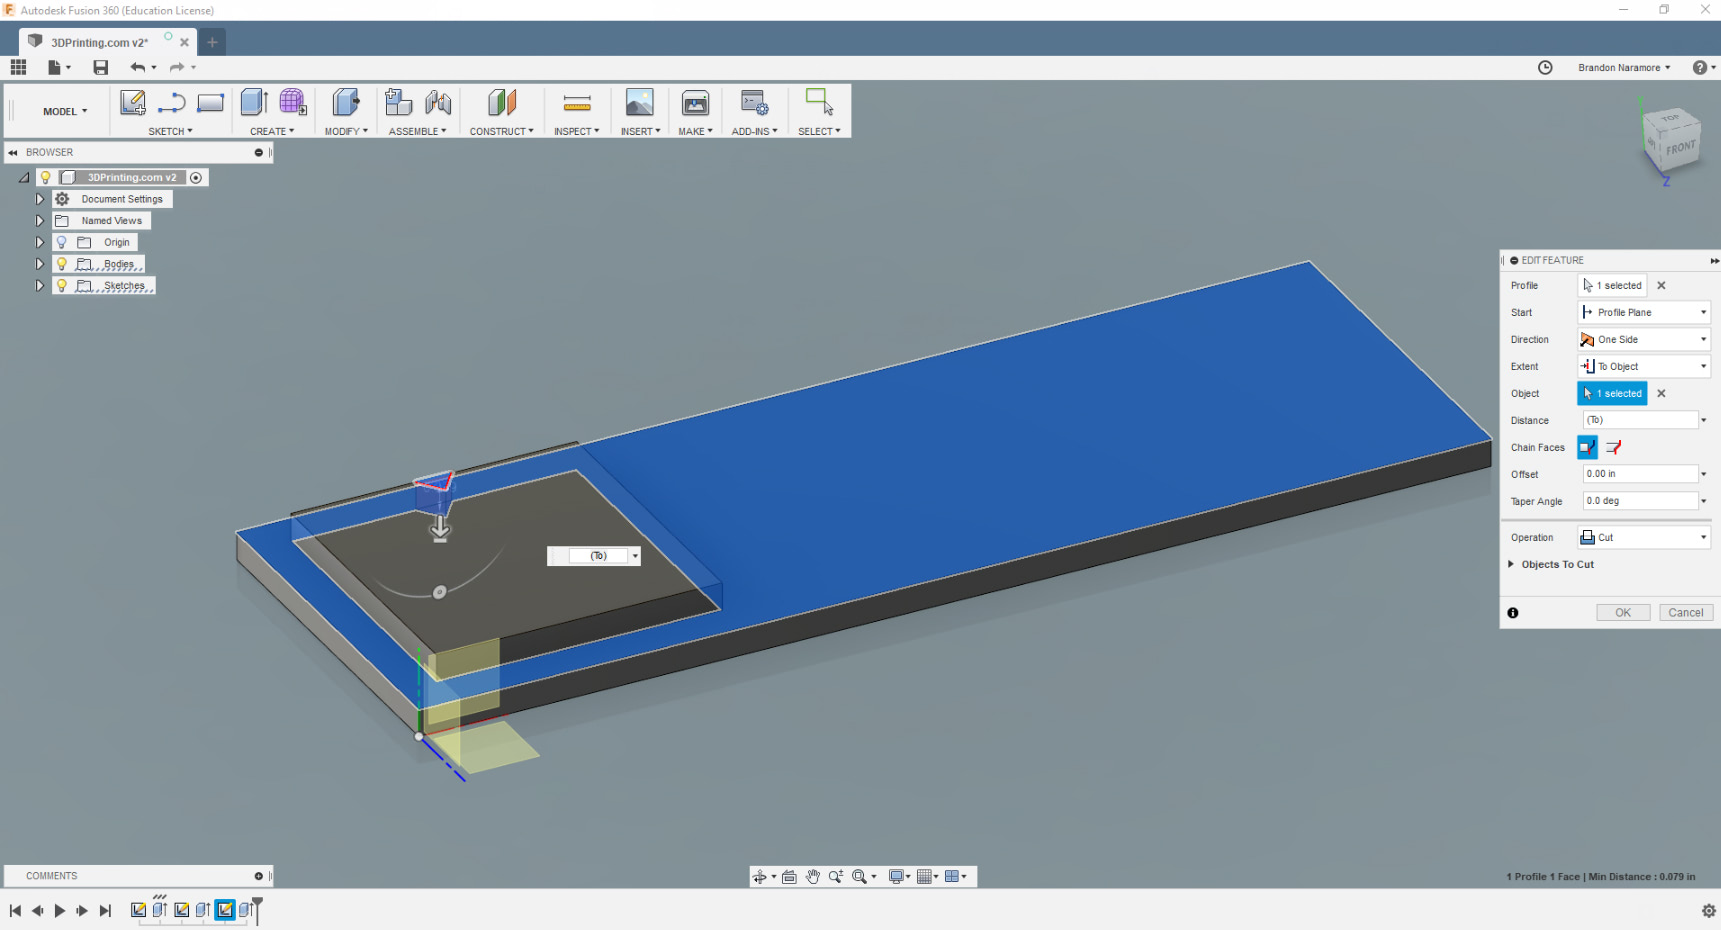
Extrude those up at different heights to create more depth, and voilà, a keychain.

But wait, this is professional software we’re working with here. Let’s make this keychain a bit more presentable using one of my favorite modeling tools, the Fillet. Using the Fillet tool, I select the top outer edges of the backplate and apply a 0.5mm Fillet, rounding the edges.
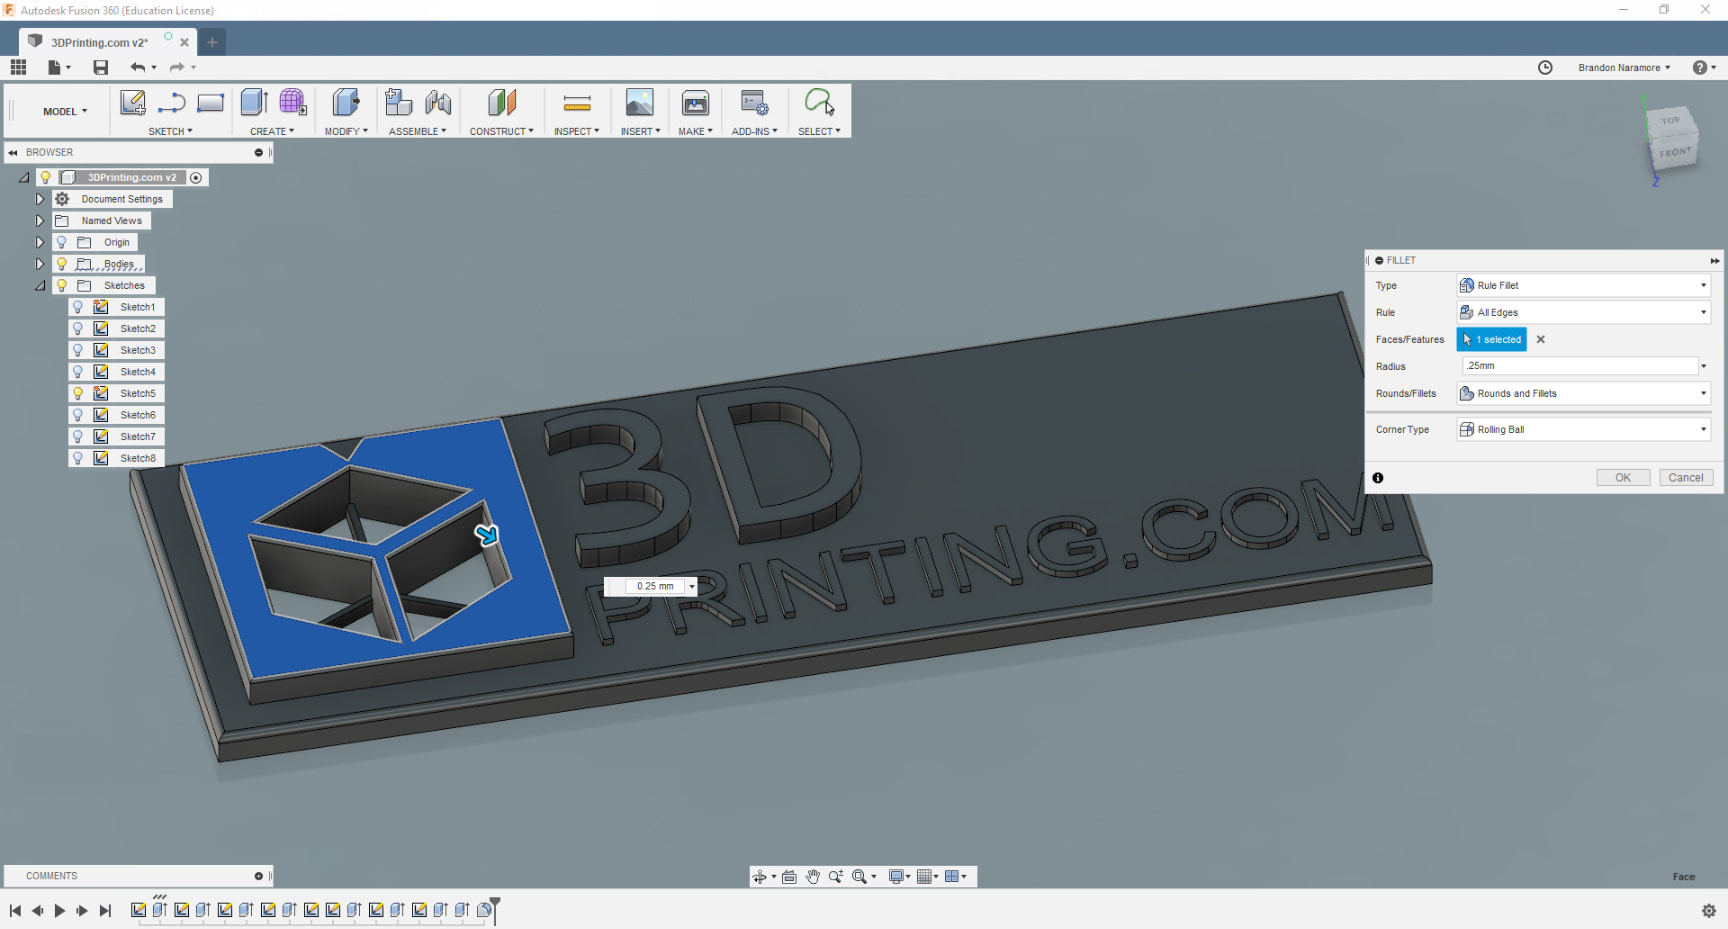
I then applied a 0.25mm Fillet to the face of the square, rounding every touching edge all at once, leaving us with a keychain that’s much more pleasant to handle.
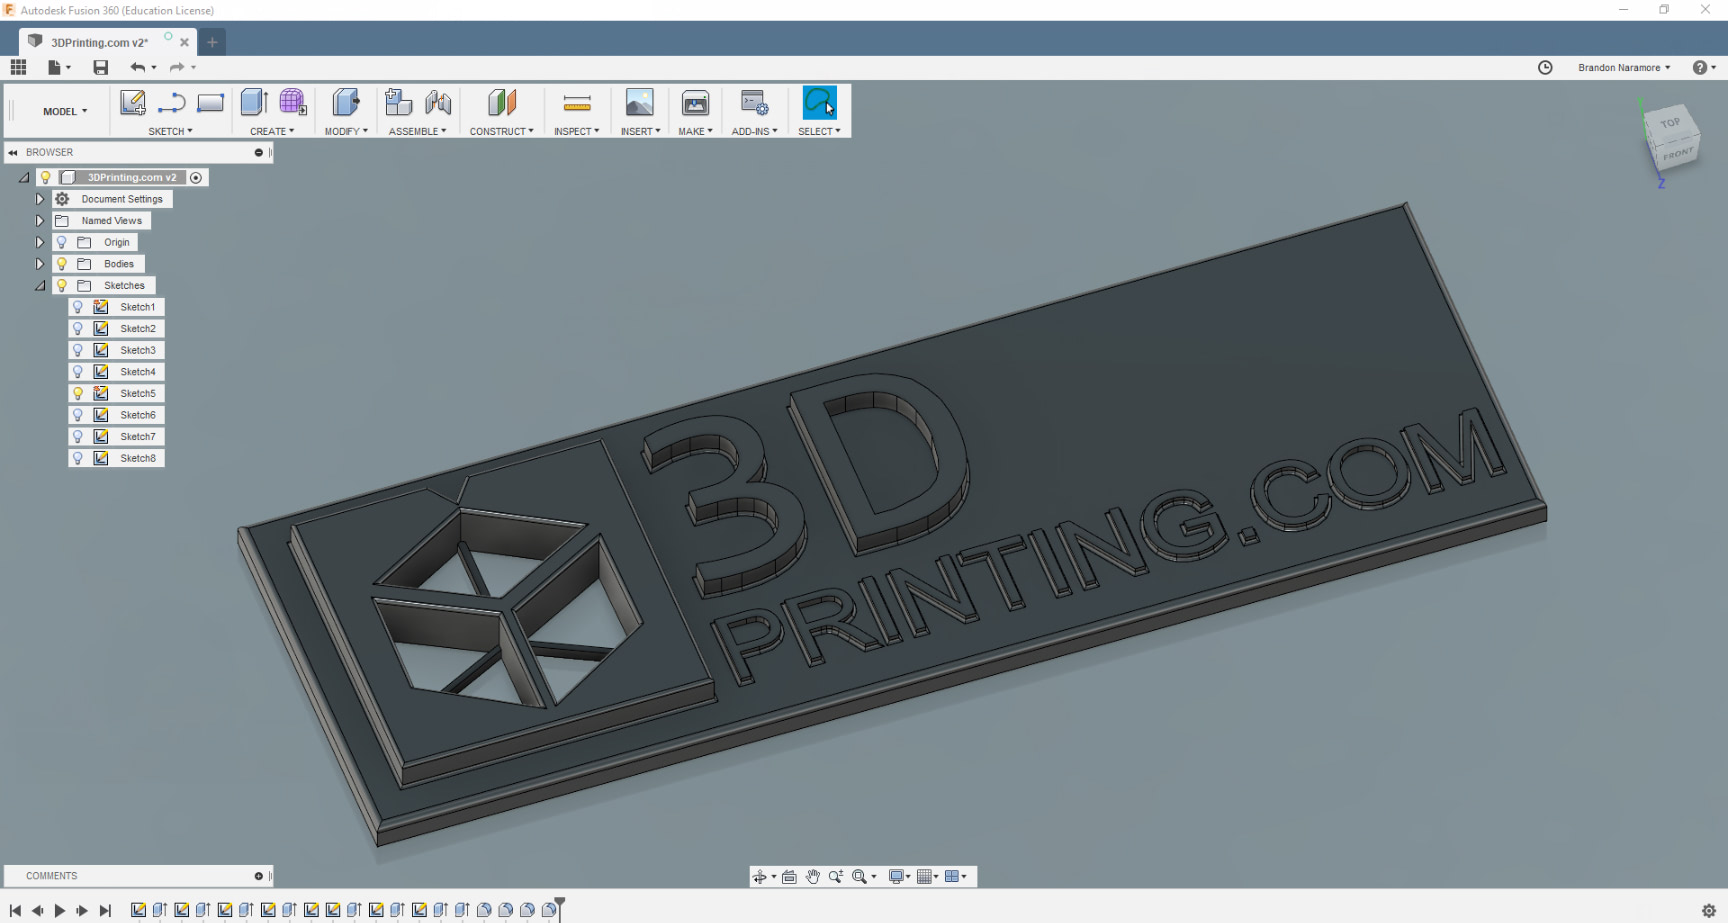
I sent that STL file to my slicer and 3D printed it.

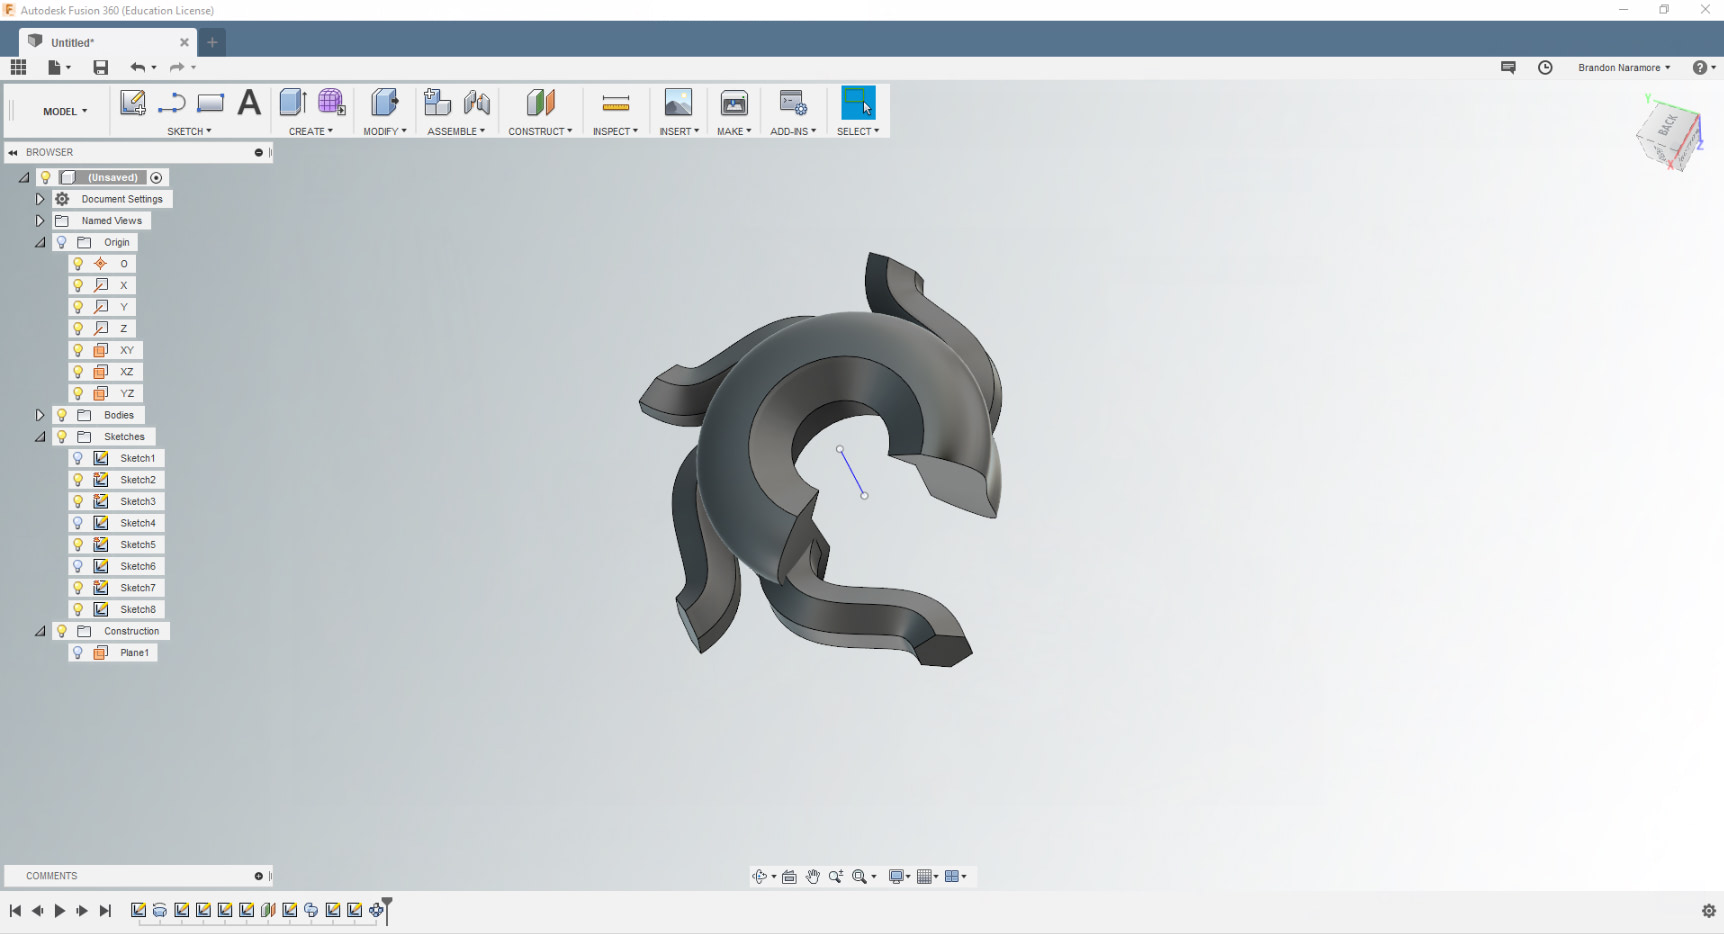
Now for the really fun stuff. Here, I demonstrated the Revolve tool by starting with a shape I drew from lines and splines (curved lines).

By revolving it around a selected axis, we get this.

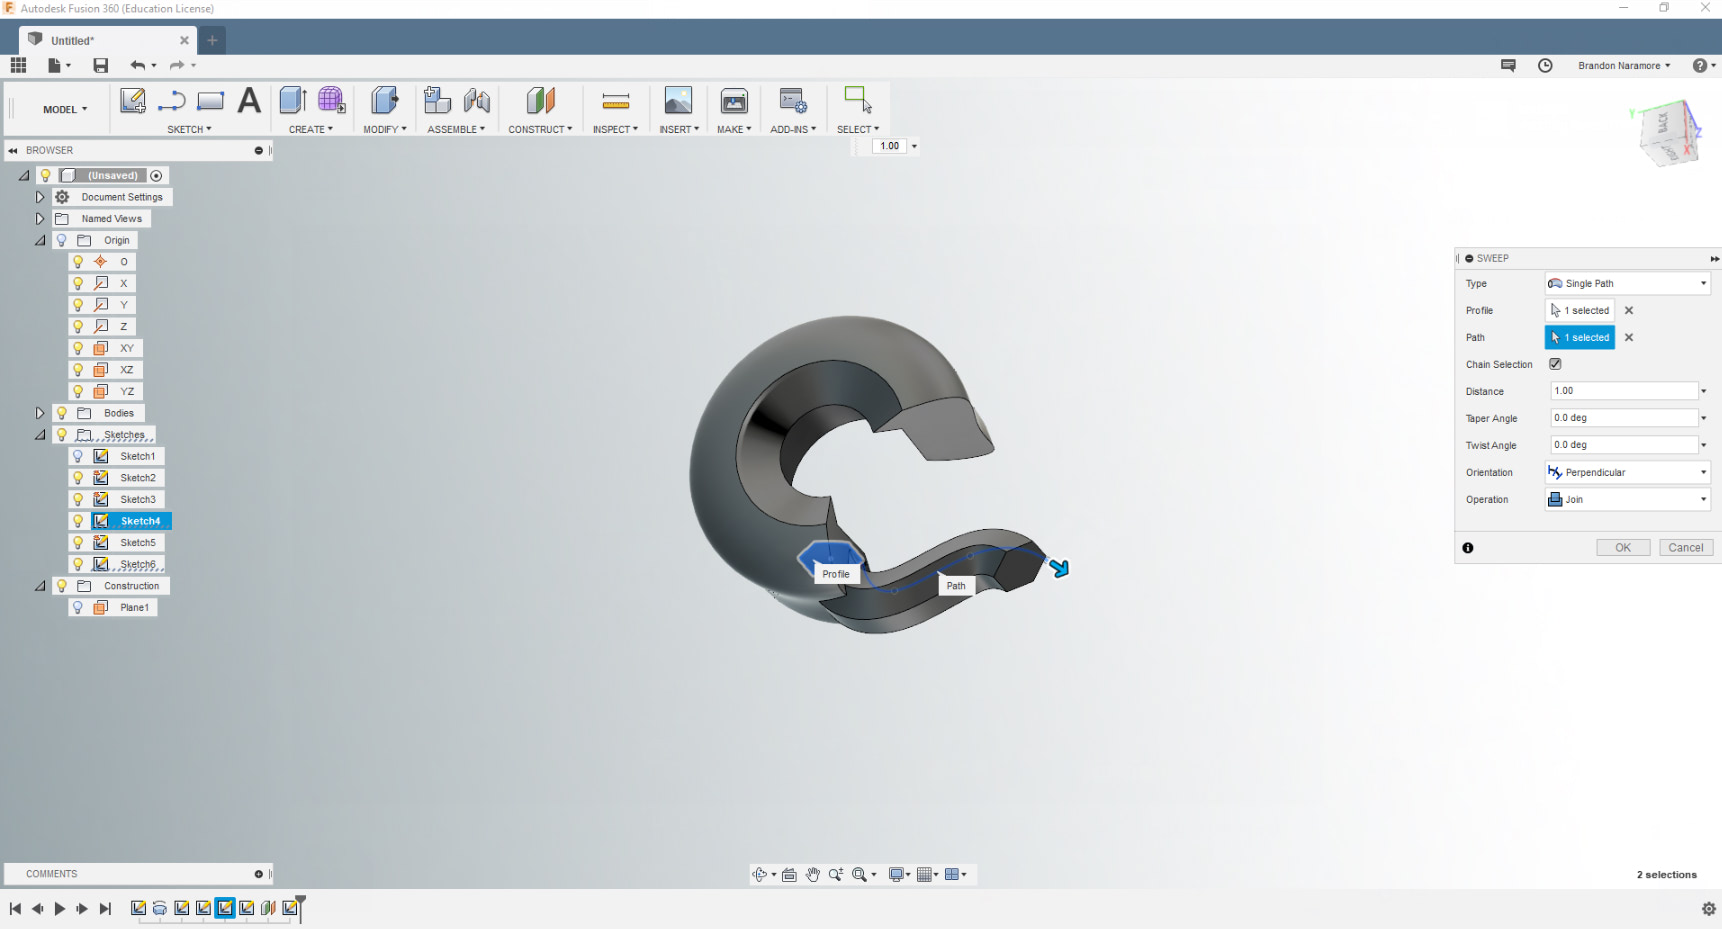
Next, I execute a Sweep by drawing a polygon on one plane and drawing a spline on a perpendicular plane, positioned so that the spline intersects with the center of the polygon.
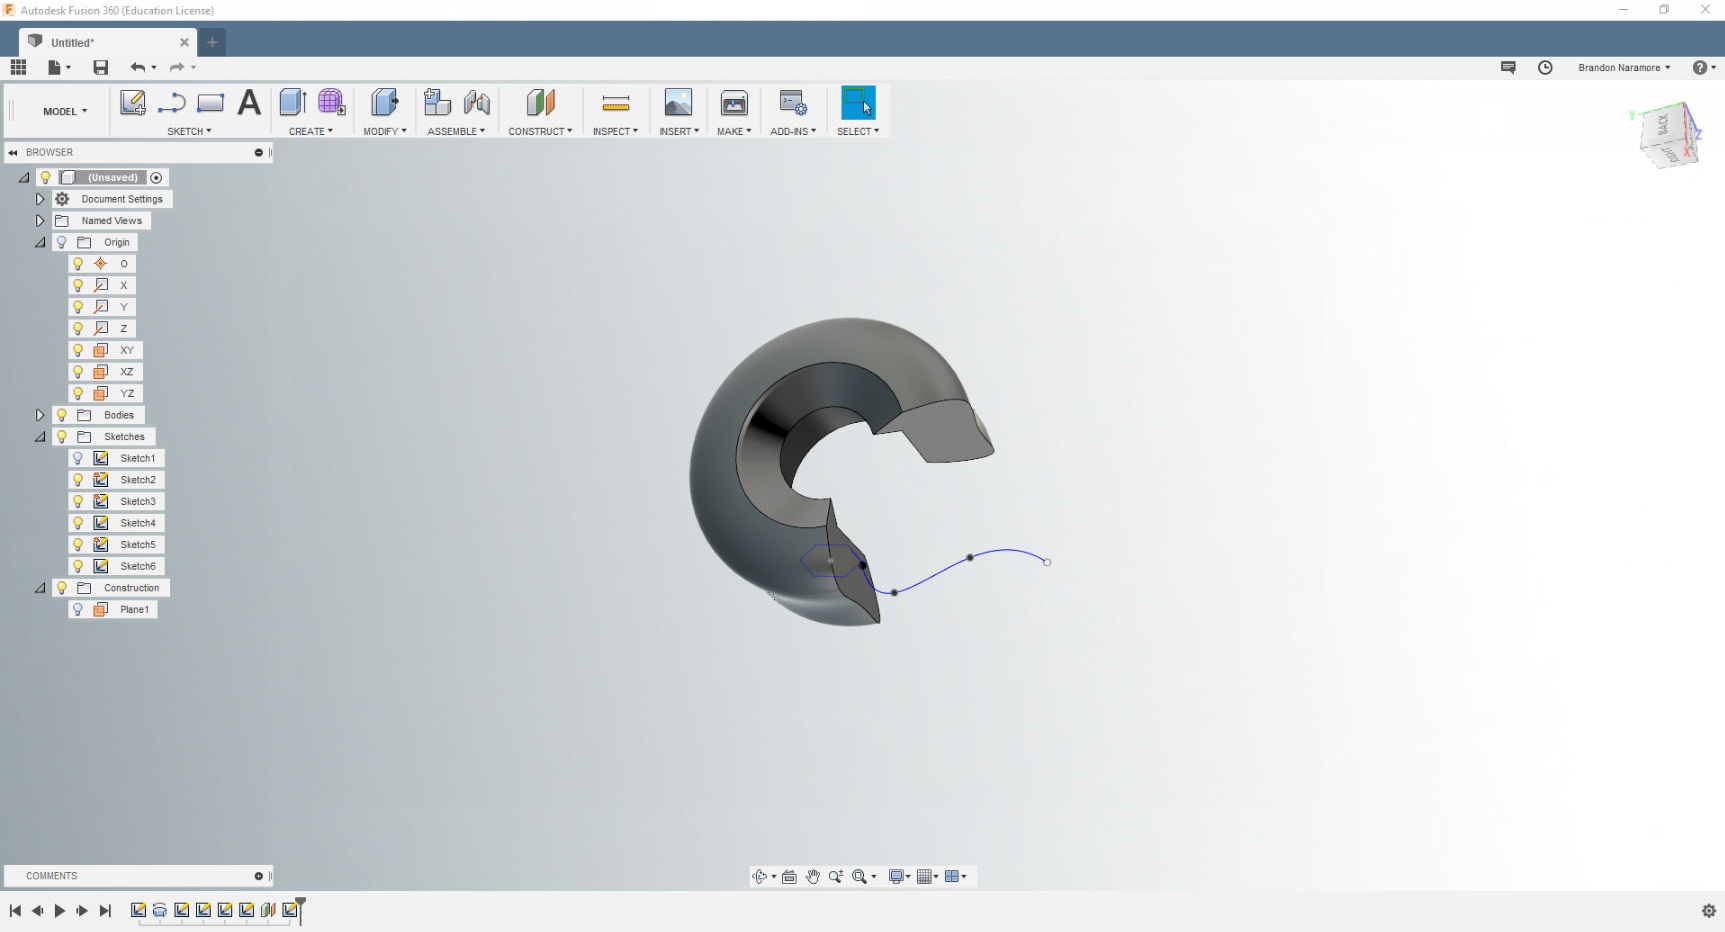
By selecting the spline as the Sweep path, we’re rewarded with this lovely shape.
Next up is the Circular Pattern tool, which can be used on 2D geometry as well as 3D bodies and features. By drawing a line on any plane, I can Pattern anything in a circle. The quantity can be adjusted and specific instances can be skipped by unchecking them; you can see I deselected one on the right.

So this happens.
Finally, I briefly show off one of the Simulation tools by displaying displacement under a set force.
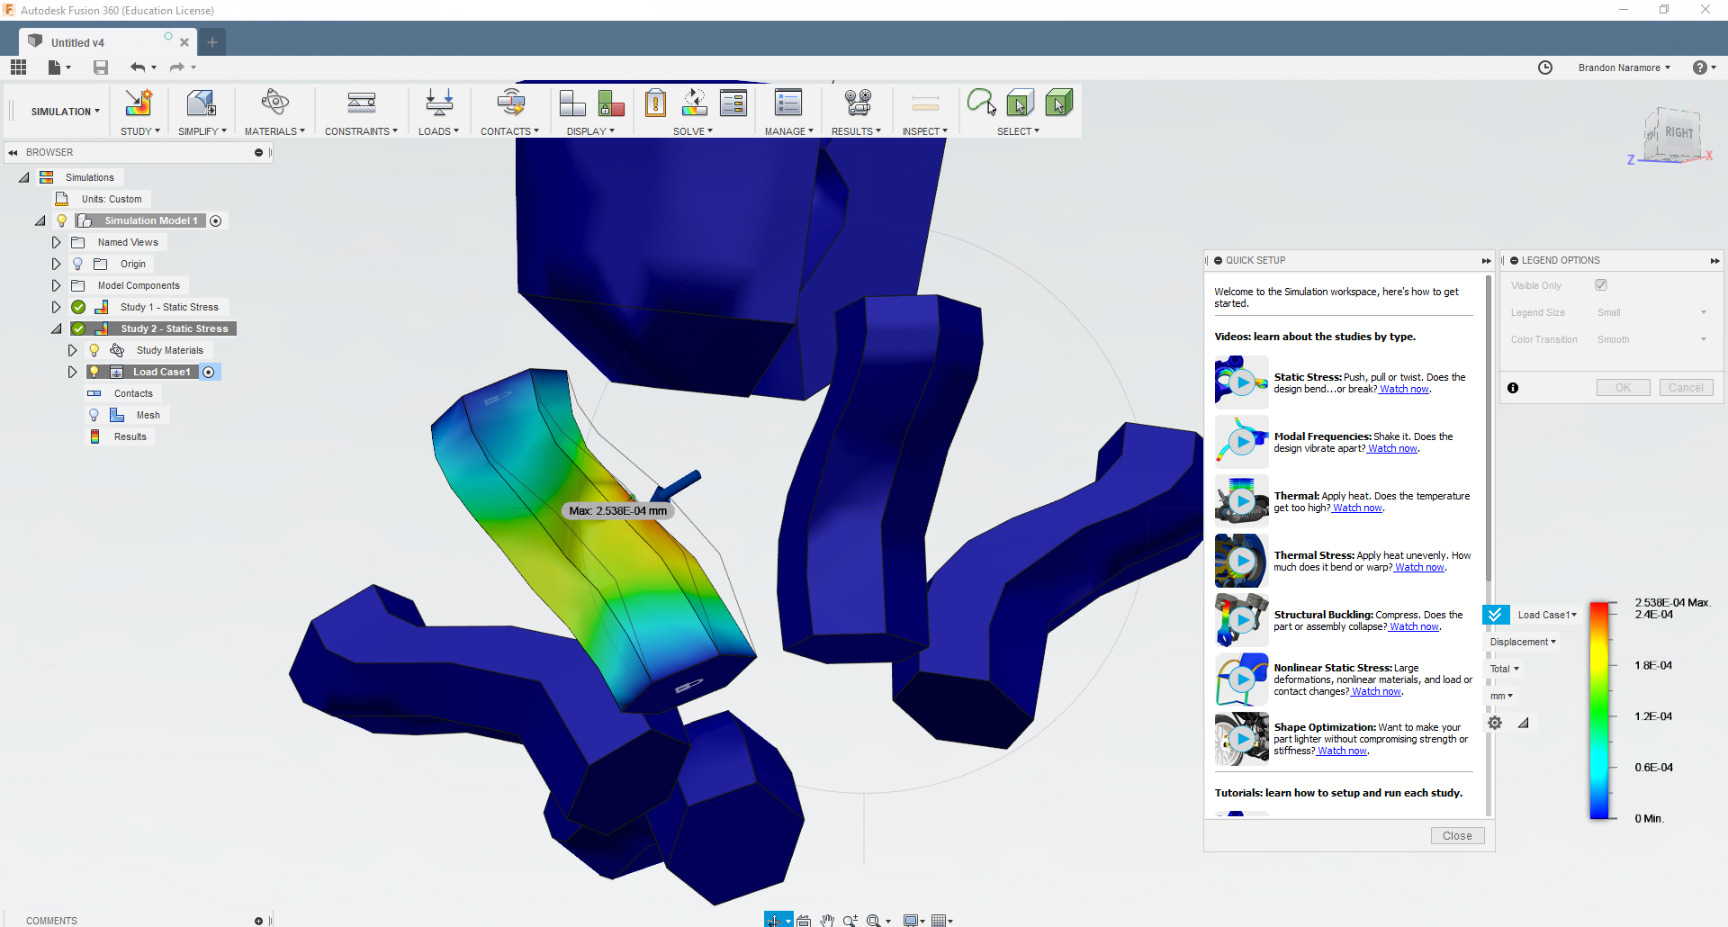
The Simulation tools help us make our parts stronger by revealing their weaknesses. There are many more tools available in Fusion360, such as Assemblies and Slots and Threads and so on, but going through all of them would require a much longer guide. Thankfully, Autodesk provides a slew of in-depth tutorials.
Now that we’ve explored both applications, we can create a Pros and Cons list for each.
Tinkercad pros
- Easy to learn
- Can make movable parts quickly
- Engages young minds
- Educational
- Ideal for toys and name tags
Tinkercad cons
- Limited by shape catalog
- Web-based interface sometimes hangs/lags
- No history tree makes editing difficult
Fusion360 pros
- Full control over shapes
- Powerful modeling tools
- History tree makes editing easy
- Ideal for mechanical parts
Fusion360 cons
- Steeper learning curve
- Finding tools can sometimes take a minute
In short, Tinkercad is best for those just getting into 3D modeling and 3D printing, and Fusion360 is more suited for users wanting to make professional prototypes, functional parts, and intricate pieces of art.