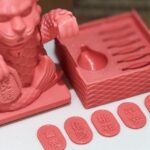
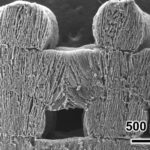
All 3D printed parts require some amount of post processing. Powder Bed Fusion prints have to be sandblasted to remove the excess powder. Resin prints must be rinsed off, have their support pillars removed and cured under a UV light. Filament extrusion prints have to have support pillars removed as well, additionally an acetone or alcohol treatment to hide layer lines. Generally, post processing of 3D prints is quick and straightforward. But for metal 3D printing, post processing accounts for half (or more) of the cost and time associated with printing a part.
Post Processing Metal Parts
The very thing that draws users to print with metal, its strength, is what makes the post processing of metal prints so much more difficult. Metal prints can go through up to six different steps before being shipped to the customer. Here’s an overview of those steps for a DMLS print, the most popular form of metal 3D printing:
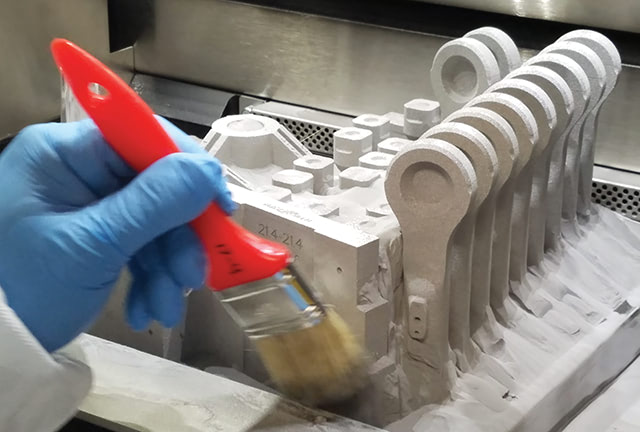
Powder Removal
After a metal print is complete, it’s covered in vat of metal powder. The powder must be brushed off and recycled for future use. This process is done with gloves through an enclosed chamber as metal powder is dangerous to breathe.
Stress Relief
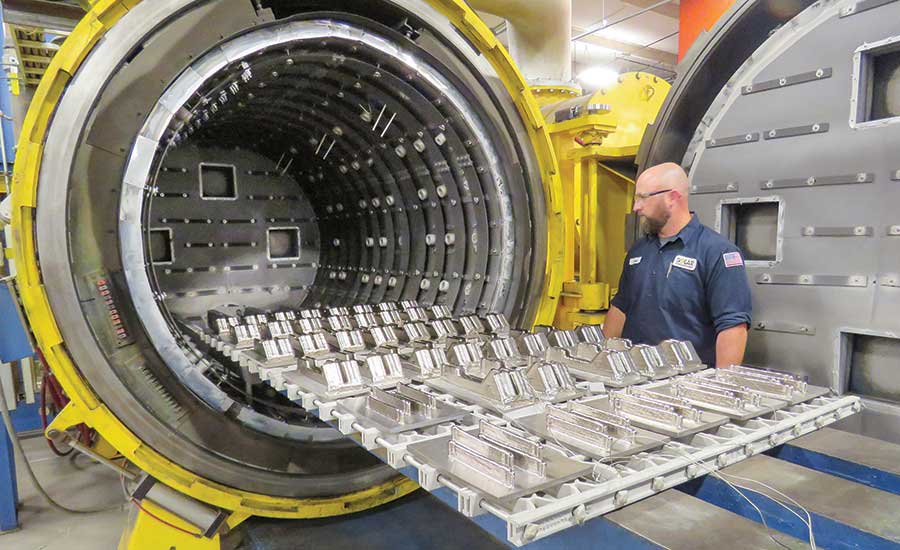
The rapid heating and cooling that occurs during the printing process causes internal stresses to form in metal prints. They must go through a stress relief treatment (solution annealing) in an oven or vacuum furnace with a consistent heating and cooling schedule to reach their full mechanical properties.
Part Removal
At this point, the part is still anchored to a baseplate via support pillars. If the part was removed from the baseplate before the stress relief step, it would likely warp during the process. Either a bandsaw or an EDM wire is used to remove the part from the baseplate so we’re already into territory with which the typical 3D printer operator is not familiar. Metal 3D printers are often run in machine shops for good reason.
Machining
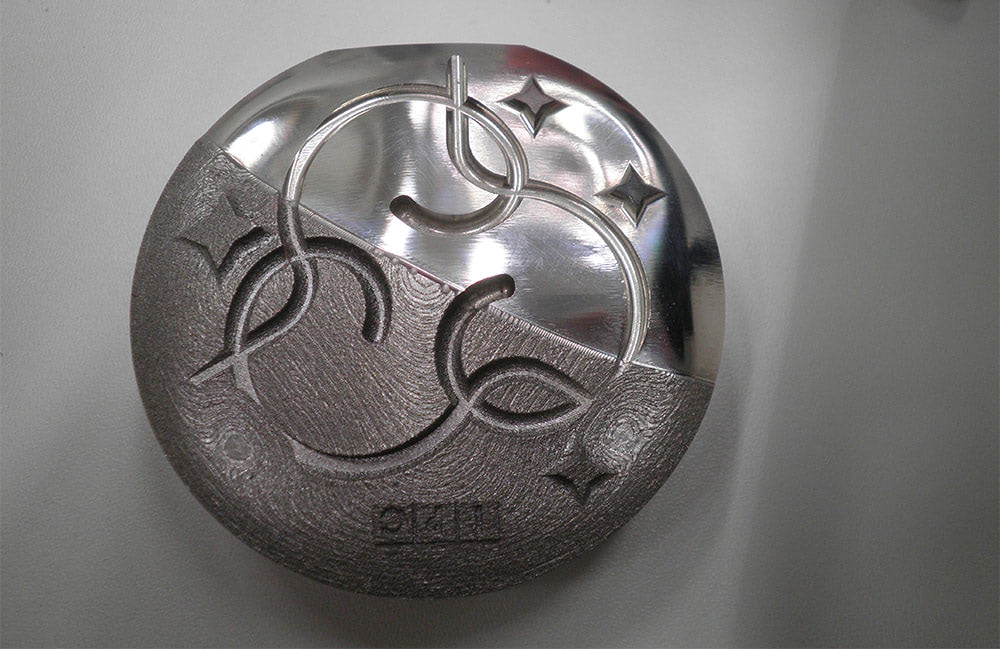
DMLS parts have good dimensionality and precision, but metal parts are sometimes used in applications with no room for error. It’s not uncommon to finish metal 3D prints with some CNC machining, milling, turning, engraving, or tapping; a CAD model is used to take parts within specified tolerances. For parts that are irregular or organic, it can be difficult to mount them to the bed of the CNC machine so sacrificial tabs may be modeled onto a part that can serve as mount points for machining and then be cut off afterwards.
Advanced Heat Treatments
The density of a metal print is high, though not quite 100%, but a process called hot isostatic pressing (HIP) can get it there. The combination of even heat and pressure pushes out the microporosity, resulting in a completely solid part. This is a rather expensive step if you don’t own the very expensive equipment to do it yourself.
Surface Treatments
The semi-rough surface of DMLS prints is not appropriate for all applications. Depending on how the part will be used, it may need to have its edges filed, channels smoothed, or faces buffed and polished.
Inspection
After all that, many metal 3D prints must be subjected to a high level of scrutiny. If this is a critical part on an airplane, it needs to pass some tests to prove it’s up to the task. Typical nondestructive testing can include white/blue-light scanning, dye-penetrant testing, ultrasonic testing, and computed tomography (CT) scanning for parts that have internal cavities and lattice structures. If everything checks out, the part is shipped to the customer.
While metal 3D printing is certainly more automated and efficient than traditional manufacturing, it’s still not as easy as pressing one button to get a metal print. The amount of post processing required is off putting to some producers and manufacturers. Of course, there are plenty of companies creating novel solutions to simplify these steps, which we’ll be covering in the future. Stay tuned!
Featured image courtesy of NAVAIR Lakehurst Prototype Manufacturing Division


