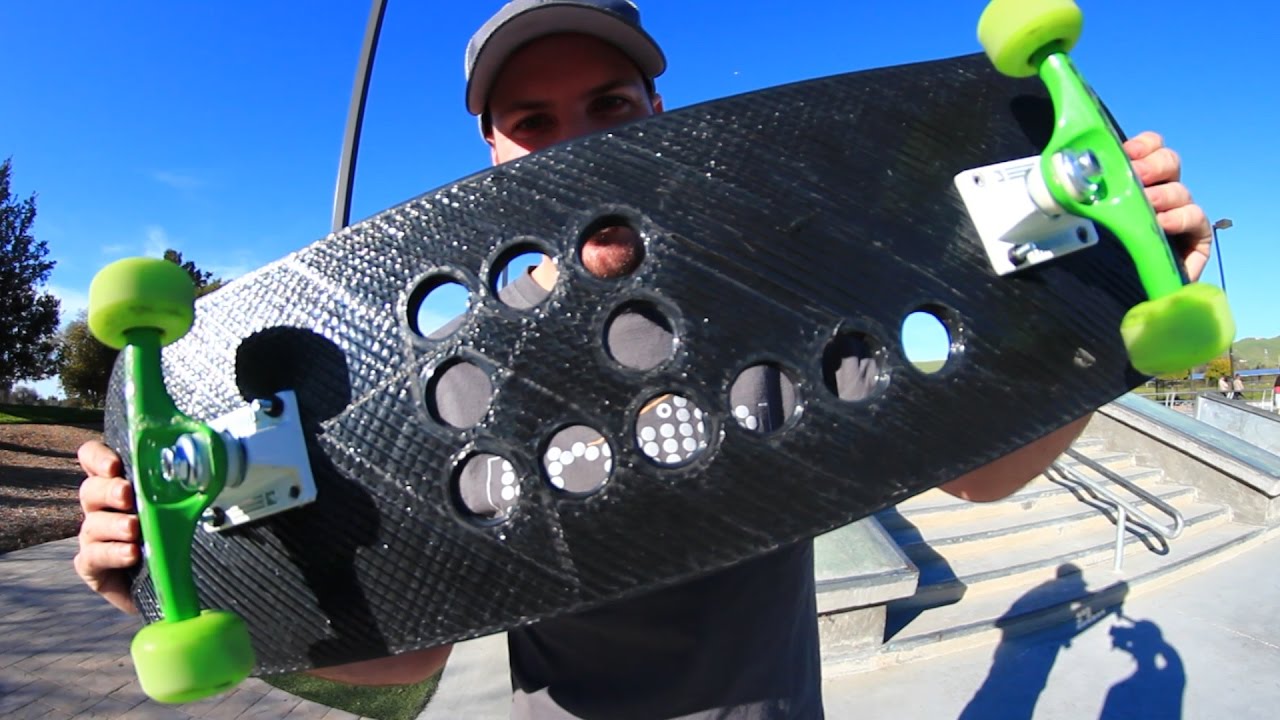
Braille Skateboarding is a well known skate brand with a massive following on YouTube. They have this format called ‘You make it we skate it’ and we were lucky enough that put our 3D printed skateboard deck to the test.
In the video description they refer to our 3D printed skateboard as “one of the highest quality 3D printed boards” they have tested yet. The skateboard is quite heavy but they managed to pull off quite a few tricks. Eventually, they end up breaking the board but it looks pretty cool while it lasts.
The Skateboard
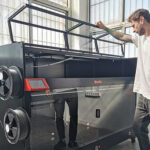
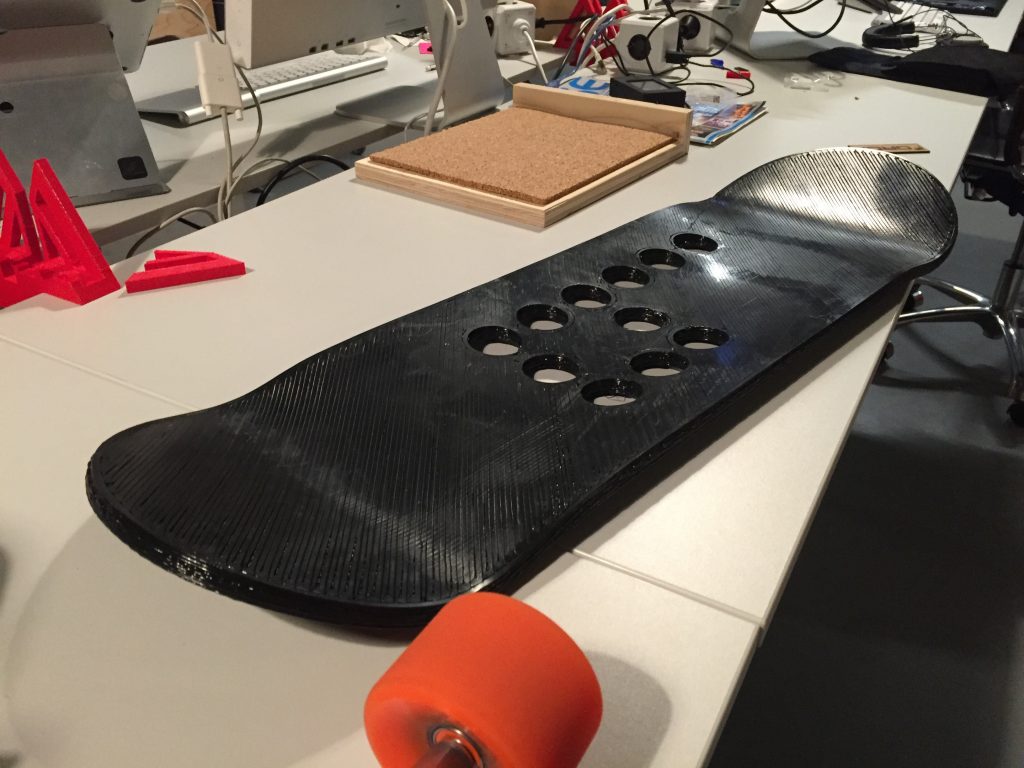
We printed the board on a DeltaWASP 3MT, an enormous 3D printer with a 1 x 1 x 1 meter build volume. It was printed with up-cycled PLA pellets manufactured by Formfutura. Due to the pellets being up-cycled, the material costs came down to only a few dollars per deck. The board weighs about 10 pounds, which is quite heavy in comparison to a normal skateboard.
PLA has a bad rep when it comes down to strength and durability. Though when you print PLA with a pellet extrusion 3D printer, with a huge three millimeter nozzle and a 1mm layerheight, suddenly the interlayer bonding improves and printed PLA gets kick ass strength and durability. It also enables you to print really fast: e.g a 10 lbs. deck in four and a half hours.
As far as we know, this is the only single-print skateboard deck. All others we know of are made of multiple separately printed parts. This gives it a unique design but it also means that the board requires some complex post-processing.
The Process
The board was originally printed flat. In order to give it the proper concave shape, we had to soften up the board and then insert it into a mold. To do this, our workshop developed a wooden mold (shown below). The purpose of the mold was to press down on the plastic and shape the skateboard once it was between the 3 pieces.
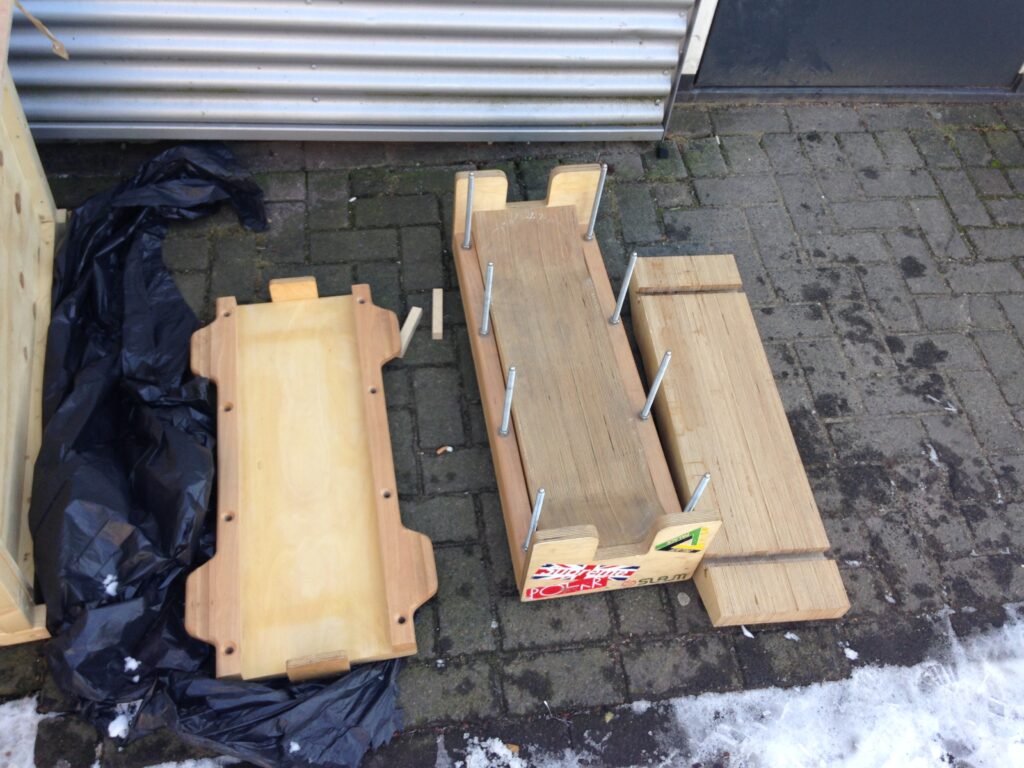
We had to soak the board in boiling water for about 20 minutes to get a proper flexibility. Because of this time period, we had to create a makeshift pool to keep the board submerged and simultaneously warm up the water at various intervals. After many designs, we decided to use black plastic bags and tape. We stuck the bags into the sides of the mold so it could contain the water.
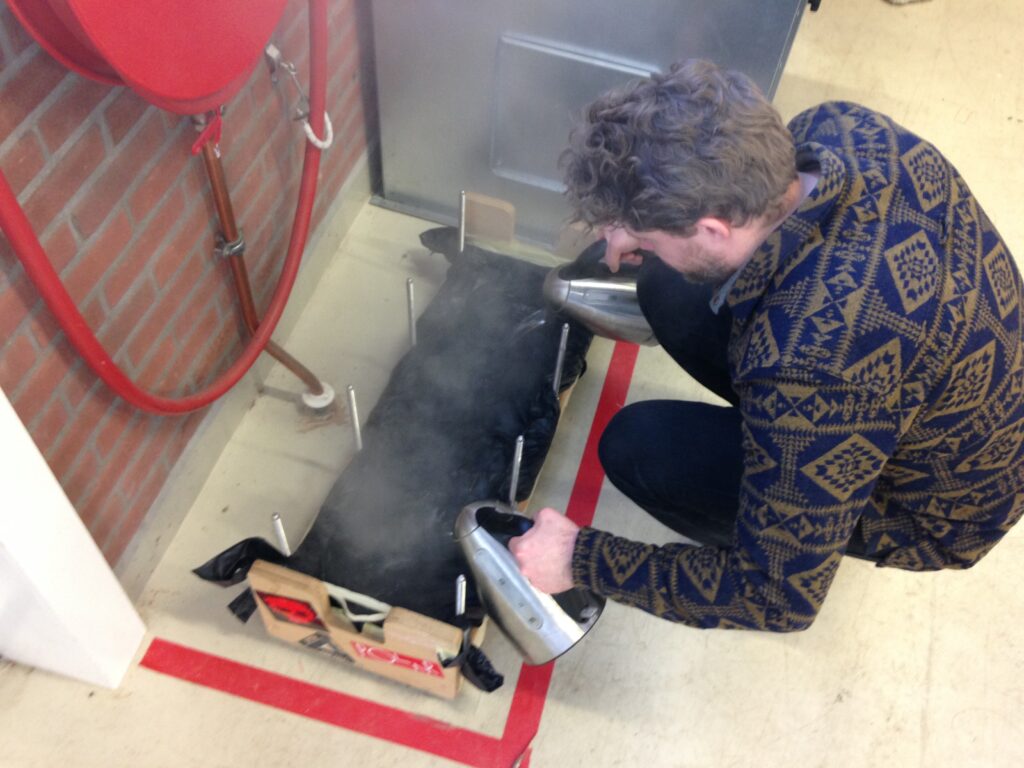
Once the 20 minutes had passed, we took out the board. It was surprising to see just how loose and floppy it had become. Then, we needed to bolt down the cap on top and let it take shape. In 5 minutes, the board cooled down and was in its proper form. The bends were now indented into the structure and we only needed to attach the wheels.