What is ZBrush?
ZBrush offers advanced tools for today’s digital artists. With the ability to sculpt up to a billion polygons, the menus in ZBrush work together in a non-linear and mode-free method, ZBrush allows you to create limited only by your imagination. ZBrush gives you all of the tools needed to quickly sketch out a 2D or 3D concept and then take that idea all the way to completion. You can create realistic renders directly in ZBrush with the option to add lighting and atmospheric effects.
3D modeling is the process of creating a 3D representation of any surface or object by manipulating polygons, edges, and vertices in a simulated 3D space. A polygon is a plane shape with straight sides. Polygons are 2-dimensional shapes. They are made of straight lines, with a closed shape. Models can be cut up, combined, and shaped to fit other models. They can also be modified in a huge number of ways. ZBrush can be confusing especially if you are new to it and it has a bit of a learning curve. This program is used for creating high-resolution models for use in movies, games, and animations.
Before you start with ZBrush
Before you install ZBrush, you’ll need a computer with the right system specs. Here you will find a list of the system requirements for your computer. A tablet is a must have to draw and make fantastic designs and detailed creations.
What can I do with ZBrush?
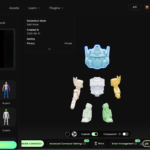
You can start with sketching ideas in paintstop and set the drawings as reference planes. One of the best features in ZBrush is Zspheres. Zspheres is a feature that allows you to make basic forms very easily. Here you see a simple example.
You are able to create skeletons for your characters with the help of Zspheres.
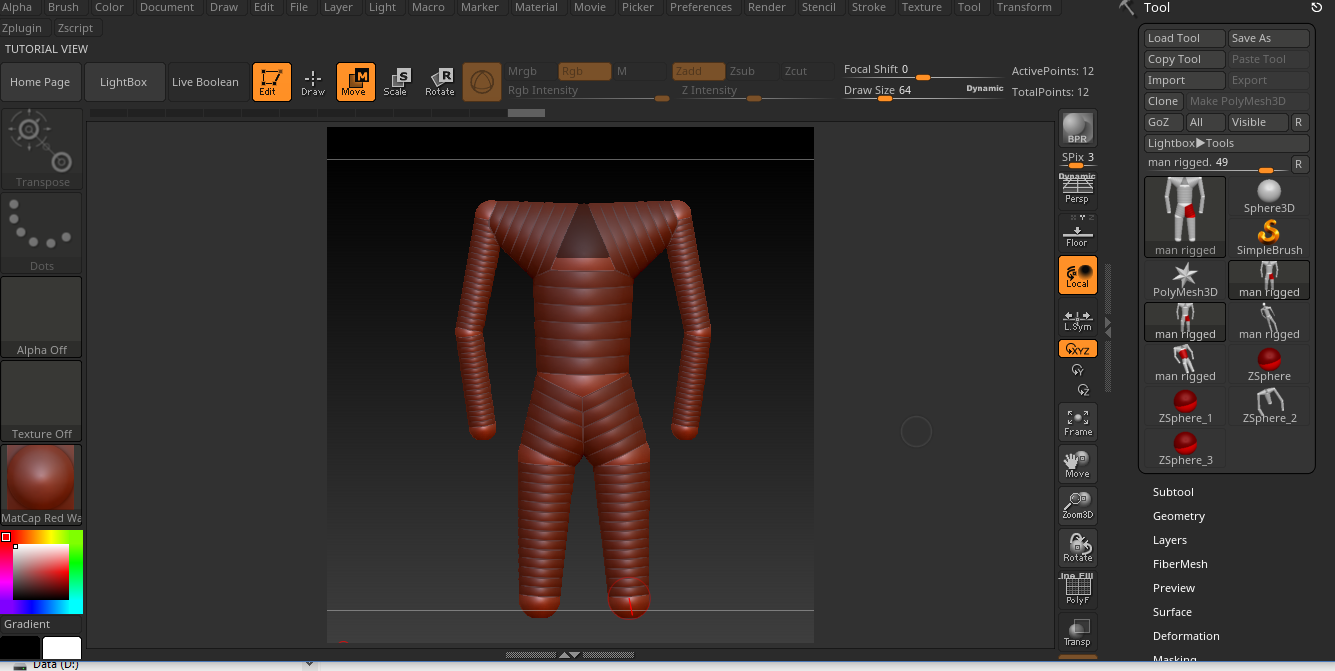
You can move the spheres in the joints very easily and scale your parts up and down.
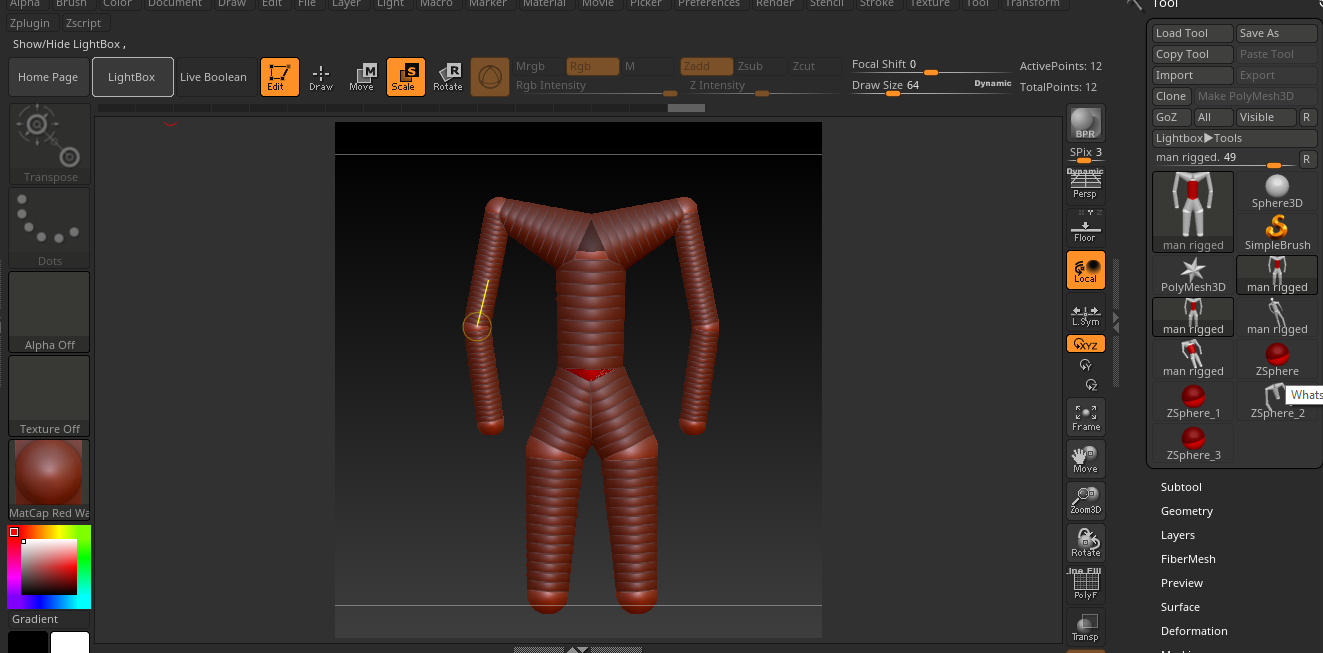
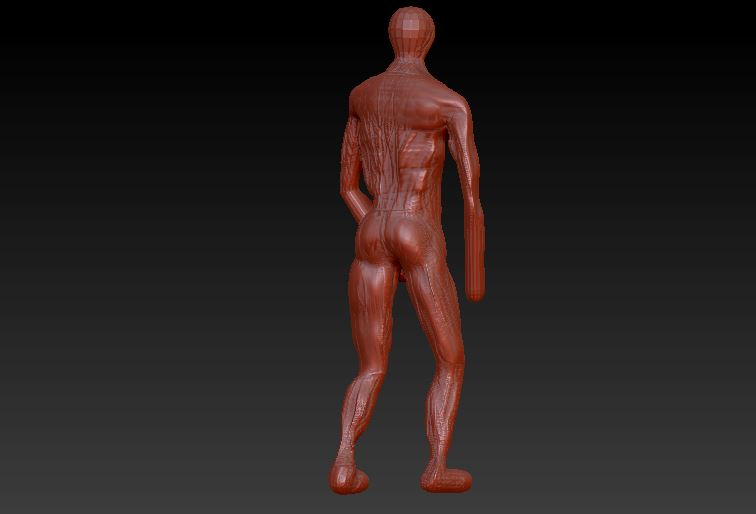
After you made the skeleton you can select buildupclay in the brush menu and add some mass to your base mesh. This was een quick and dirty build up which took me roughly 10 minutes. (I was only using a mousepad hence, the quality).
Setting up reference in the image plane
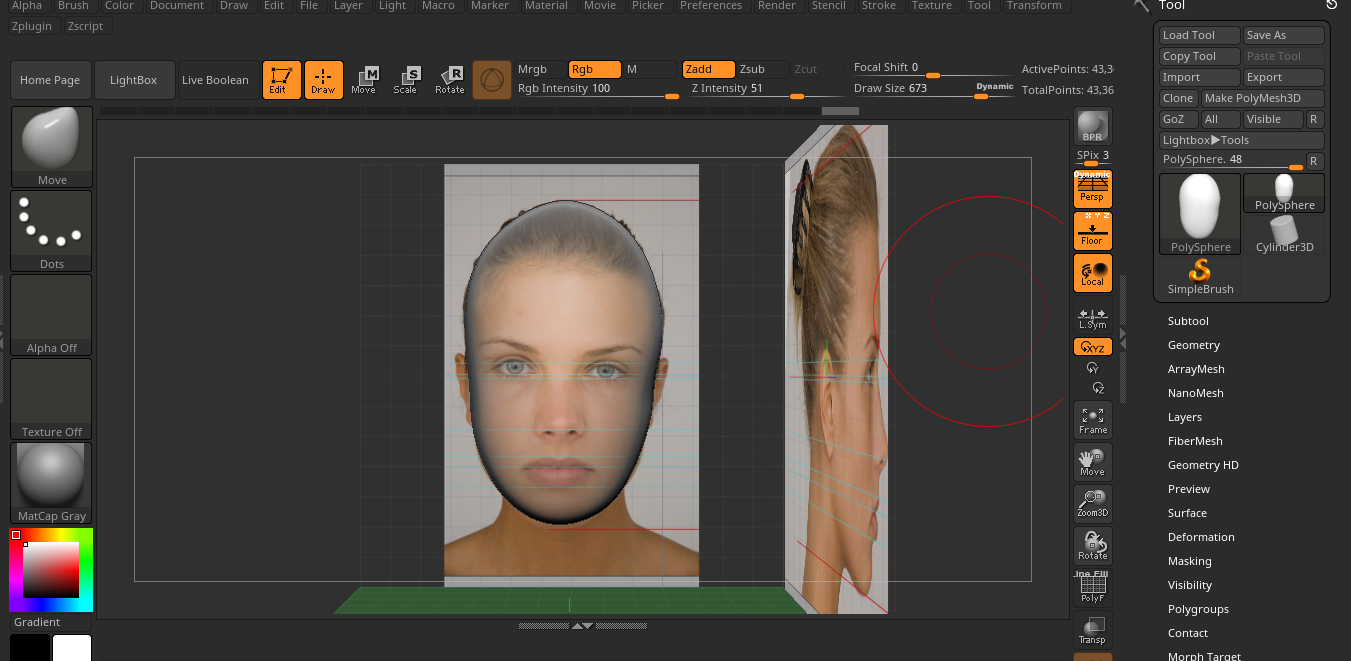
ZBrush allows you to set up references in any plane to enhance your workflow.The most used combination to set up reference in the image plane is one image at the front view and one image in the side view. You can set up your own reference planes following these steps.
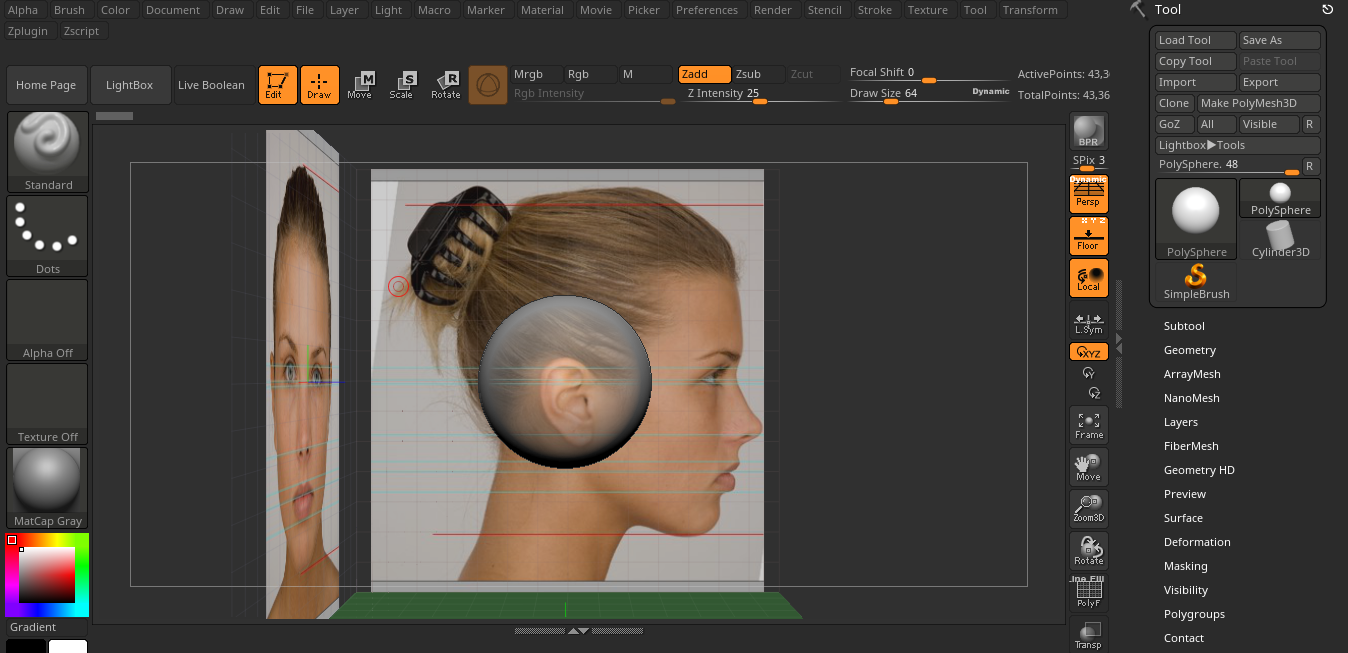
Select a sphere in lightbox. Make sure ‘dynamic perspective’ and ‘floor’ is on in the XYZ.
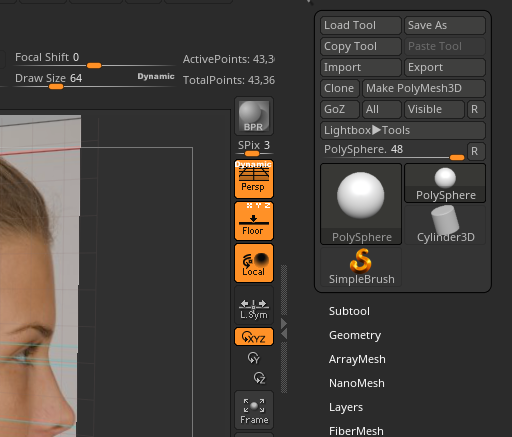
If you want to set the reference plane for front like i did. Hoover over the top menu and click ‘draw’ and scroll down. left/right>map1>import and import any image you like.

To set up the side view draw>left/right>map1>import.
Start tweaking the clay and experiment. Use the move brush. You can select this brush by pressing b+m+t on your keyboard this combination is the hotkey for the move brush. Press s on your keyboard to adjust the size of your brush.
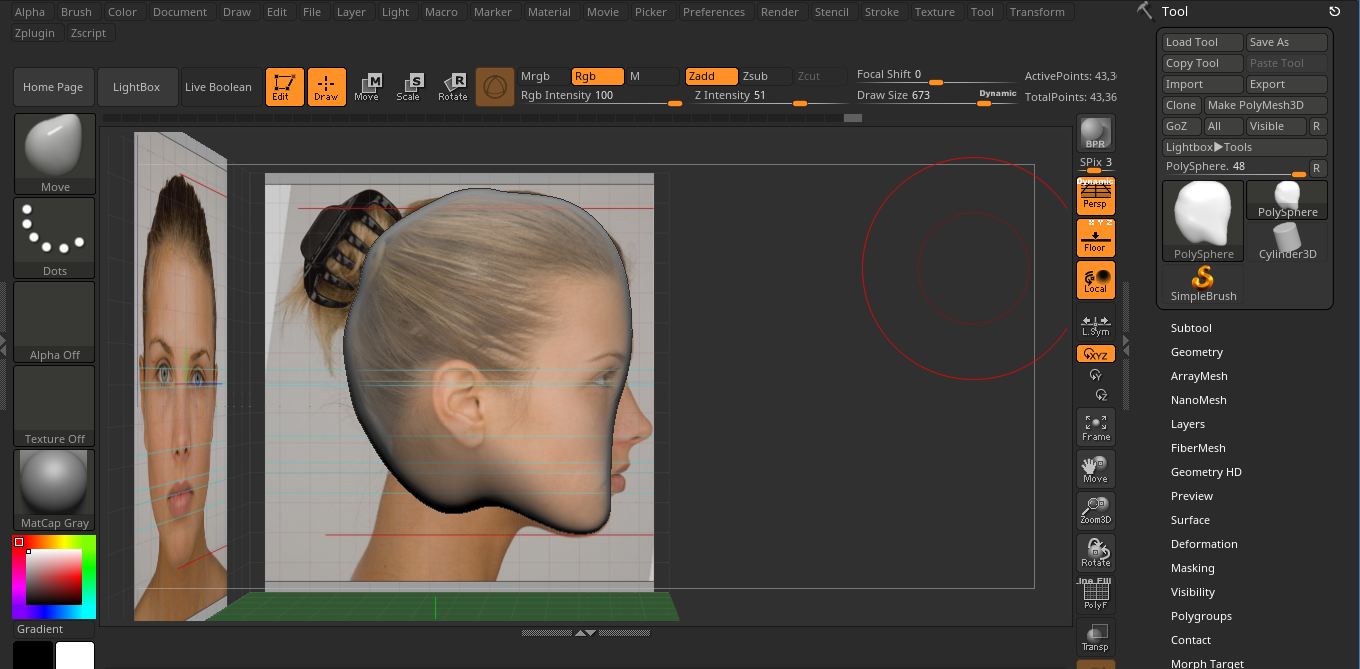
Doing this will leave us with the rough proportions of the model’s head.
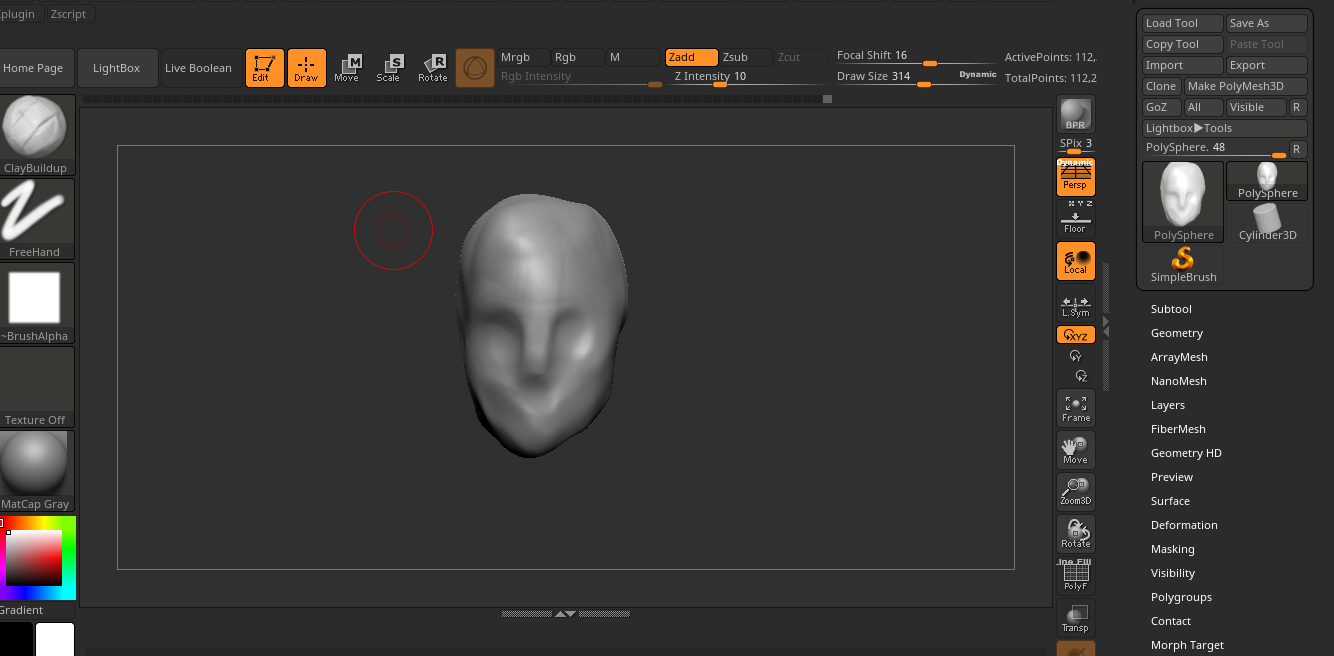
Few strokes of clay build-up, you can select this brush in the brush menu by pressing b on your keyboard, and now you can finally recognize a face in the grey mass.