Every resin 3D print comes off the build plate coated in liquid, uncured photopolymer resin that is toxic, sticky, and fragile. Before a print is usable it needs two things: washing to remove that surface resin, and UV curing to fully harden the model and develop its final mechanical properties. A dedicated wash and cure station handles both steps automatically, replacing messy jars of IPA and improvised UV setups with a controlled, repeatable process. The right station depends almost entirely on your printer size. A station sized for a Mars or Photon will not fit prints from a Saturn or Jupiter. This guide covers every category from compact budget units through to professional-grade systems, with verified specifications and honest assessments of each pick’s limitations alongside its strengths.
Quick picks
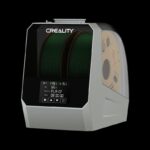
Best budget wash and cure station
The budget category is defined by printer size as much as price. Compact stations sized for printers up to 7.3 inches are inherently cheaper because their tanks are smaller, and for anyone printing on a Mars 4, Photon Mono 4, or similar small-format machine they are a perfect fit. The honest limitation is that a basket sized for a 7.3 inch printer simply cannot fit prints from an 8.9 inch or larger machine. If your printer is in the small-format category and you want the most capable station at the lowest price, the following picks are the right starting point.
Also consider
Best overall wash and cure station
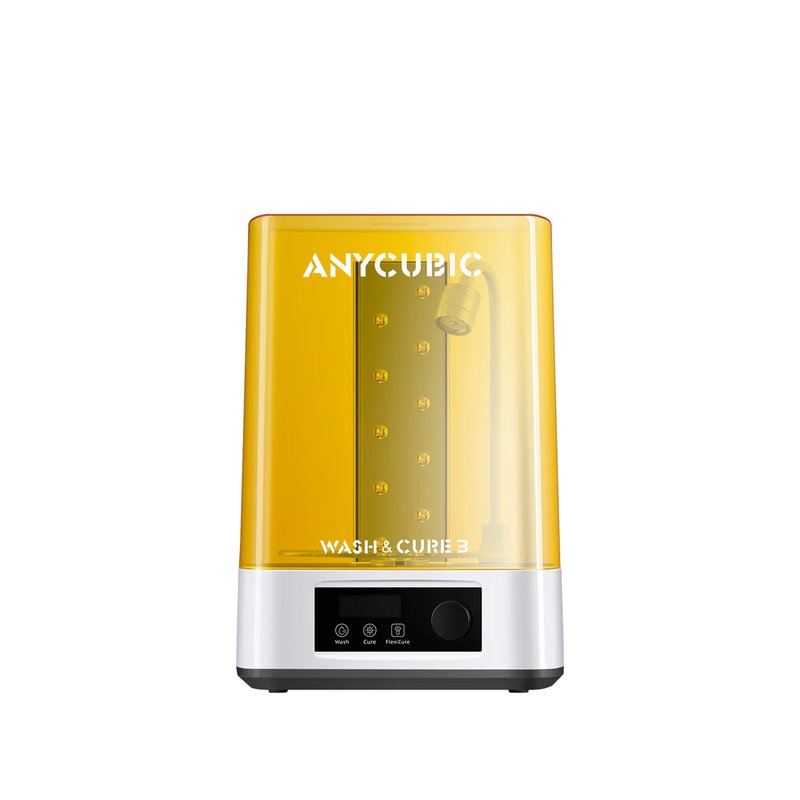
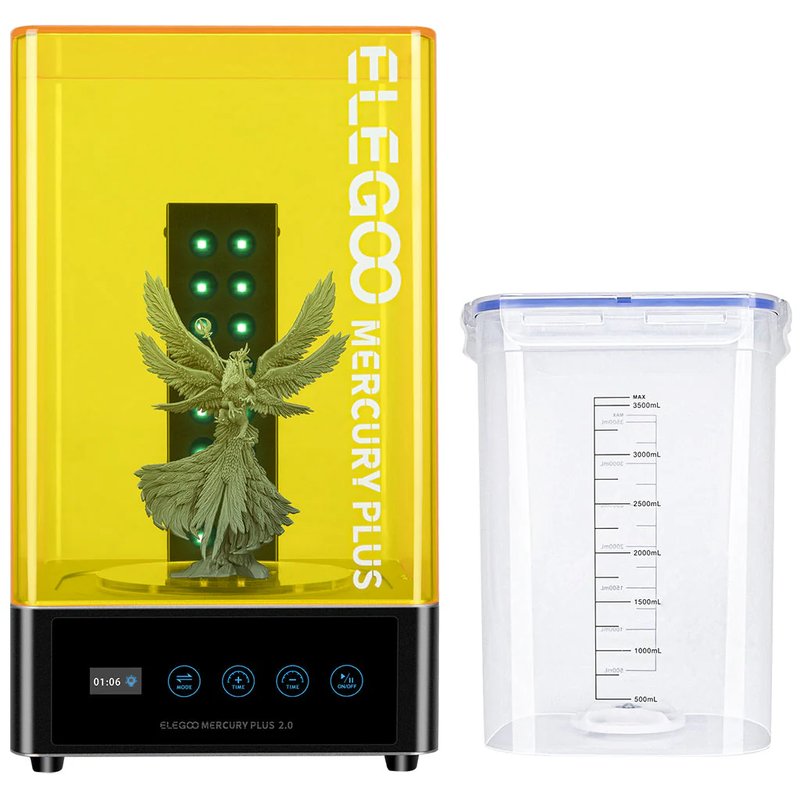
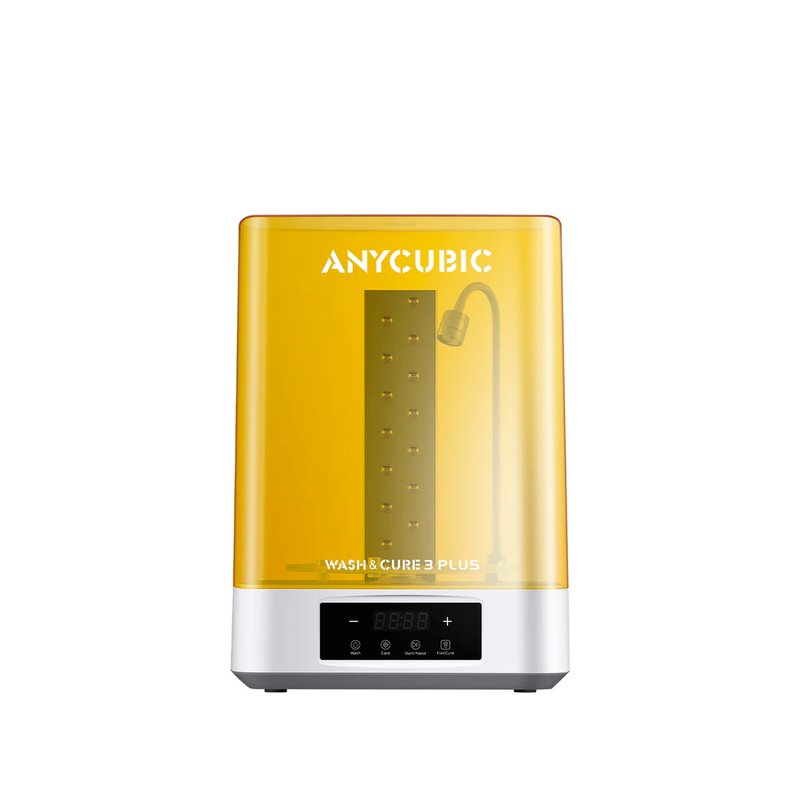
For most resin printers using machines in the 8.9 to 10.6 inch range, a mid-size 2-in-1 station is the right default choice. These stations balance wash capacity, cure quality, and footprint in a way that suits the majority of home and small workshop setups. The key specification to check is the maximum wash size, which must accommodate your printer's full build plate, and the curing chamber size, which must fit your tallest prints. A touchscreen or digital display is a meaningful quality-of-life upgrade over a simple knob for anyone running multiple resins that need different wash and cure times.
Also consider
Best separate wash and cure stations
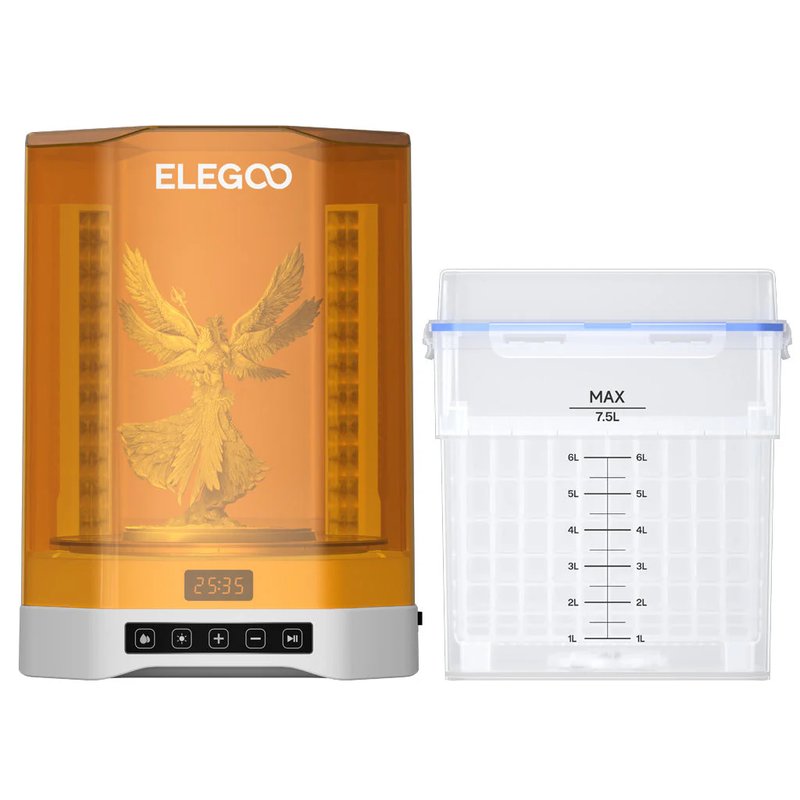
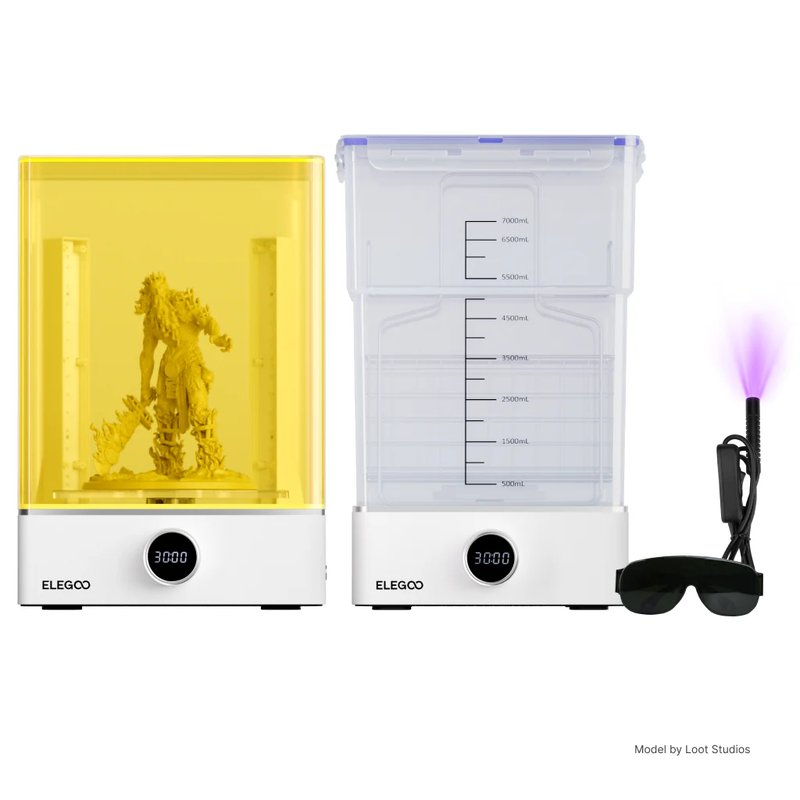
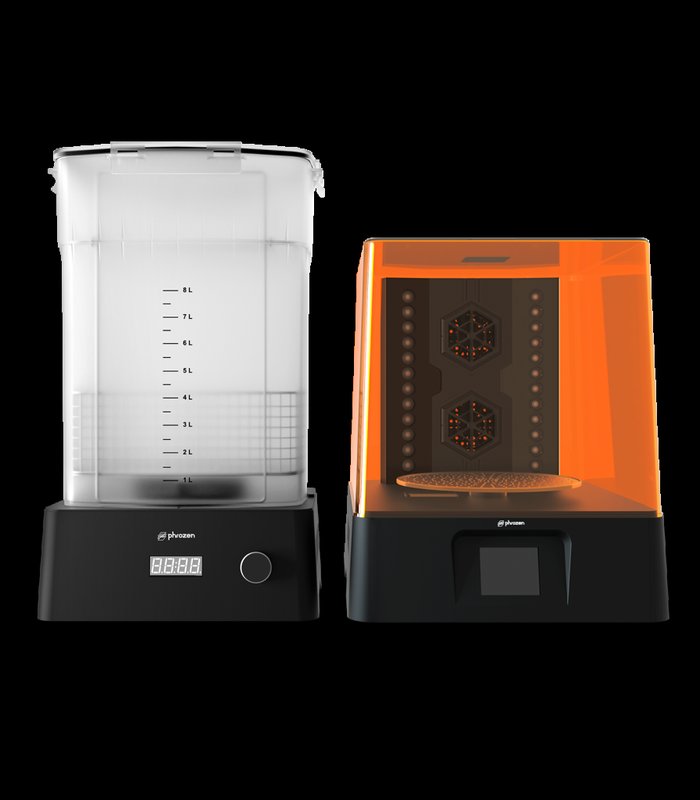
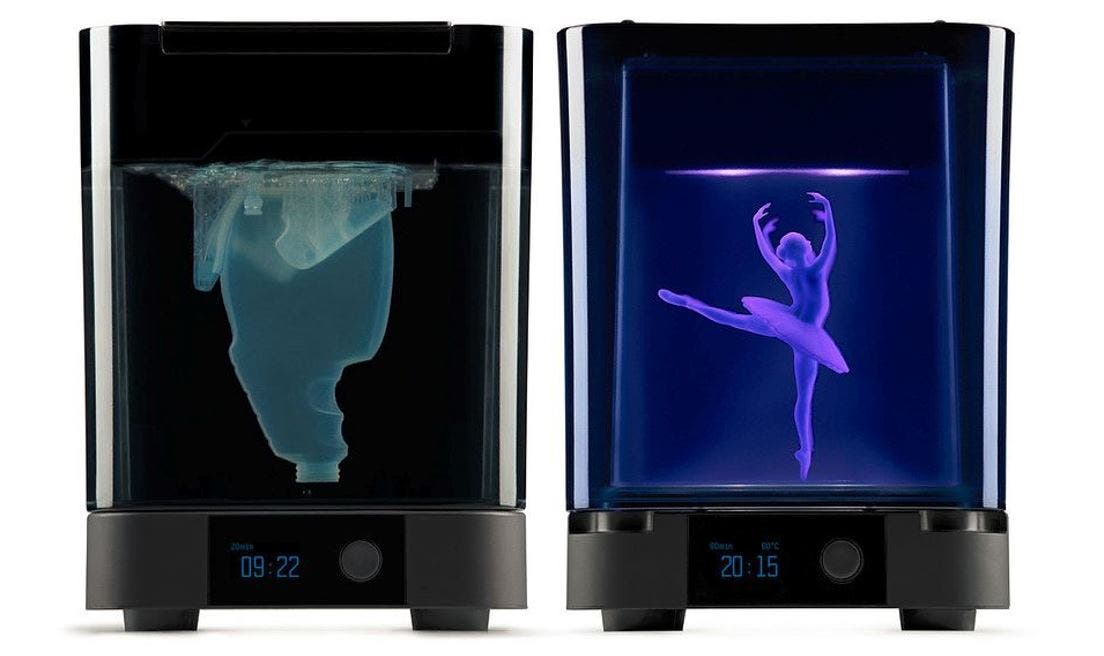
Separate wash and cure stations mean washing and curing can run simultaneously on different prints, doubling throughput for anyone printing frequently or with multiple printers. There is no need to reassemble or swap the turntable between modes. The trade-off is desk space: two units occupy significantly more room than a 2-in-1. For casual users, a 2-in-1 is the right choice. For anyone printing daily, running a Saturn or larger machine, or producing prints for sale or commission, the workflow efficiency of separate units is worth the extra footprint.
Also consider
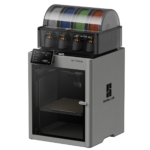
Best 3-in-1 automated station
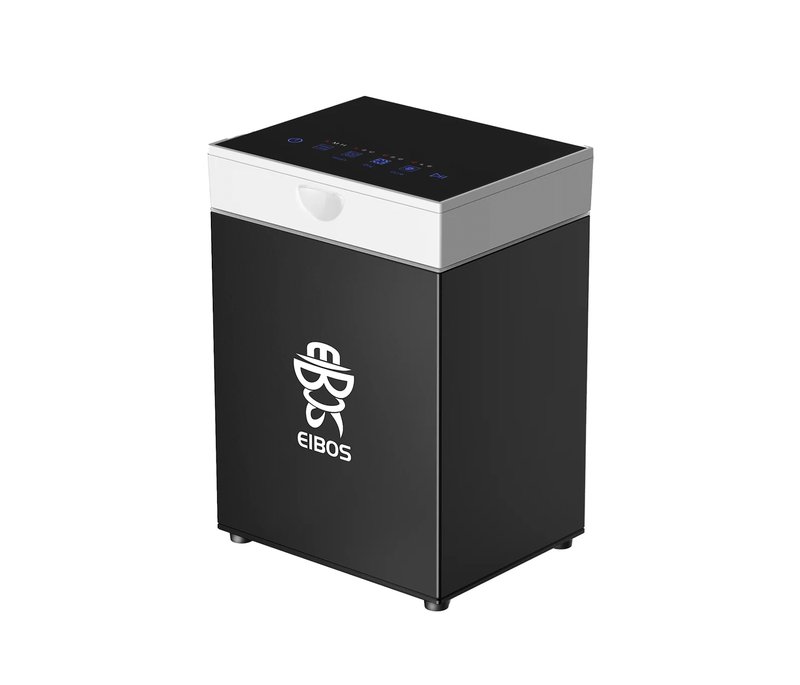
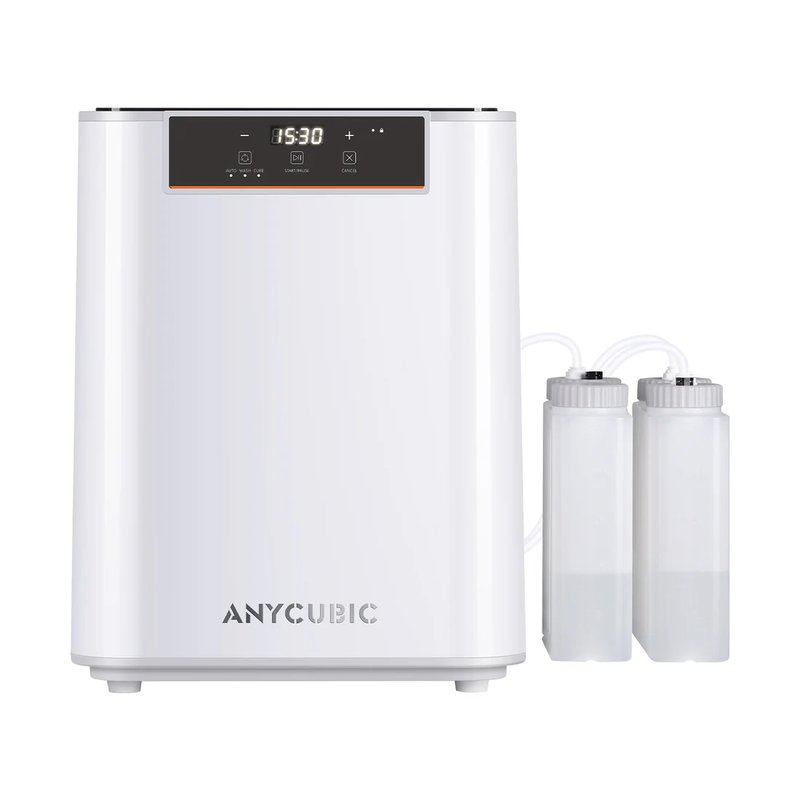
Standard wash and cure stations require you to handle the print at each stage: remove it from the printer, place it in the wash basket, remove it again after washing, let it drip dry, then transfer it to the curing station. A 3-in-1 automated station compresses all of that into a single sequence. You place the print inside once, set the cycle, and the machine washes, dries, and cures in sequence without intervention. This approach meaningfully reduces resin contact during handling, cuts airborne IPA vapour exposure, and removes the possibility of mishandling a soft, freshly washed print before it cures. The category requires understanding one important constraint: automated stations tend to have smaller cavities than manual ones because the engineering of auto-fill and auto-drain systems takes up internal space.
Best large format wash and cure station
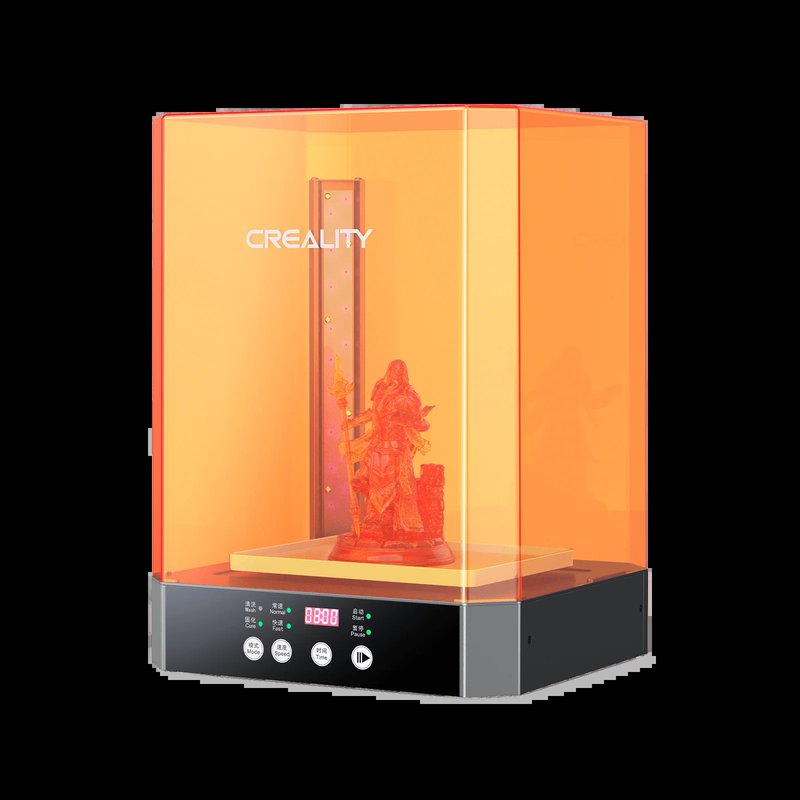
Large-format resin printers with build volumes above 10 inches create a specific problem: every standard wash and cure station on the market is too small to fit their full build plate. Users running a Photon Mono M7 Max, Jupiter, Phenom, or similar machine have historically been forced to wash massive prints in improvised Tupperware containers and cure them under DIY UV setups. Dedicated large-format stations are the answer, but they are large, heavy, expensive, and require dedicated bench space. If you are committing to a large-format printer, budgeting for a proper post-processing station is not optional.
Also consider
Best professional wash and cure station
Professional post-processing requirements are fundamentally different from hobbyist ones. Dental labs must meet regulatory standards for biocompatible resin curing. Engineering teams need validated, repeatable cure cycles for functional prototype materials. Production studios need reliable automated workflows that run unattended across multiple printers without intervention. Consumer stations can approximate these needs but cannot meet them reliably. The professional category is defined by validated presets, documented material traceability, and engineering depth that consumer stations simply do not provide.
How to choose a wash and cure station
Match the station to your printer size before anything else
The most important specification is the maximum wash size, which must be large enough to fit your printer's full build plate. Check the wash basket dimensions, not the total bucket volume, because only the basket area is usable for holding prints. A station sold as 7L total may have a basket that only fits printers up to 7.3 inches. When in doubt, measure your build plate and check the maximum wash size in the station's spec sheet before purchasing.
2-in-1 versus separate units versus 3-in-1
A 2-in-1 station converts between wash and cure mode on the same base, requiring you to swap the turntable insert. This is the right choice for most casual and intermediate users. Separate units allow washing and curing to run simultaneously on different batches, which is meaningful if you print frequently or run multiple printers. A 3-in-1 automated station handles washing, drying, and curing in sequence without your intervention, which is best for users who want minimum resin handling but comes with a smaller cavity. Do not choose a 3-in-1 if your printer produces prints that are larger than the Oceanus cavity of 175 x 125 x 160mm.
Why drying before curing matters
Placing a wet, freshly washed print directly into a UV curing station without drying first causes surface defects. IPA or water sitting on the surface during UV exposure can scatter the light unevenly, leaving tacky patches or creating a slightly cloudy surface finish on transparent resins. The standard process is to let prints air dry for a few minutes after washing, or use a fan. Stations that include a fan drying mode, such as the Phrozen Wash and Cure Kit, handle this step automatically and eliminate the wait.
IPA concentration and replacement frequency
For washing standard resins, use isopropyl alcohol at 90% concentration or above. Lower concentrations contain too much water to effectively dissolve uncured photopolymer. IPA becomes visibly amber and cloudy as it accumulates dissolved resin. For moderate users, plan to replace it approximately every 30 models or when it noticeably darkens. Spent IPA should be left uncovered in sunlight for several hours to cure the suspended resin particles before disposal. Never pour uncured resin-contaminated IPA down a drain. Water-washable resins use water instead of IPA but follow the same degradation pattern: replace when it becomes visibly milky and no longer produces clean surface results.
UV wavelength and curing completeness
Virtually all consumer MSLA, DLP, and SLA resins cure at 405nm. Every station in this guide uses 405nm UV LEDs. What varies is the irradiance, which is how much UV energy reaches the print surface per unit of time. Higher irradiance means faster curing and more thorough cross-linking deep in the model. Consumer stations typically describe their curing quality in relative terms, while professional stations like the Formlabs Form Cure quote specific mW/cm² figures. For most consumer resins, any 405nm station in this guide will produce a fully cured print within the recommended time. The Formlabs Form Cure V2 at 14.5 mW/cm² is in a different class and is relevant specifically when working with engineering resins that require both UV and heat to reach their rated mechanical properties.
Wash and cure station comparison
Frequently asked questions
Do I need a wash and cure station or can I use a jar and sunlight?
You can get by without one, and many people do initially. Washing in a sealed jar of IPA and curing under sunlight or a cheap UV lamp works well enough to produce usable prints. The reasons to upgrade to a dedicated station are: more consistent results because sunlight UV varies with cloud cover and angle, faster curing from purpose-built LED arrays, better cleaning from motorised agitation versus manual stirring, significantly less direct resin and IPA contact, and a cleaner workspace overall. If you print occasionally, a jar and a UV lamp is fine. If you print regularly, a station pays for itself quickly in time saved and in improved print quality.
Can I use a wash and cure station with any resin brand?
Yes. Every station in this guide is compatible with any 405nm photopolymer resin regardless of brand, including Elegoo, Anycubic, Phrozen, Siraya Tech, Bambu, and others. The 405nm wavelength is the industry standard for consumer MSLA and DLP resins. The Formlabs Form Wash and Form Cure are also compatible with third-party 405nm resins, though their validated presets and material traceability only apply to official Formlabs materials. For dental and biocompatible applications requiring certified post-cure documentation, Formlabs resins are required.
What is the difference between IPA and water-washable resins for post-processing?
Standard resins require isopropyl alcohol at 90% concentration or above to remove uncured surface resin. Water-washable resins contain additives that allow tap water to dissolve the uncured resin instead. Water-washable resins are gentler on hands and generate less flammable vapour, but the trade-off is that they tend to be slightly more brittle when cured and the spent wash water still contains resin particulates that must be UV-cured before disposal. Most wash stations work with both types; always check the manufacturer's recommendation for your specific resin.
How do I know when a print is fully cured?
A fully cured print should have a firm, non-tacky surface that does not deform under light pressure. Colour typically deepens or shifts slightly compared to the freshly washed, pre-cure appearance. If the surface feels sticky or soft after the cure cycle, the most common causes are too short a cure time, a cold environment (UV curing slows below 20°C), IPA moisture still on the surface from inadequate drying, or a resin that requires significantly longer cure times than the default setting. Extend cure time in two-minute increments until the surface firms up. Do not dramatically over-cure: extended UV exposure beyond manufacturer recommendations causes prints to become brittle.
Can I cure supports still attached, or should I remove them first?
Both approaches work but each has a trade-off. Curing with supports attached makes them harder to remove cleanly because the support tips cure onto the model surface. Removing supports before curing is easier and leaves cleaner break points, but requires handling a partially hardened print which can be fragile. Most experienced resin users remove supports after curing rather than before, accepting slightly more effort at removal in exchange for a print that is fully hardened and less likely to flex or break during the support removal process. For thin-walled or delicate models, removing supports before curing is safer.
What safety precautions are needed when washing resin prints?
Uncured photopolymer resin is a skin sensitiser and should not contact bare skin. Wear nitrile gloves for all handling of freshly printed parts and during IPA contact. Work in a well-ventilated area or use a carbon filter enclosure to manage IPA vapour, particularly during washing. Never pour uncured resin-contaminated IPA down a drain as it is harmful to aquatic environments. Cure spent IPA in direct sunlight with the lid off until the resin particles solidify, then dispose of the cured sediment and remaining IPA as chemical waste according to your local regulations. UV light at 405nm is damaging to eyes and skin; always ensure the UV blocking cover is in place during curing and never look directly at the active LED array.