3D Printing
News Videos Newsletter Contact us
Home / How to / Convert An Old Mouse To A Nifty Filament Counter
qidi

Convert An Old Mouse To A Nifty Filament Counter

December 13, 2016

Filament Counter

Remember that old mechanical ball PS/2 mouse that’s been gathering dust in your drawer/attic for the last ten years? It might be time to wipe off that dust because there’s actually a really practical use for your vintage mouse if you like to 3D print. A project over at Hackaday has described how one can convert a PS/2 mouse into a filament counter for 3D printing.

Related Story
How to Fuse Filament at Home

Finding out how much filament you’ve used up on a particular print can be quite an eye-opening experience. But it can also be quite economical to keep accurate track of how much filament you use per print, even if the initial results might depress you slightly. Knowing the quantity of filament expended on your prints has the inevitable effect of improving these prints because you’ll put more emphasis on getting it spot-on. This means less wasted filament and smarter printing.

The Process

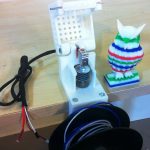
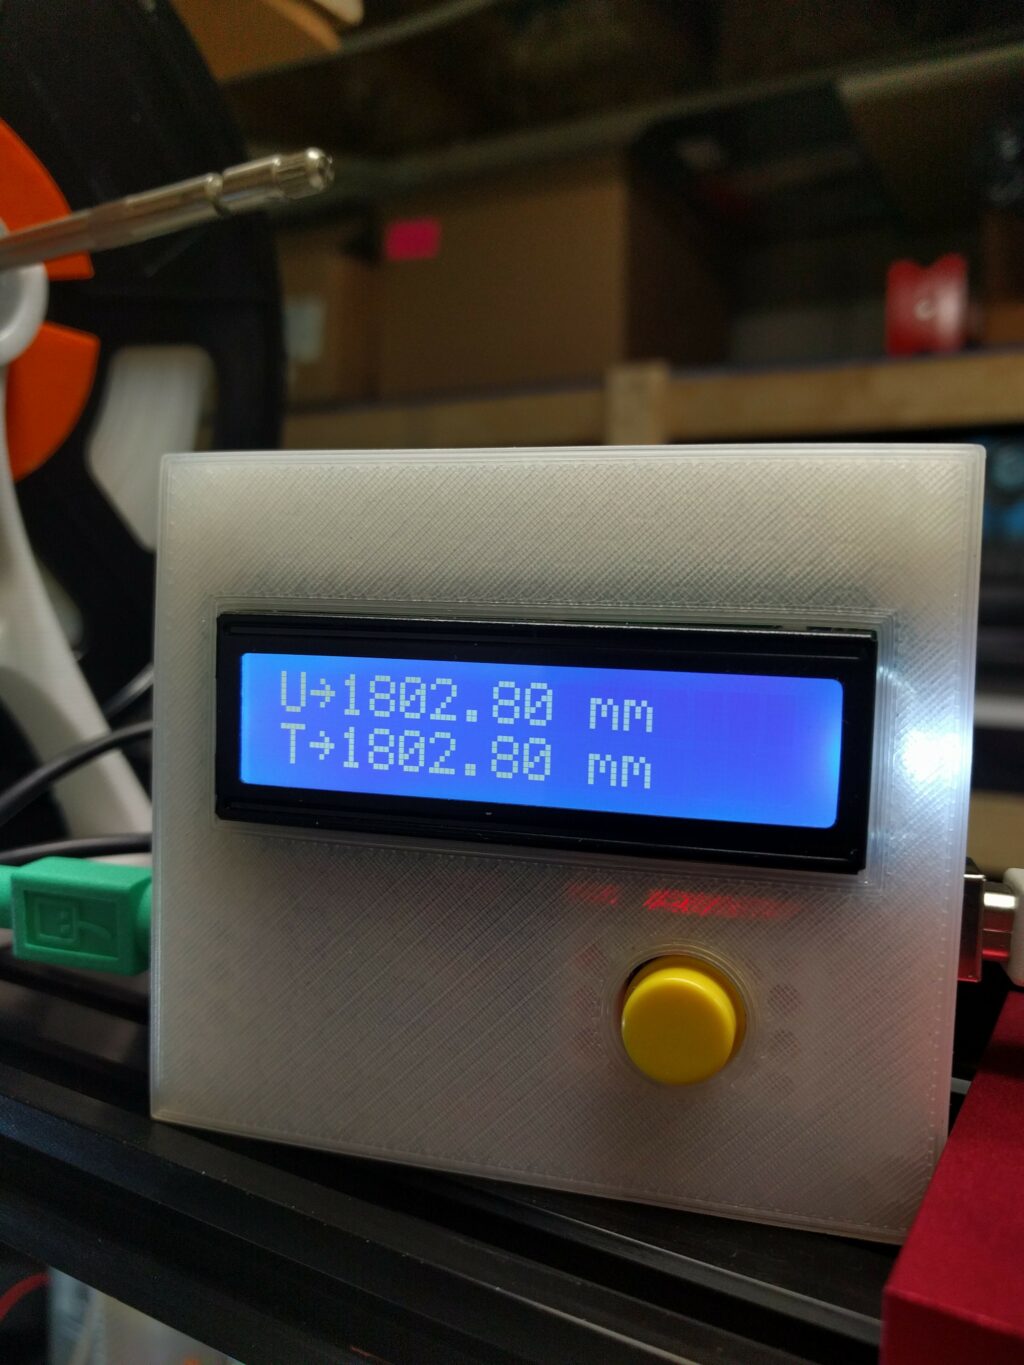
So how exactly do you make a filament counter using a PS/2 mouse? The process begins by stripping down the mouse to its bare essentials and mounting it on a bracket, as per the above image. An Arduino microcontroller is used to communicate with the mouse, displaying the filament count on a small LCD screen.

The filament counter works by connecting the mouse’s encoder wheels to a filament roller. As the filament makes its way to the extruder, the mouse’s electronics process the movement of the encoder. The Arduino unit keeps track of this movement and cumulatively adds up the total filament used. The counter works in both directions, making it extremely practical. When the filament is retracted, this is subtracted from the total figure displayed on the LCD.

Non-Planar FDM 3D Printing
Related Story
No Layer Lines With Non-Planar FDM 3D Printing

There are two distinct rows on the LCD display. The “U” row measures current filament usage in millimeters. The “T” row represents the total filament usage since you began counting. There is also a nifty reset button. One click lets you start the current usage row from zero, which is useful for each new print. A double-click lets you reset the total row for when you’ve moved on to a new roll of filament.

As a result of this quick and easy hack, you can now accurately record how much filament you use when 3d printing. Dedicated filament counters tend to be quite pricey, and they aren’t always accurate. Converting your old PS/2 mouse into a tool for keeping track of filaments is not only practical, but it’s cheap and arguably more accurate.  If you’d like to take a look at the process in motion, check out the below video.

Share:
WhatsApp Twitter Facebook LinkedIn Buffer Reddit E-mail
About the author | Ronan M.
Ronan loves the small pleasures in life such as the first cup of morning coffee and the cold side of the pillow. His other passions include soccer, Thai food, and music.
Join our newsletter

Our newsletter is free & you can unsubscribe any time.

Latest posts

Singapore Startup Creates Limited Edition 3D-Printed Collectibles from Recycled Plastic Bottles

Singapore-based startup Unigons has launched a limited collection of 3D-printed Merlion figurines made from recycled plastic bottles. The company produced 60 pieces of... read more »

News
Singapore Startup Creates Limited Edition 3D-Printed Collectibles from Recycled Plastic Bottles

Designer Uses Robotic 3D Printing to Create Dual-Purpose Dog Furniture

Designer Liam de la Bedoyere has developed the Dog Hut Side Table, a piece of furniture that combines a resting space for dogs... read more »

News
Designer Uses Robotic 3D Printing to Create Dual-Purpose Dog Furniture

Scientists 3D Print Solar-Powered Sponge for Seawater Desalination

Researchers have developed a 3D-printed aerogel material that uses sunlight to convert seawater into drinking water. The sponge-like structure contains microscopic vertical channels... read more »

News

Revopoint Launches Major Prime Event 2025 Sale with Up to 40% Off 3D Scanners and Accessories

Revopoint is kicking off its Prime Event 2025 with a series of major discounts on its range of professional 3D scanners and accessories.... read more »

News

Turkish Companies Test 3D Printed Component for Armored Vehicles

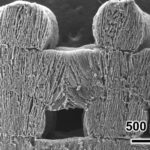
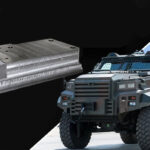
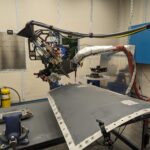
MetalWorm and Nurol Makina, both based in Ankara, Turkey, have completed testing of an armored vehicle component manufactured using Directed Energy Deposition (DED)... read more »

3D Printing Metal
Turkish Companies Test 3D Printed Component for Armored Vehicles

McGill Spinout Uses 3D Bioprinting to Create Tumors for Smarter Cancer Treatments

TissueTinker, a McGill University spinout company, has developed 3D bioprinting technology to create miniaturized tumor models for cancer drug testing. The company recently... read more »

Medical
McGill Spinout Uses 3D Bioprinting to Create Tumors for Smarter Cancer Treatments

University of Twente Awarded €13.6M for Research in Circular 3D Printing and Transparent AI

The University of Twente has received €13.6 million in funding from the 2024 NWA ORC program to lead two research projects focused on... read more »

News
University of Twente Awarded €13.6M for Research in Circular 3D Printing and Transparent AI

China’s 3D Printed Micro Turbojet Engine Completes Maiden Flight

The Aero Engine Corporation of China (AECC) has successfully completed the first flight test of its 3D-printed micro turbojet engine in Inner Mongolia... read more »

Aerospace
China's 3D Printed Micro Turbojet Engine Completes Maiden Flight

Laser-Assisted Cold Spray Technology Enhances Material Deposition Process

Researchers at the University of Cambridge's Center for Industrial Photonics have developed a new additive manufacturing technique called laser-assisted cold spray (LACS). The... read more »

3D Printing Metal
Laser-Assisted Cold Spray Technology Enhances Material Deposition Process

Social

  • Facebook Facebook 3D Printing
  • Linkedin Linkedin 3D Printing
Join our newsletter

Our newsletter is free & you can unsubscribe any time.

Featured Industries

  • Automotive
  • Aerospace
  • Construction
  • Dental
  • Environmental
  • Electronics
  • Fashion
  • Medical
  • Military
  • QIDI Tech Q1 Pro

    • - Print size: 245 x 245 x 245 mm
    • - 600mm/s max speed
    More details »
    $449.00 QIDI Store
    Buy Now
  • Snapmaker Artisan Premium 3-in-1

    • - Print size: 400 x 400 x 400 mm
    • - comes with enclosure
    More details »
    $2,999.00 Snapmaker
    Buy Now
  • QIDI Plus4

    • - Print size: 305 x 305 x 280 mm
    • - print temperature of 370°C
    More details »
    $799.00 QIDI Store
    Buy Now
  • QIDI Tech X-Max 3

    • - Print size: 325 x 325 x 315 mm
    • - fully enclosed
    More details »
    $799.00 QIDI Store
    Buy Now

Company Information

  • What is 3D Printing?
  • Contact us
  • Join our mailing list
  • Advertise with us
  • Media Kit
  • Nederland 3D Printing

Blog

  • Latest News
  • Use Cases
  • Reviews
  • 3D Printers
  • 3D Printing Metal

Featured Reviews

  • Anycubic Photon Mono M5s
  • Creality Ender 5 S1
  • The Mole 3D Scanner
  • Flashforge Creator 3 Pro

Featured Industries

  • Automotive
  • Aerospace
  • Construction
  • Dental
  • Environmental
  • Electronics
  • Medical
  • Military
  • Fashion
  • Art
2025 — Strikwerda en Dehue
  • Home
  • Join our mailing list
  • Contact us
Blog
  • Latest News
  • Use Cases
  • Reviews
  • 3D Printers
  • 3D Printing Metal
Featured Industries
  • Automotive
  • Aerospace
  • Construction
  • Dental
  • Environmental
  • Electronics
  • Medical
  • Military
  • Fashion
  • Art
Company Information
  • What is 3D Printing?
  • Contact us
  • Join our mailing list
  • Advertise with us
  • Media Kit
  • Nederland 3D Printing