In our review of BigRep’s flexible TPU filament, we discovered that the material works remarkably well for making epoxy resin molds and we promised a tutorial on how to to make them. Epoxy resin is an inexpensive material that’s rather versatile as it’s easy to add colors and objects into the resin and it’s a tough material, so combining it with 3D printing opens the door to all sorts of custom jewelry, decor, figurines, and more. We’ll be making some geometric paperweights today so go ahead and open your favorite CAD software because modeling the mold is the first step.
I use Autodesk Fusion 360 but there are plenty of 3D modeling programs out there that can handle the simple geometries we’ll be working with today. First, we’ll extrude a rectangle up about three-quart of an inch, though molds can be shallower and deeper.

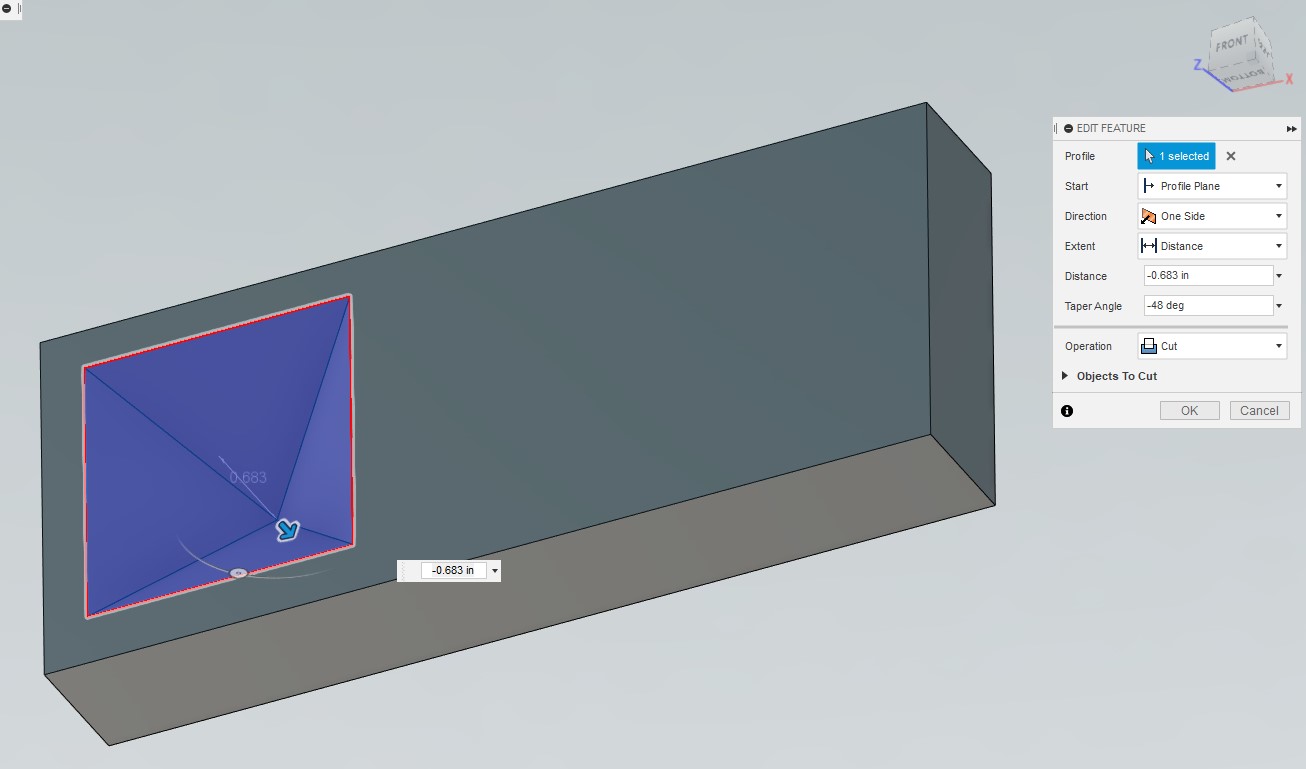
After drawing a square on the surface of our new box, we can then cut-extrude that square into the box with a taper angle steep enough for the walls to meet and form a pyramid that’s almost as deep as the box.
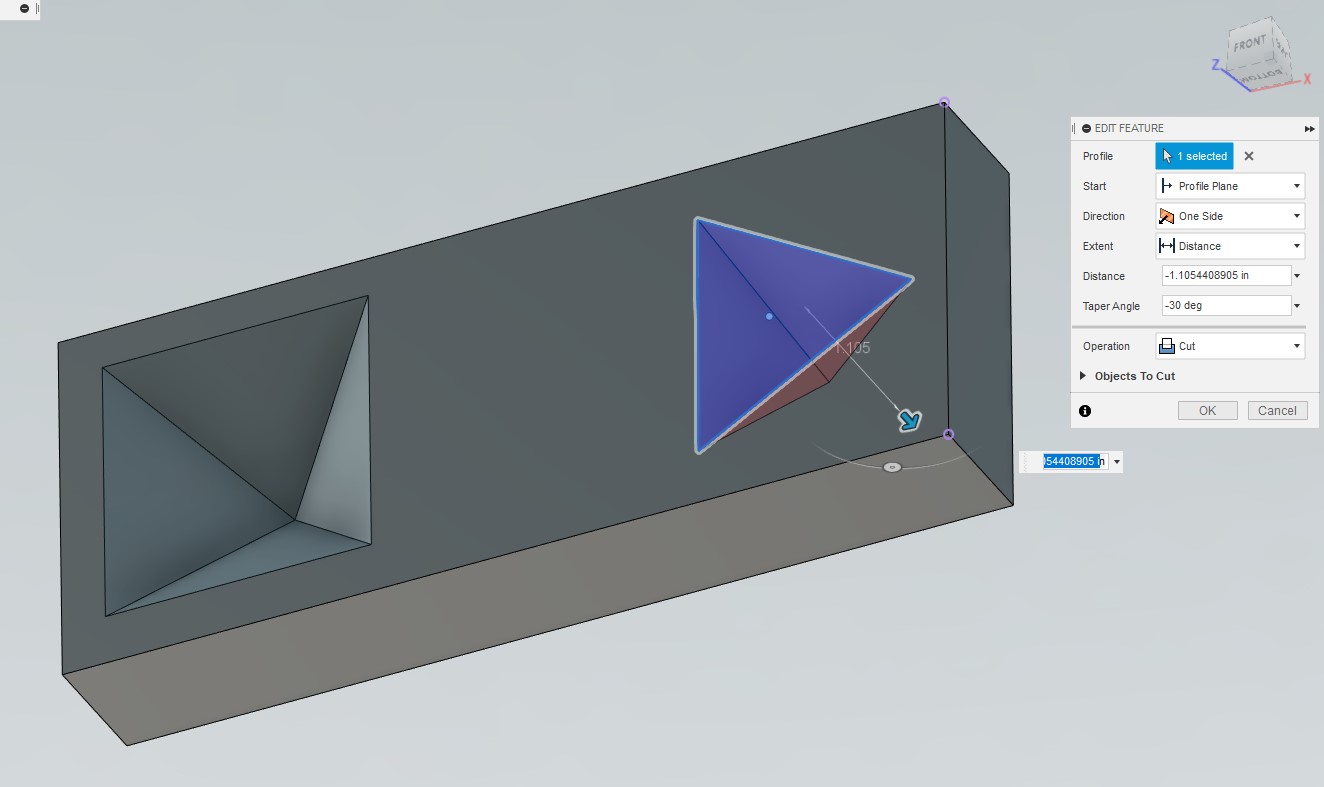
Then do the same thing for the three-sided pyramid by cut-extruding a triangle into the box with a similar taper angle.
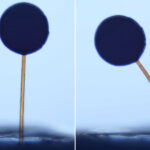
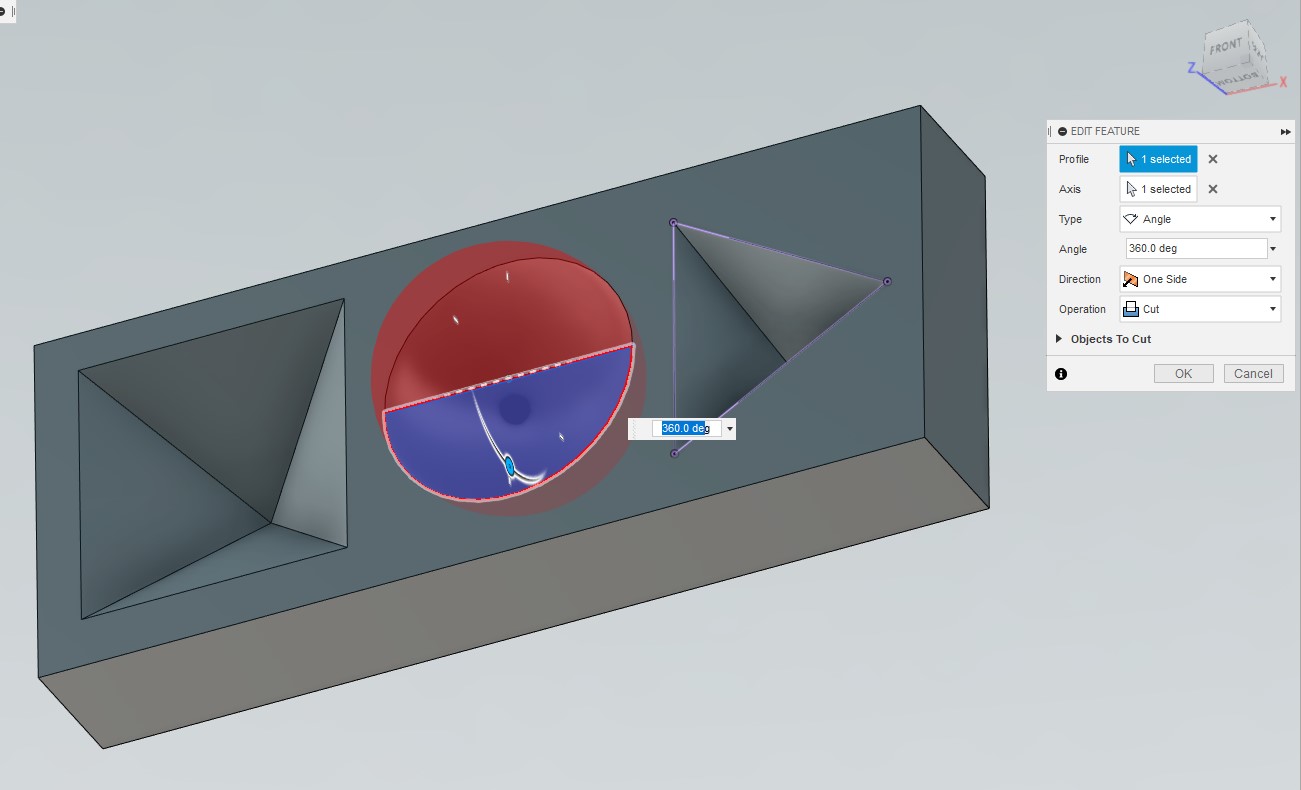
Next, draw a semicircle and then revolve-cut that shape around its own axis to create a dome shape.
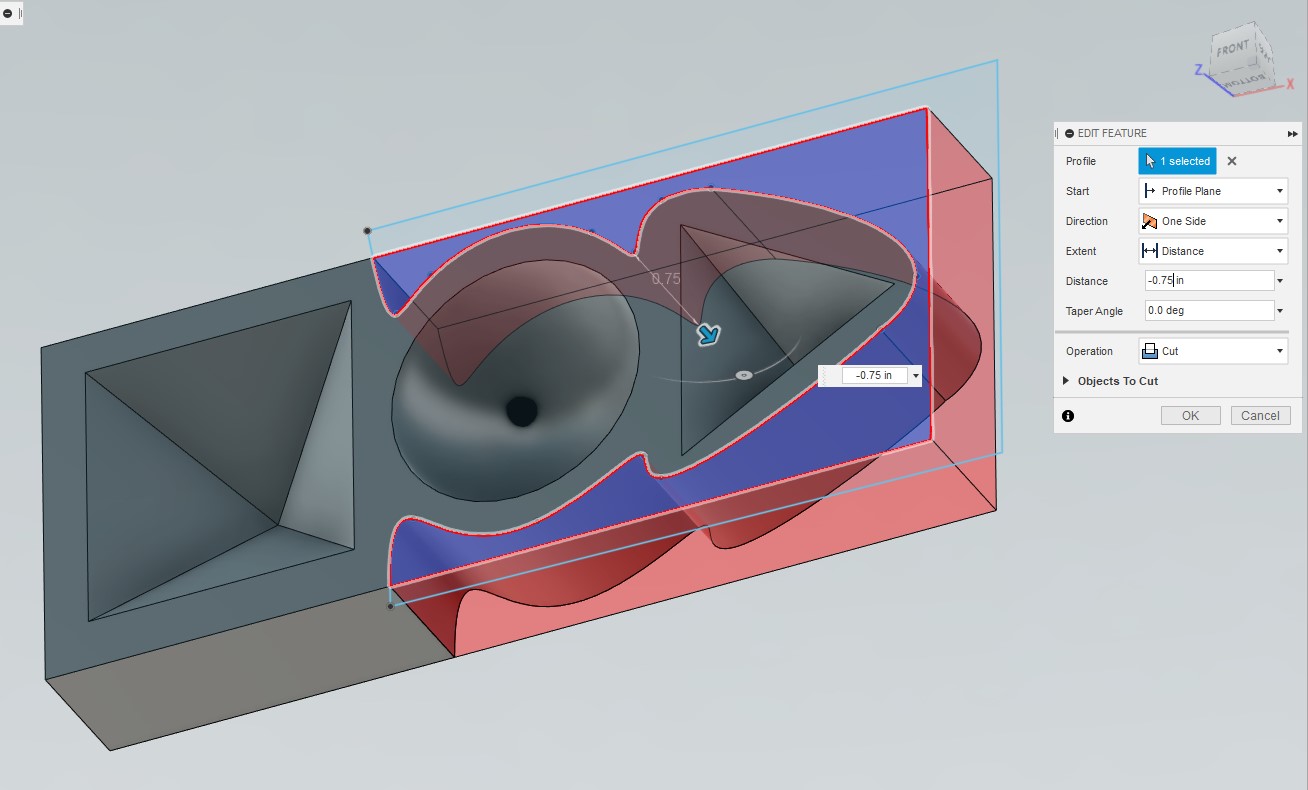
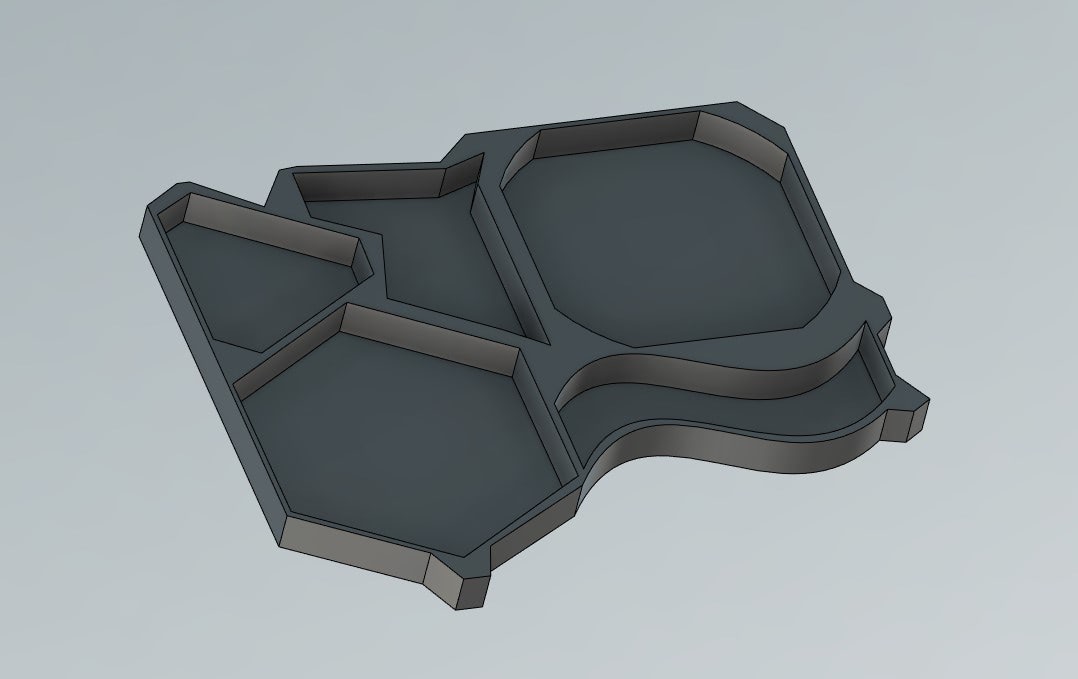
Finally, cut away some excess material from the box. This will reduce material usage and print time while also making it easier to flex the resin pieces out of the mold after they’re cured.
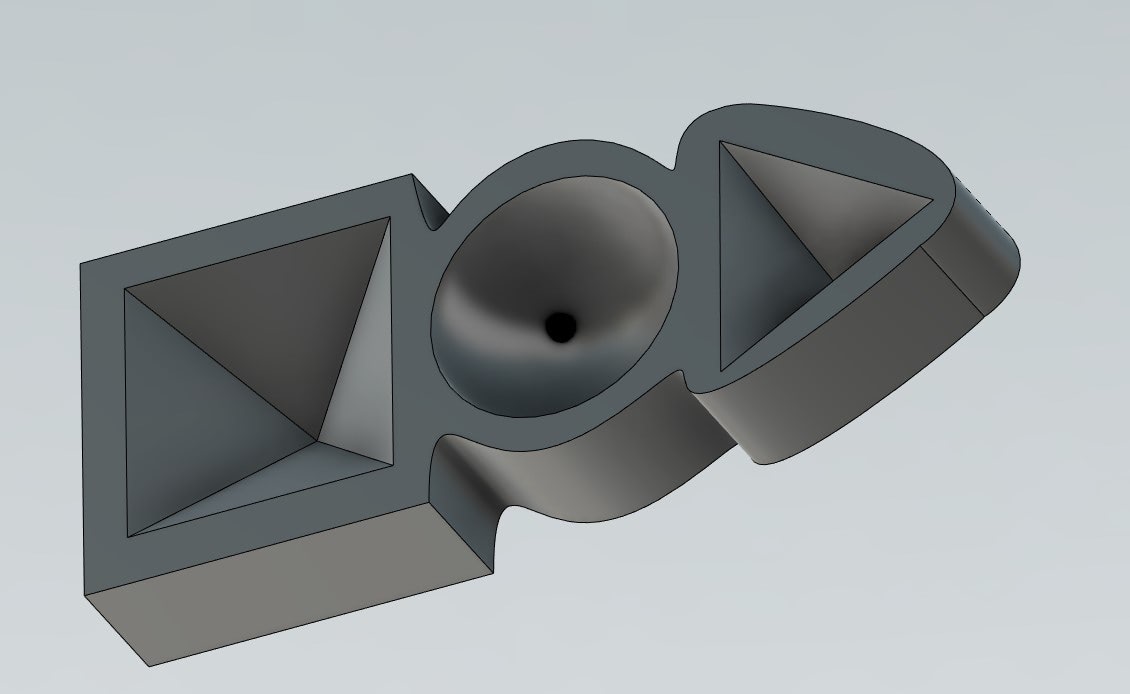
This is what the final model looks like.
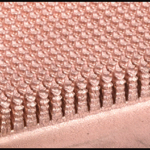
And here it is printed.
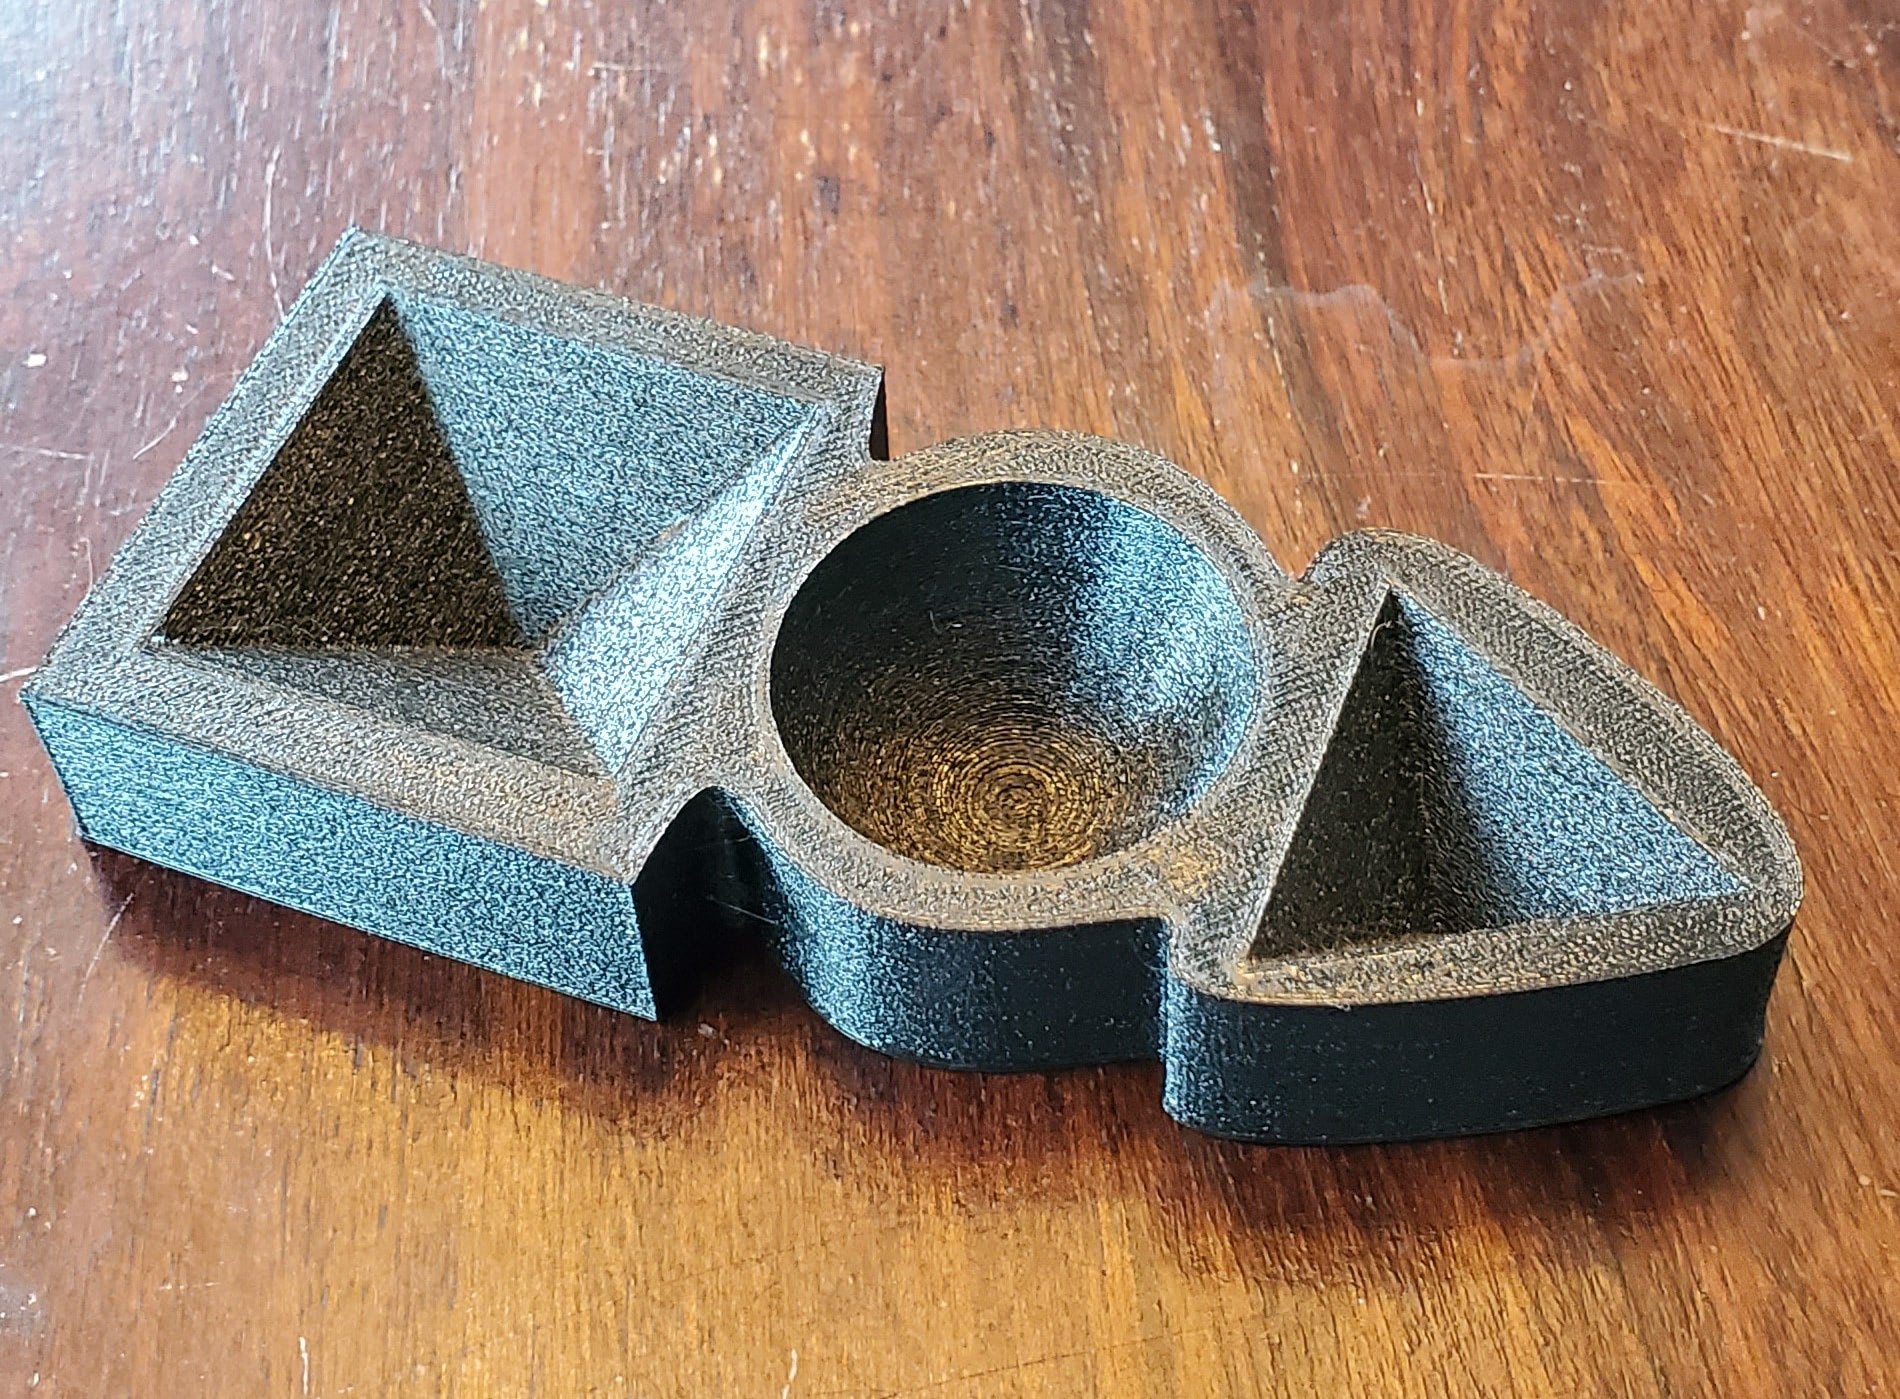
I used a fine print setting of 0.12mm layers to produce the smoothest walls, which was especially important for the dome. With TPU, it’s a good idea to use a high infill of at least 30% because the material doesn’t bridge well; top surfaces won’t come out solid if the nozzle has to bridge the large gaps of sparse infill.
As for the mixing and pouring the resin, it’s very straightforward. To determine how much resin you’ll need, fill each of the molds with water and then pour the water from the molds into a measuring cup. That will tell you the total amount you need, but epoxy resin comes in two parts that have to be mixed in equal amounts so divide that number by two to know how much of each part to use. I needed 20ml so that’s 10ml each of Part A and Part B, plus some pretty green pigment with sparkles.
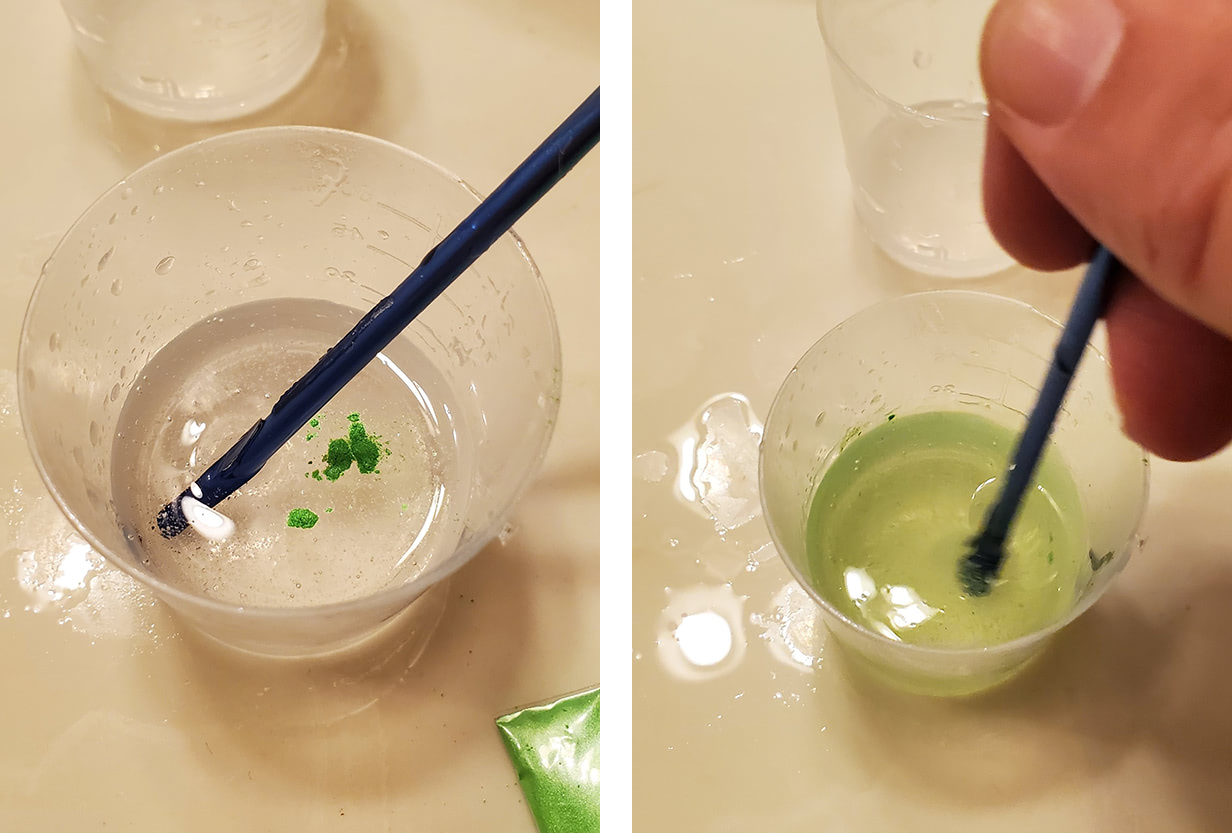
Once it’s completely mixed, it’s time to pour into the mold.
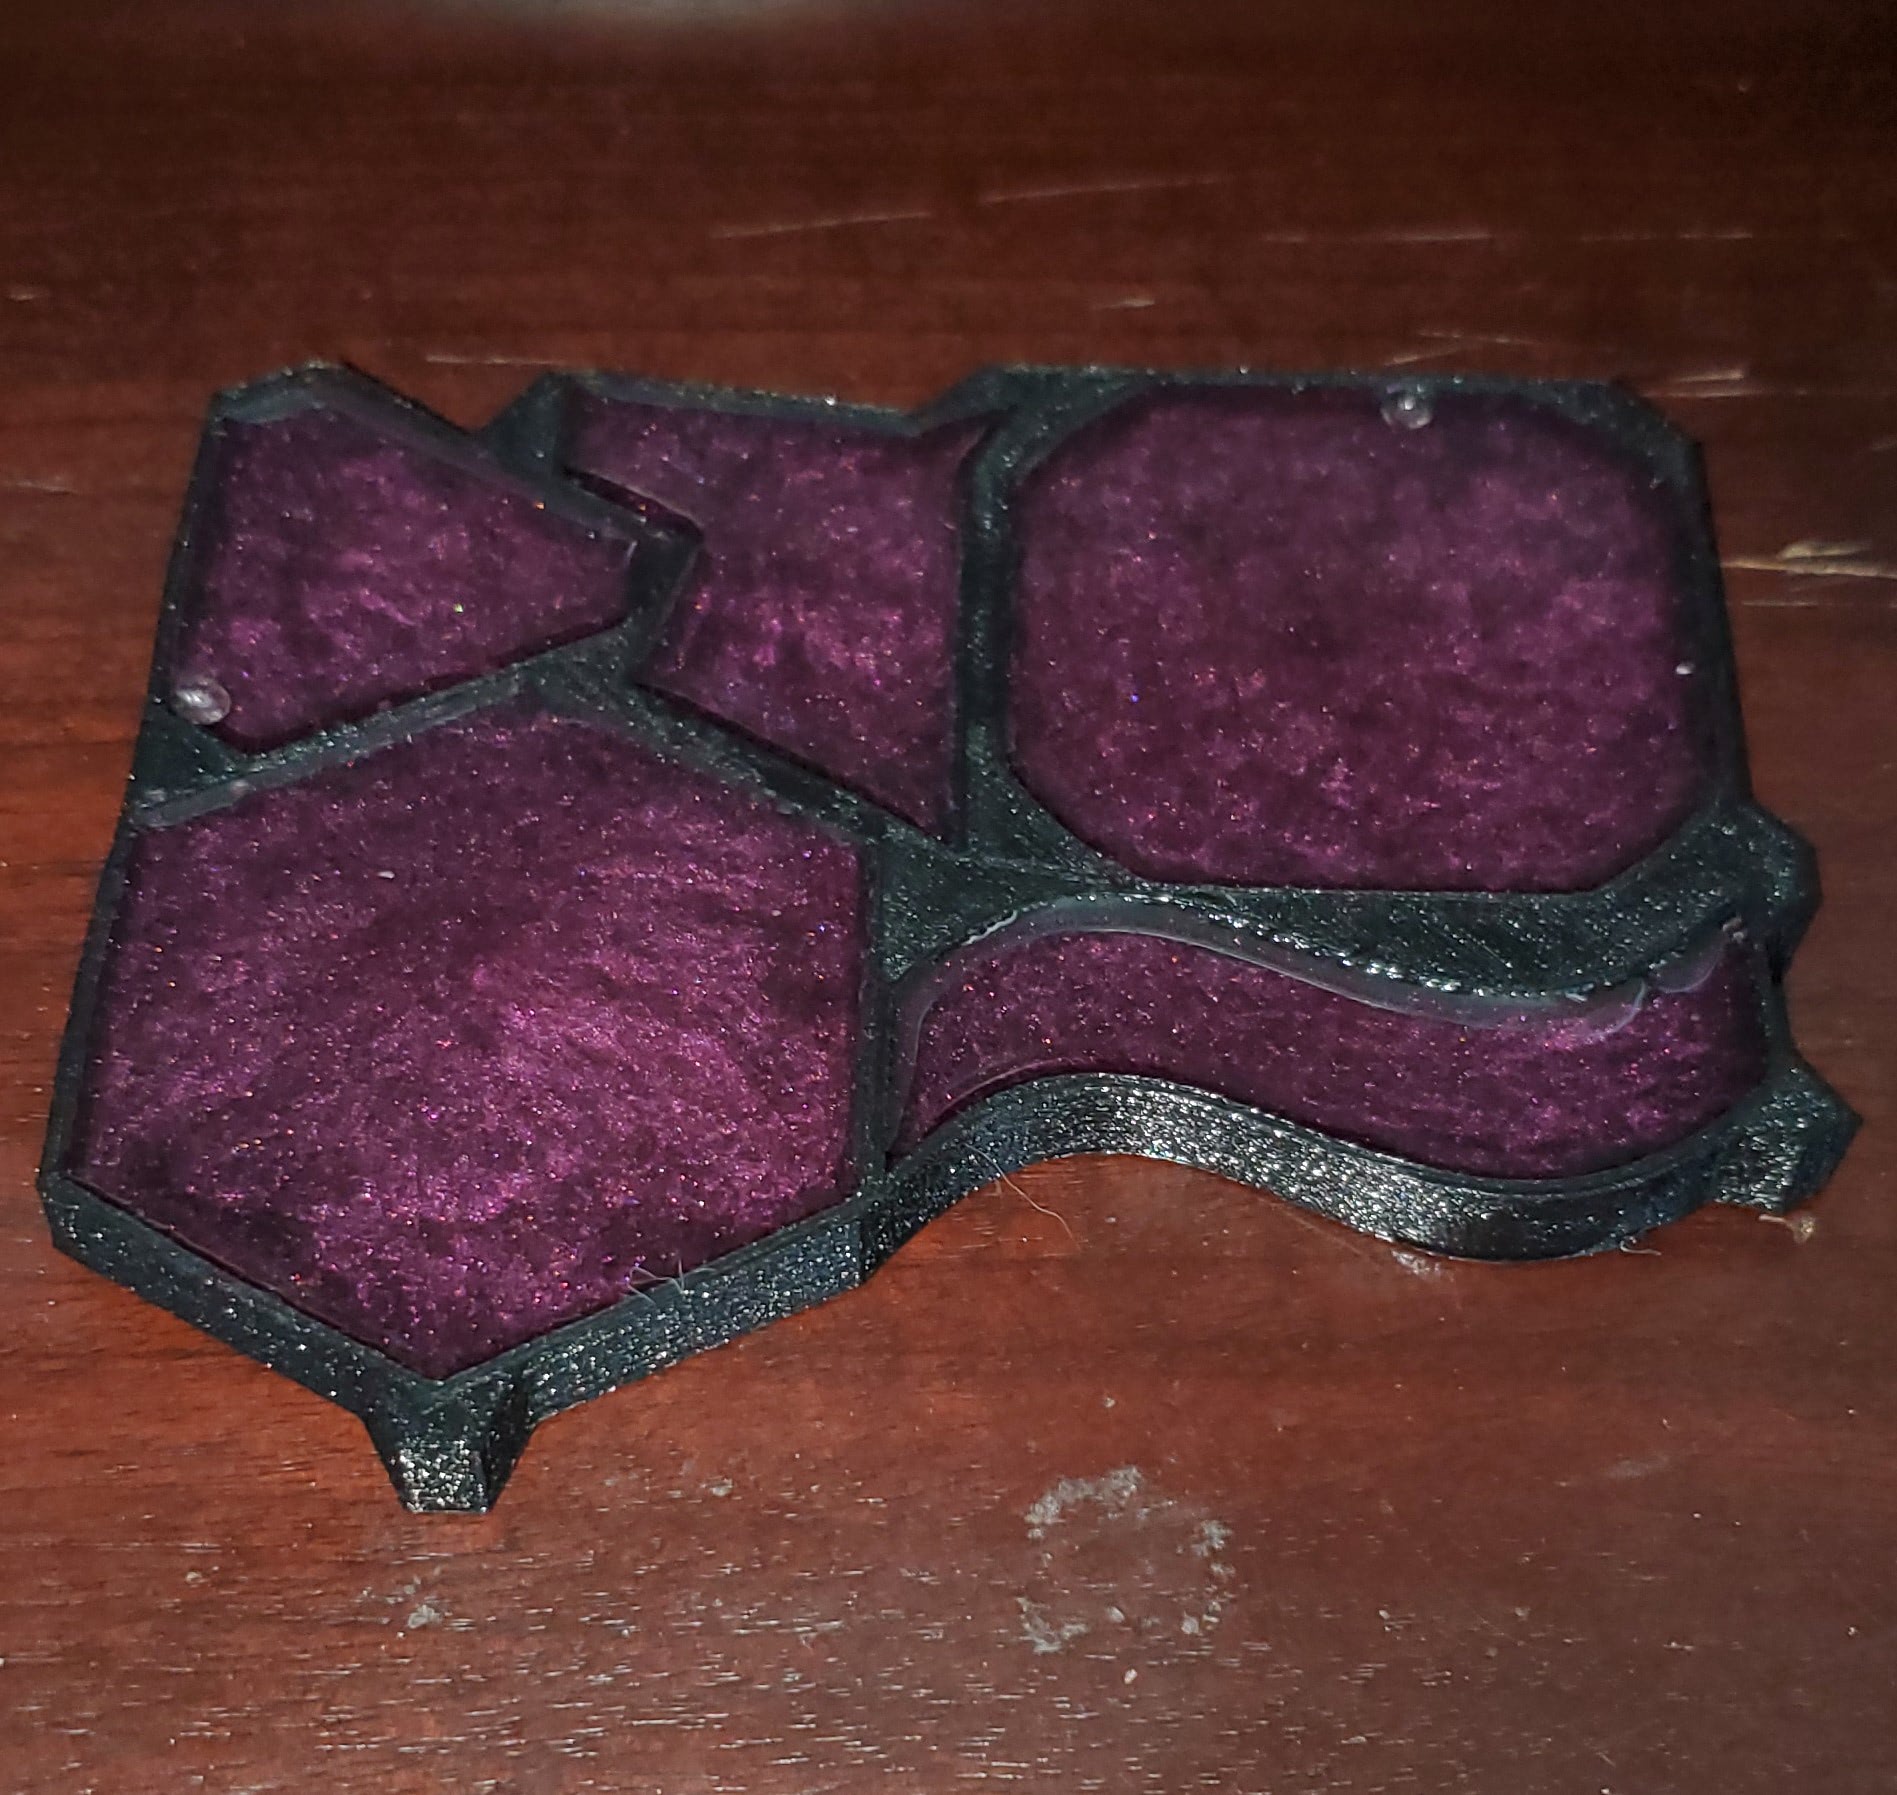
Now comes the hardest part: waiting a whole day for the resin to cure. So fast-forward 24 hours and we get these!
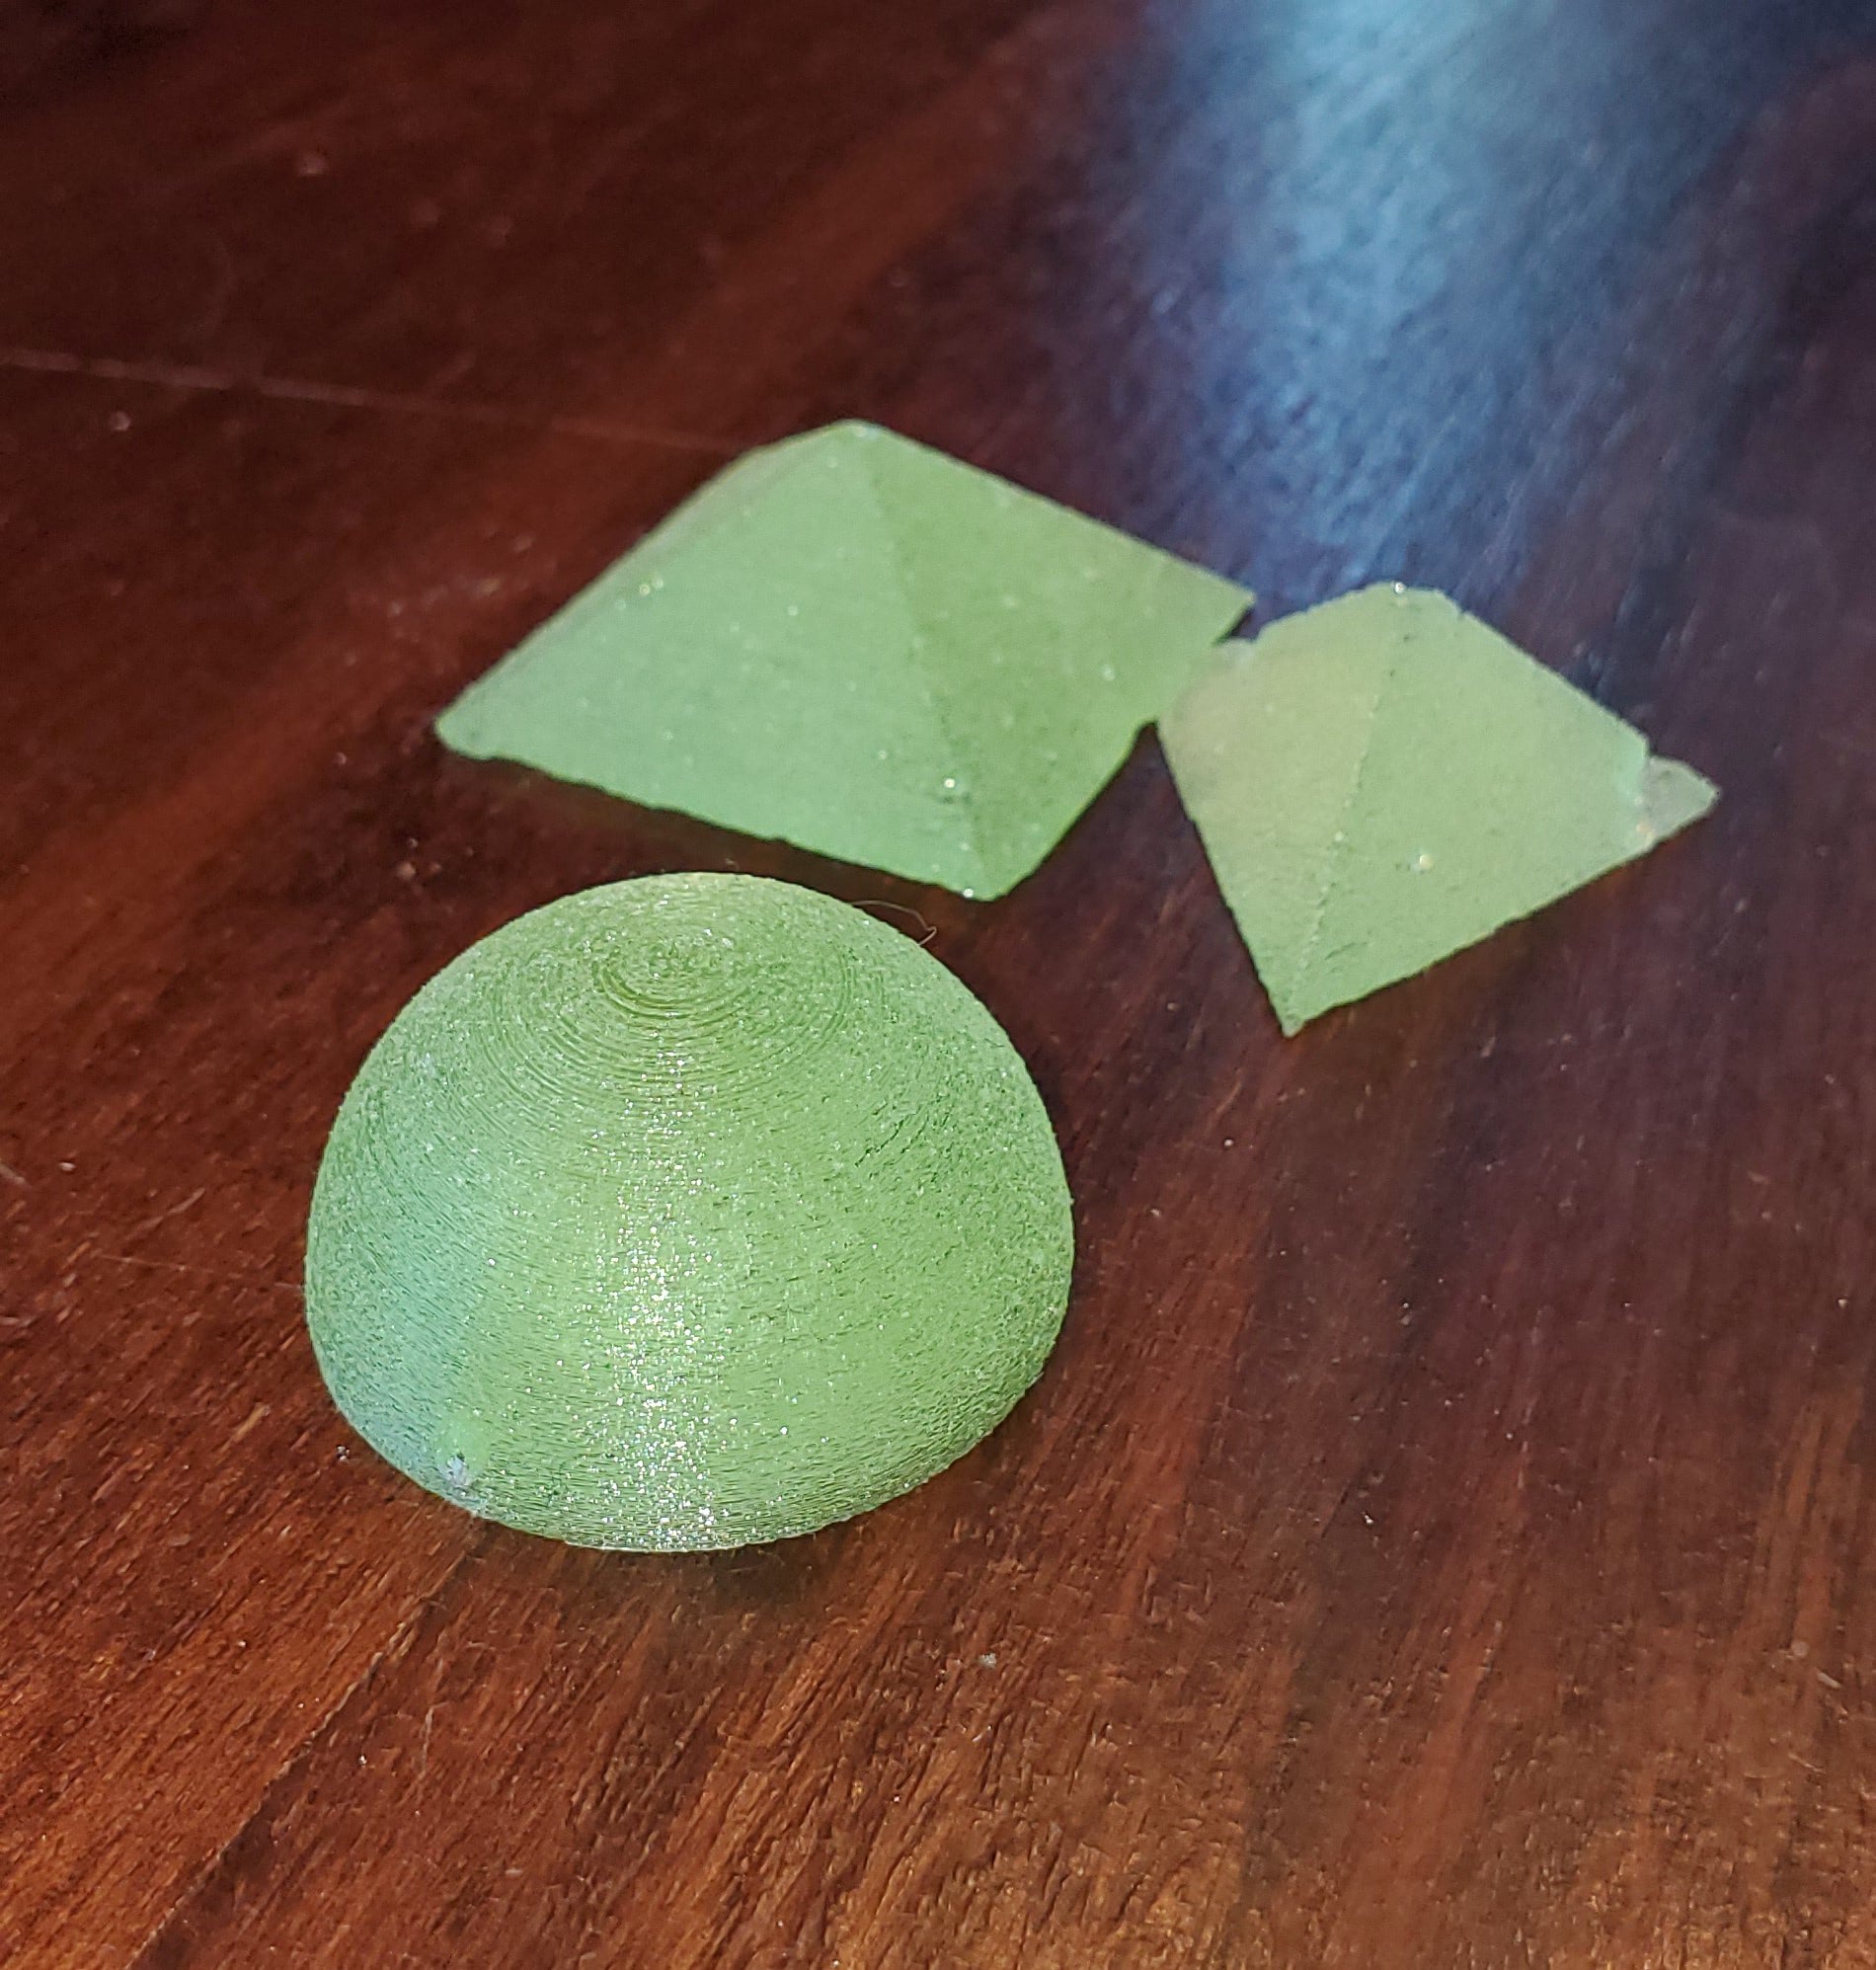
Their 3D shape did make these a bit difficult to remove from the mold, and you can see that the three-sided pyramid didn’t come out cleanly. The dome and four-sided pyramid came out well, though. In the future, I’m going to try some PVA mold release for 3D shapes, but for now I’m going to make a mold for some 2D shapes that should come out easier.
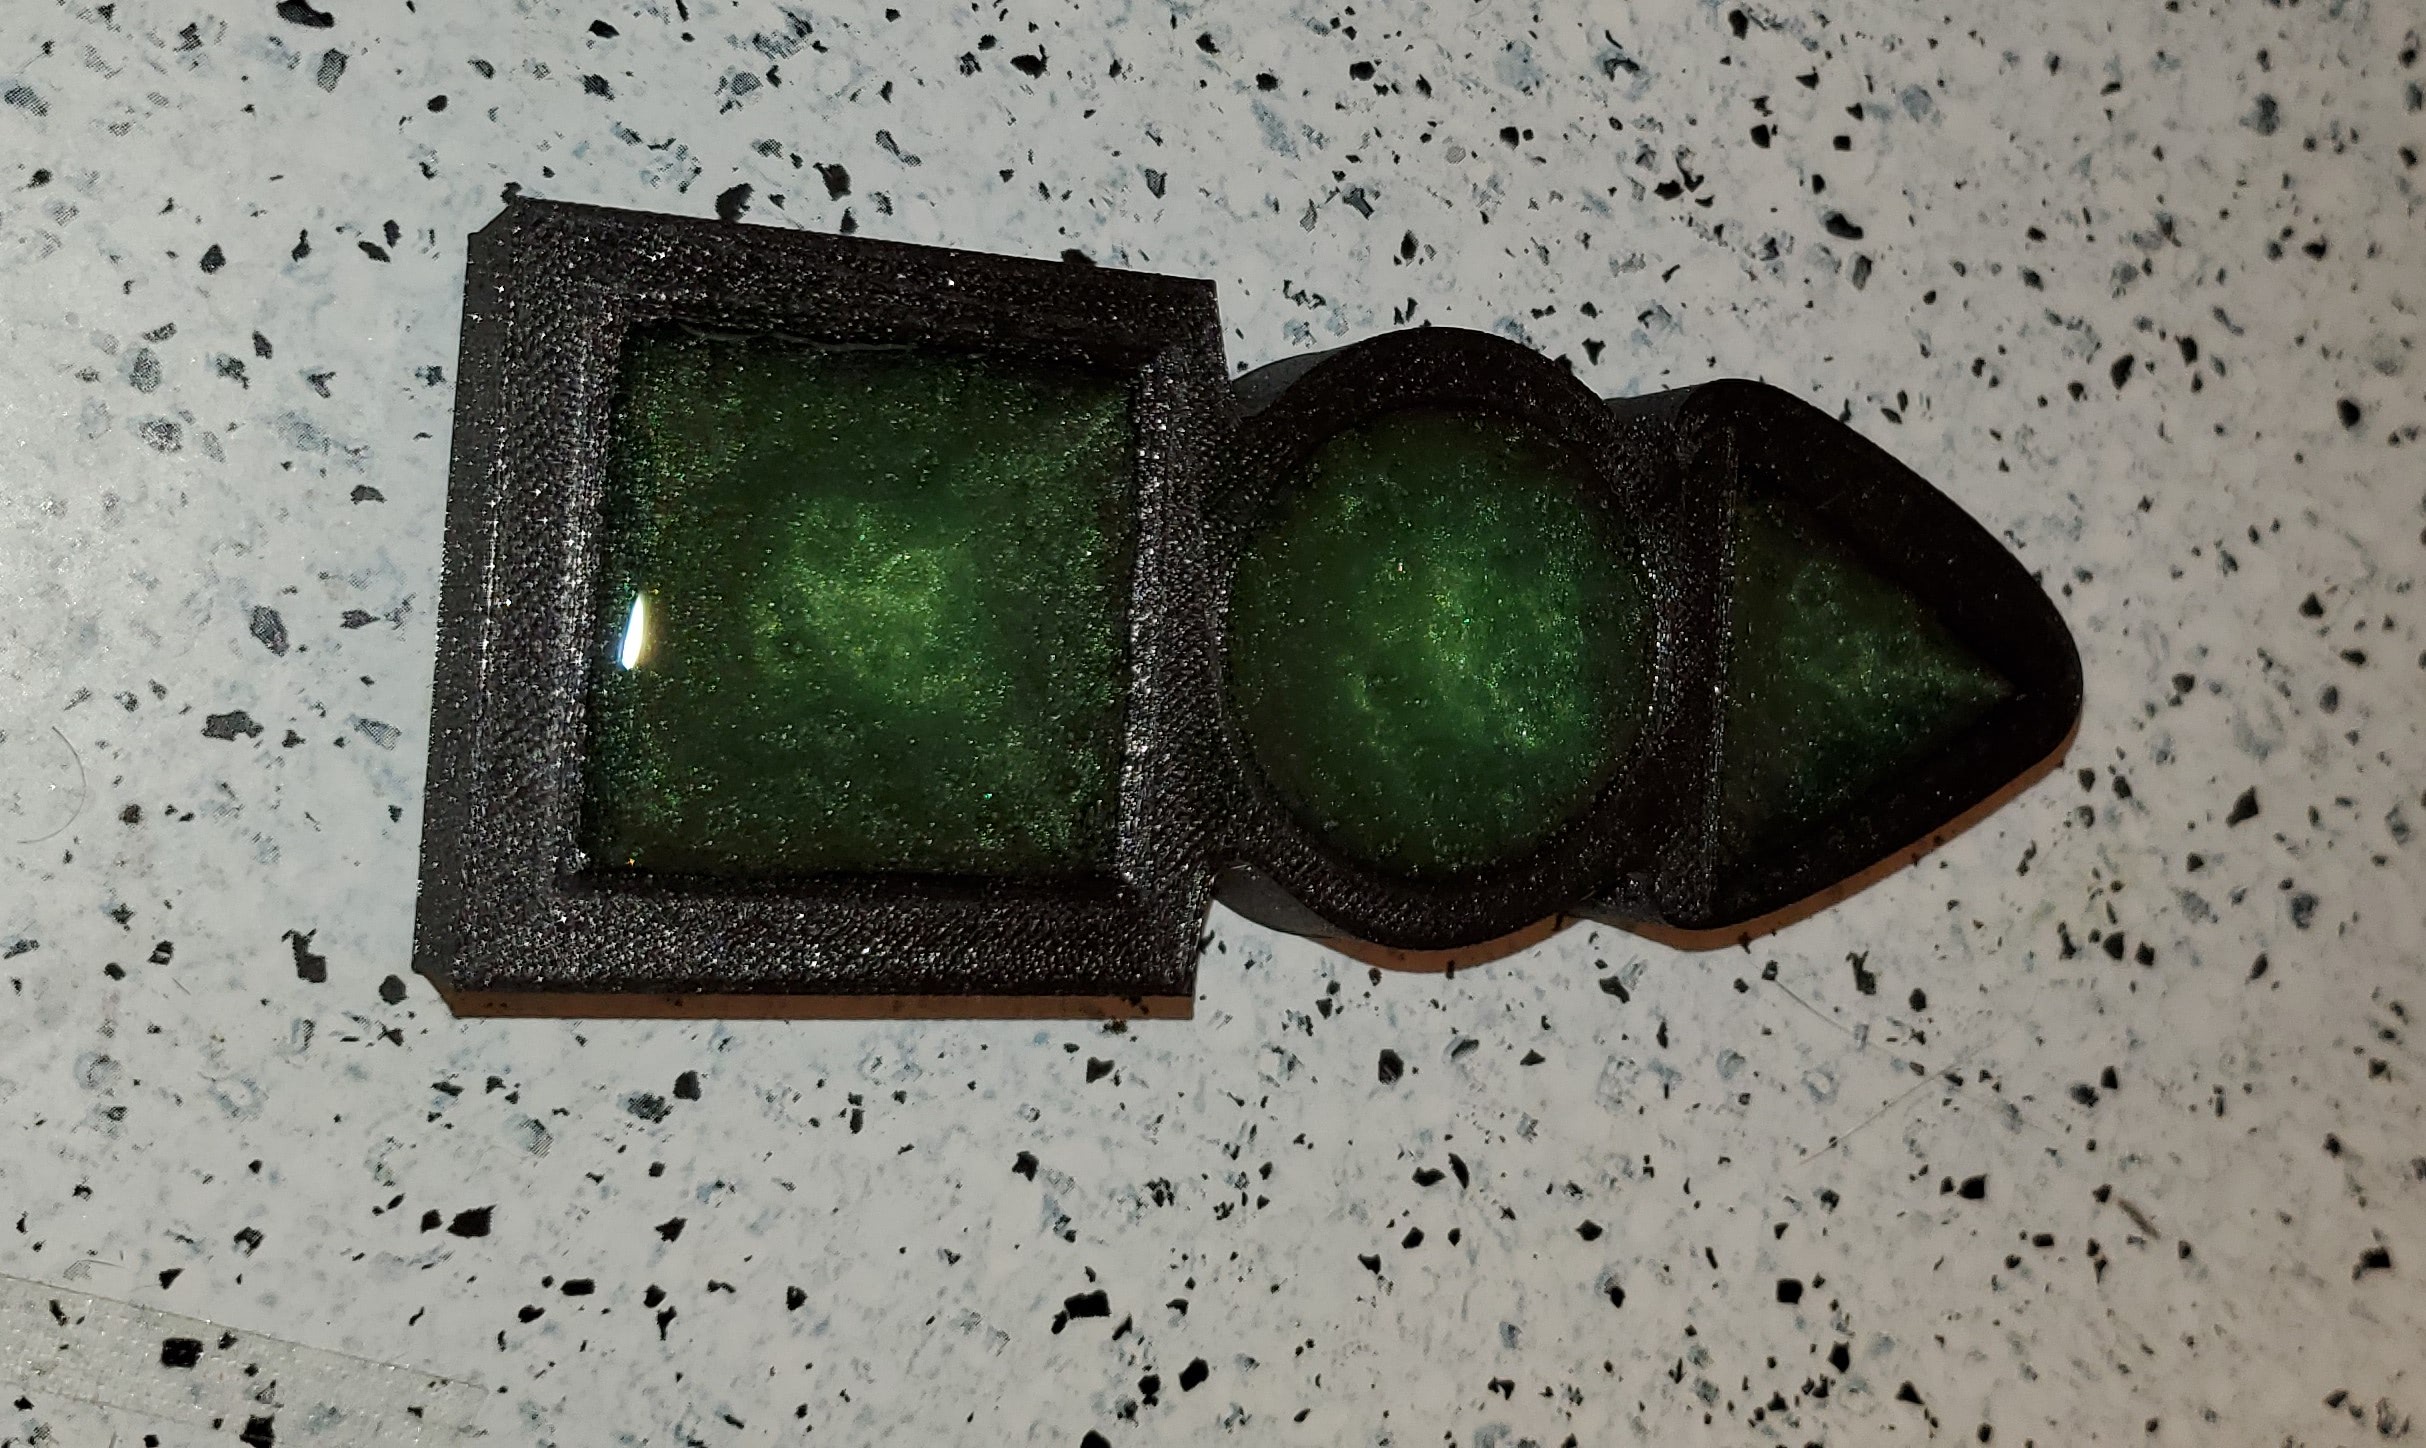
For this mold, I made the walls and bottom layer thinner to allow more bending, which should make the pieces easier to remove. I also added some tabs at the corners to serve as peel points. A red pigment was added to the resin this time, though it looks purple because of the mold being black.
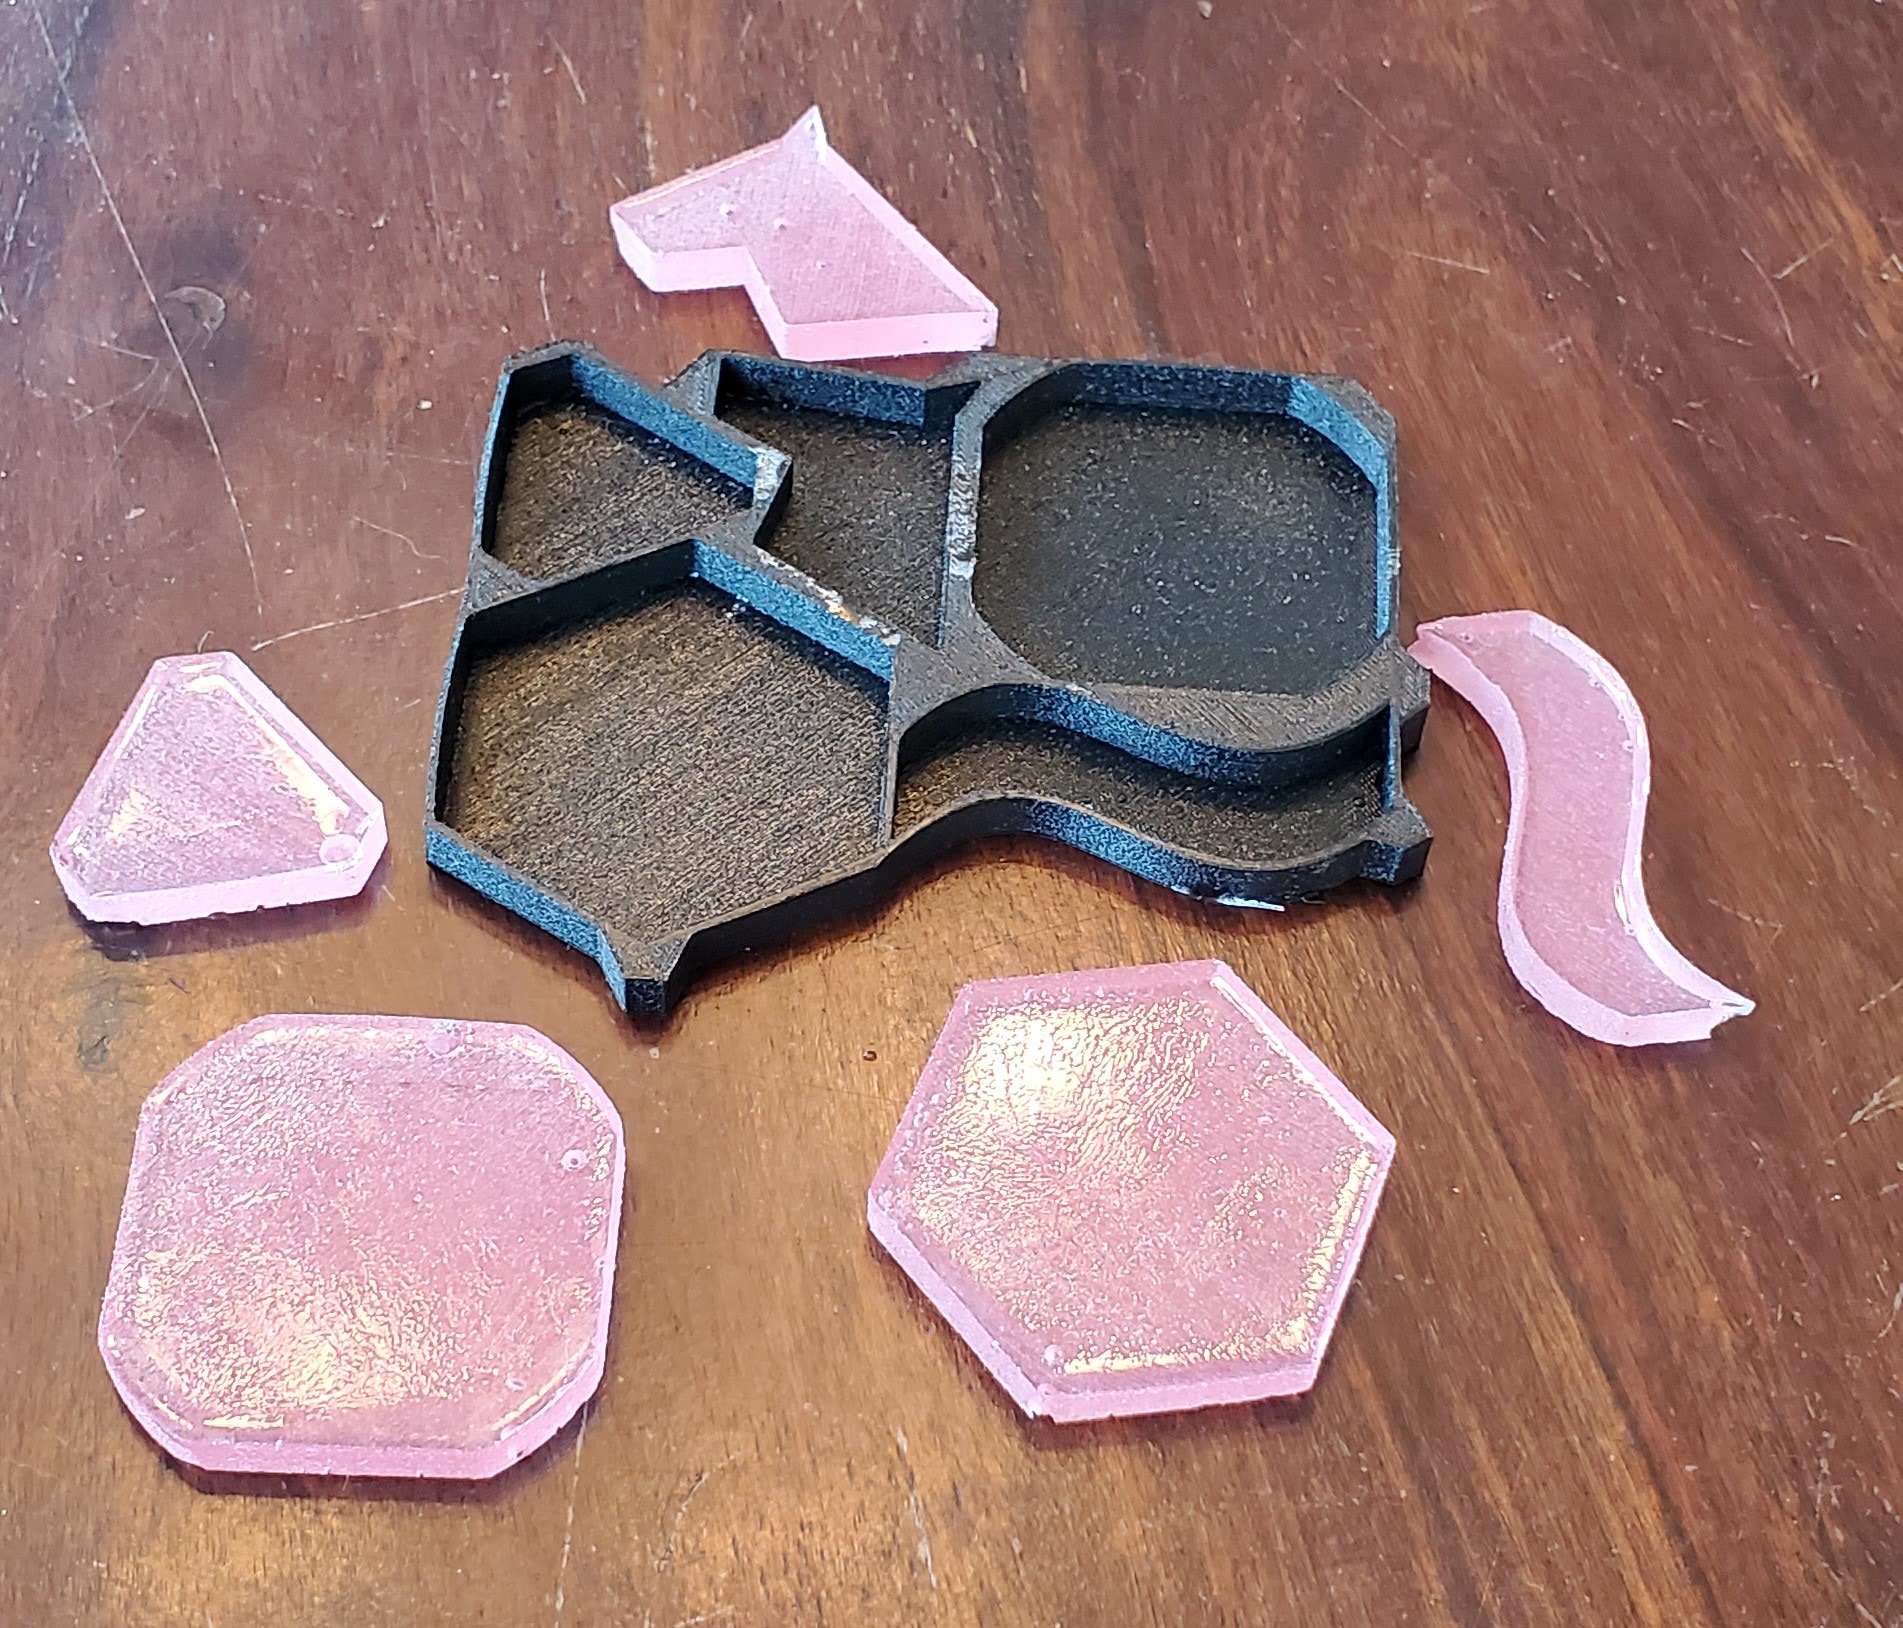
Those design changes made a big difference because these lovely rose-tinted pieces were a breeze to remove, and the TPU mold is ready for another run. And that’s all there is to it. All of these pieces, including the 3D shapes, can be sanded and polished to a crystal-clear finish, it just takes a bit of time.
I’m curious to see what others will do with this because it’s rather easy to do and there’s a lot of room for creativity. Show me what you got, 3D printing community.