
3D printing works by building a physical object from a digital file one thin layer at a time, a method called additive manufacturing. Software slices the digital model into hundreds of horizontal layers, and the printer recreates those layers in material, stacking each on top of the last until the object is complete. Unlike traditional subtractive manufacturing, which cuts material away from a solid block, 3D printing adds material only where it is needed.
This guide walks through the whole process step by step. It is part of our complete introduction to what 3D printing is; if you want to know about the machine itself first, start with what a 3D printer is.
The process in four lines
1. Model. Design or download a digital 3D model.
2. Slice. Software cuts it into layers and writes the printer’s instructions.
3. Print. The machine builds the object layer by layer.
4. Finish. Supports come off, surfaces get cleaned up.
Jump to a section
The 4 steps of 3D printing
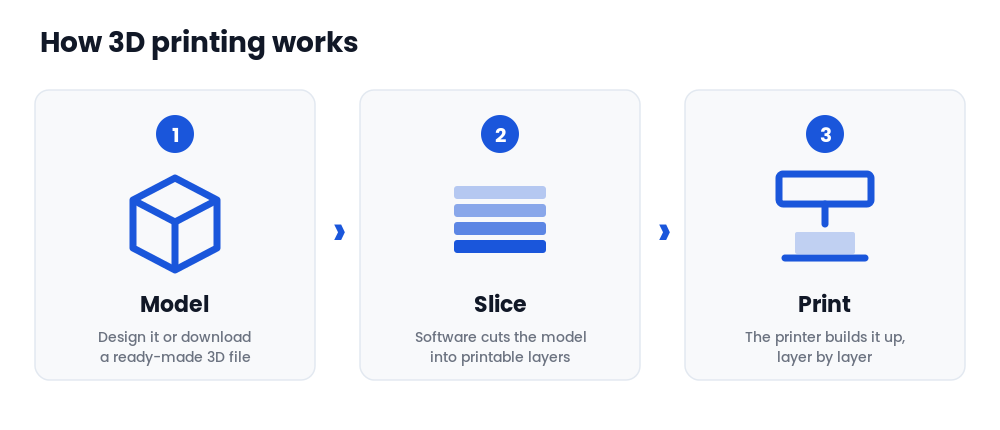
Almost every 3D print, from a simple keychain to an engineering prototype, follows the same four stages.
1. Create or download a 3D model
Everything starts with a digital 3D model. You can design one from scratch in CAD (computer-aided design) software, or download a ready-made design from an online model library. The file is usually exported in a 3D-printable format, most commonly STL, though OBJ and 3MF are also widely used. These formats describe the object’s surface as a mesh the printer’s software can interpret.
2. Slice the model
A printer cannot read a 3D model directly; it needs precise instructions. That is the job of slicer software. The slicer cuts your model into horizontal layers and generates G-code: a line-by-line instruction set telling the printer exactly where to move, how fast, and how much material to deposit. This is also where you set layer height, infill, and supports. We compare the options in our guide to the best 3D printer slicers.
3. Print the object
The printer follows the G-code, building the object layer by layer from the bottom up. Each new layer fuses to the one beneath it. How each layer forms depends on the technology: melted plastic filament, UV-cured liquid resin, or laser-fused powder. For the full breakdown of those mechanisms, see the types of 3D printing. A single print can take anywhere from minutes to many hours, depending on size, detail, and settings.
4. Post-process the finished part
When printing finishes, the part usually needs a little work. This can mean snapping away temporary support structures, sanding down layer lines, washing and curing resin prints, or priming and painting for a finished look. Post-processing is where a raw print becomes a polished object.
How is 3D printing different from traditional manufacturing?
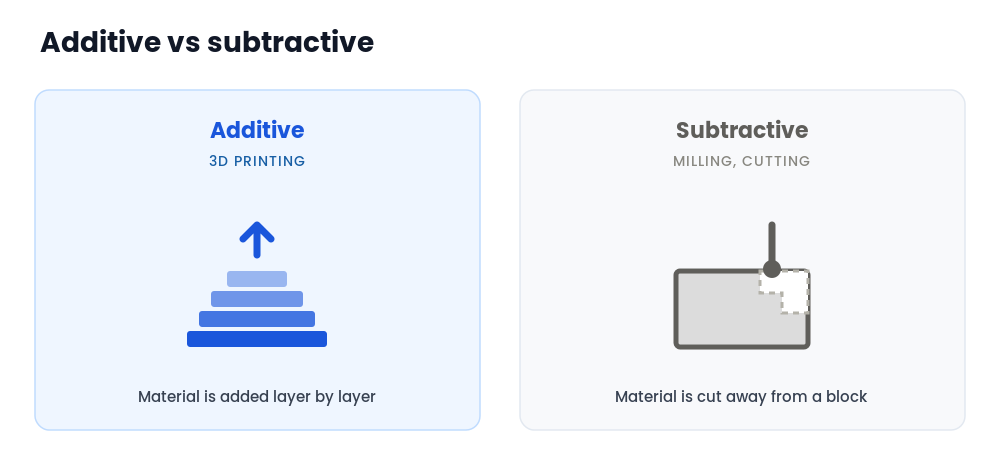
Traditional manufacturing is often subtractive: you start with a solid block of material and cut, drill, or mill away everything that is not the final part (think CNC machining). 3D printing is additive: it places material only where the design requires it. That difference is why 3D printing can produce complex internal geometries and intricate shapes that would be difficult or impossible to machine, and why it generates far less material waste.
What materials can 3D printers use?
The material depends on the technology. Consumer machines mostly use plastic filament (such as PLA, ABS, or PETG); resin printers use liquid photopolymer resin; and industrial machines can print nylon powder or even metal. Each behaves differently during printing and suits different jobs. Our 3D printer filament guide covers the full material landscape, from everyday PLA to engineering blends.
Frequently asked questions
Want to try it yourself?
Start here
Best 3D Printers for Beginners ↗
Hands-on recommendations for a first machine that prints well out of the box, so step 3 goes as smoothly as steps 1 and 2.
Keep learning
FDM, SLA, DLP, SLS, MJF, and metal compared: how each technology forms a layer, and which is right for which job.